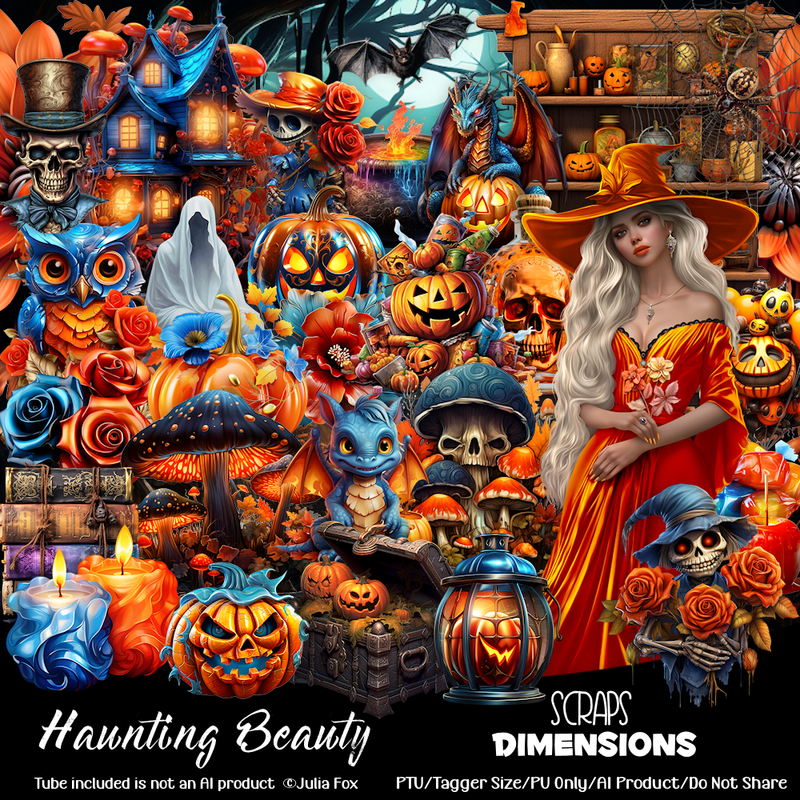
This tut was written October 8th, 2023 for those with a basic knowledge of psp.
I am using an awesome tube ©Julia Fox
The tube is included with the kit, everything used is in this kit.
Read the TOU on how to credit your tag.
Drop shadow as you go is V -2 H -4, 40, 10, or use what you prefer.
Let's get started
*Remember to add your drop shadow as you go along*
Open a new image 800 x 800, paste paper 8, apply your mask.
Resize element 59 to 65%, paste on the left, click inside with the magic wand,
expand by 2, add a new layer, resize paper 8 to 30%, paste into selection, select
none, move below the frame.
Resize your tube to 50%, paste on the right.
Resize element 15 to 75%, paste to the right, below the paper layer of
the frame, duplicate, move to the left, erase the part above the frame.
Resize element 17 and 52 to 40%, paste on the right below the tube layer.
Resize element 21 to 40%, paste at the bottom above the tube.
Resize element 18 to 40%, paste on the left below the pumpkin.
Resize element 41 to 30%, paste at the bottom below the pumpkin.
Resize element 40 to 30%, paste at the bottom.
Resize element 39 to 15%, paste at the bottom.
Resize element 7 to 15%, paste at the bottom.
Resize element 8 to 35%, paste on the frame at the top left.
Resize element 29 to 15%, paste at the top, duplicate, move over.
Resize element 31 to 20%, paste at the bottom.
Resize element 24 to 20%, paste at the bottom left.
Add any other elements that you would like, make it your own.
Always readjust your mask and elements how you like them before you
merge your tag, resize, sharpen.
Crop your tag to be sure no shadows or lines are on the edges.
Then add your copyright and name.
That's it
Hope you enjoyed doing my tut.


No comments:
Post a Comment