Tuesday, July 13, 2021

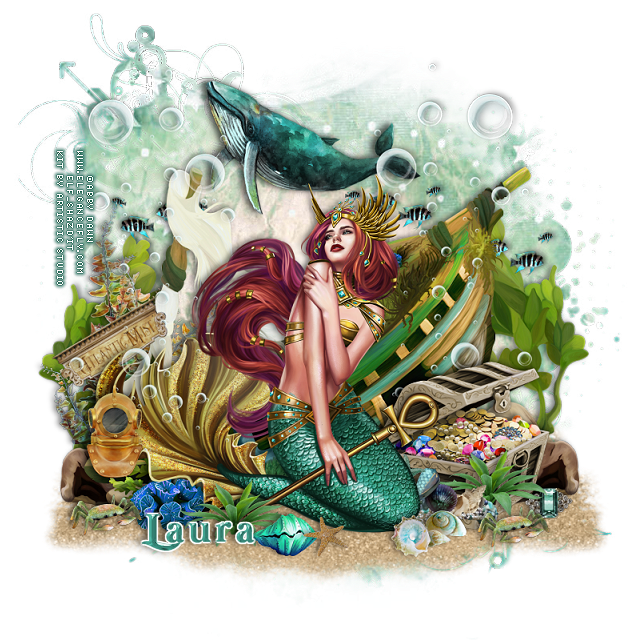
PTU Treasure


This tut was written July 13th, 2021  for those with a basic knowledge of psp.

I am using the awesome artwork by  © Abby Dawn 
The tube is "Mermaid Goddess"
You need a license to use this tube, do not use without a license.
You can find this tube at Elegancefly store  HERE

I used PSPX...but any of them should work.
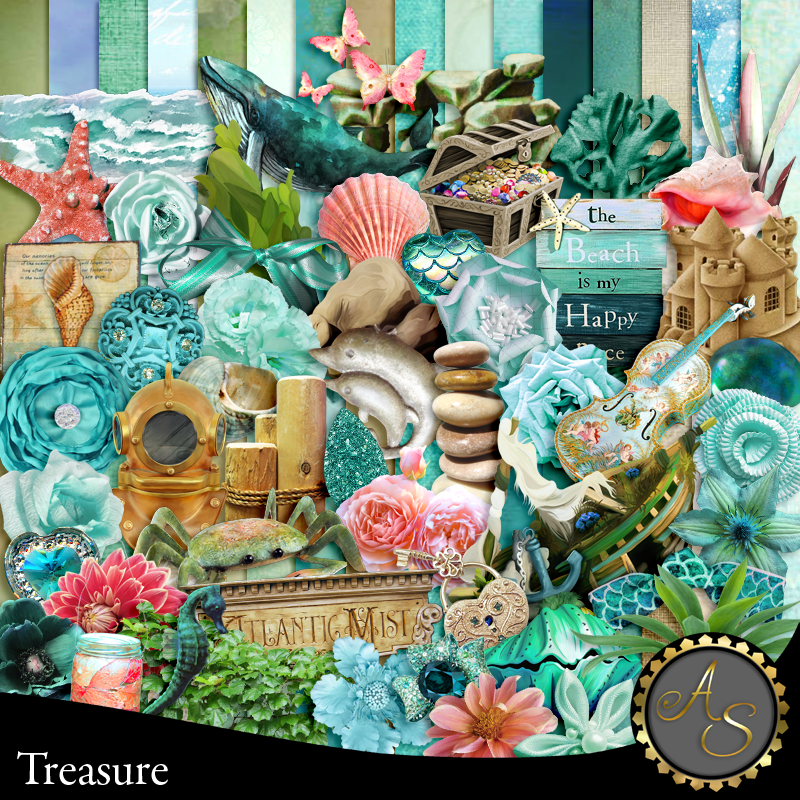
PTU Treasure by Artistic Studio  HERE & HERE  
Mask of choice, I used RD Mask 710 HERE
Check out the rest of the blog HERE

Font of choice,  I used Mermaid

Drop shadow is usually V-1 H-4 Black, 50, 10, use what you prefer.
Let's get started
*Remember to add your drop shadow as you go along*

Open a new image 800 x 800
Fill with white, add a new layer, paste paper 1 into selection, select none,
apply your mask, delete, merge group.
Erase the bottom curly on the mask.

Paste element 6, move down more.
Resize element 18 to 45%, paste below the ship toward the top.

Resize your tube to 25%, paste above the ship.
Paste element 28 at the bottom just above the mask, duplicate, mirror.
Resize element 68 to 40%, paste on the lower right below the ship, duplicate, mirror.
Resize element 21 to 40%, paste on the lower right below the tube.
Resize element 4 to 50%, paste below the ship on the right, duplicate, mirror.
Resize element 60 to 40%, paste at the lower right above the chest.

Resize element 99 to 25%, paste at the bottom above the chest at the lower right,
duplicate, mirror, move above the tube.
Resize element 5 to 15, paste at the lower left above the plant.
Paste element 111 on the left above the tube, duplicate, mirror, move
above the ship on the right.
Resize element 32 and 35 to 10%, paste at the lower right being on the top layer.
Resize element 22 to 10%, paste at the lower right below the plant.

Resize element 67 to 20%, paste toward the top below the shark, duplicate, mirror,
move where you like.
Resize element 3 to 50%, paste on the left below the ship.
Resize element 73 to 15%, paste on the sand at the lower right, duplicate, move to
the left.

Resize element 48 to 20%, paste on the left above the tube.
Resize element 69 to 25%, free rotate to the left at 30 degrees, paste on the left
below the tube.
Resize element 41 to 10%, paste at the bottom above the tube.

Add any other elements you would like, make it your own.
Always remember to adjust the elements before merging to get them like you like.

Once happy with your tag, close off any background, crop your tag to make
sure there are no stray edges, merge visible, resize first.
Add your copyrights and name.

That's it
Hope you enjoyed doing my tut.

Saturday, July 10, 2021

PTU Mystic Land


This tut was written July 10th, 2021  for those with a basic knowledge of psp.
I am using the awesome artwork by  © Sheokate 
The tube is "Elvira"
You need a license to use this tube, do not use without a license.
You can find this tube at Elegancefly store  HERE

I used PSPX...but any of them should work.
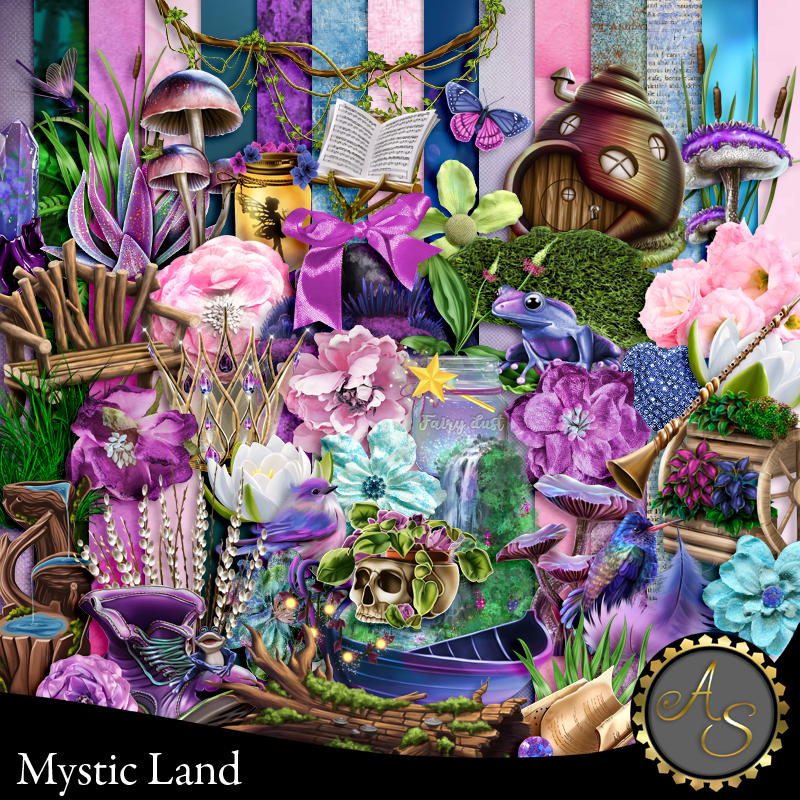
PTU Mystic Land by Artistic Studio  HERE & HERE  
Mask of choice, I used MizTeeque's Mask 077 HERE
Check out the rest of the blog HERE

Font of choice,  I used betterfly

Drop shadow is usually V-1 H-4 Black, 50, 10, use what you prefer.
Let's get started
*Remember to add your drop shadow as you go along*

Open a new image 800 x 800
Paste paper 3, apply your mask, delete, merge group, move to the right and up a bit, 
duplicate, mirror, move more to the left and down some.

Paste element 47 on the mask a little to the right.
Resize element 118 to 30%, paste on the tree at the upper left, duplicate, move to 
the right, duplicate again, move down, duplicate once more, mirror.
Resize element 143 to 85%, paste how you like.

Resize element 10 to 85%, mirror, paste above the flowers.
Paste element 165 on the mask layer at the top.

Resize your tube to 30%, paste to the right a little.

Resize element 44 to 40%, paste on the lower right, below the tube, 
duplicate, mirror.
Resize element 13 to 30%, paste on the right behind the tube, 
duplicate, mirror.

Resize element 1 to 25%, paste at the bottom above the tube.
Resize element 3 to 50%, paste at the bottom below the little house.
Resize element 58 to 20%, paste at the bottom above the little house.
Resize element 12 to 10%, paste at the bottom above the house.
Resize element 25 to 10%, paste at the bottom.

Resize element 30 to 10%, paste on the log.
Resize element 57 to 15%, paste at the bottom below the skull plant to the right.
Resize element 62 to 65%, paste at the bottom above the log layer and to 
the left more.
Resize element 87 to 15%, paste below the little house on the left, duplicate, move
to the right above the small grass layer.
Resize element 2 to 13%, paste on the upper left where you like.
Resize element 163 to 20%, paste at the upper right. duplicate, move down on the left.
Resize element 16 to 20%, paste at the lower left below the small grass, 
duplicate, move to the right more below the log.

Resize element 68 to 20%, paste at the lower right above the tube.
Resize element 156 to 50%, paste on the left being on the top layer, duplicate, mirror,
move up on the right.

Add any other elements you would like, make it your own.
Always remember to adjust the elements before merging to get them like you like.

Once happy with your tag, close off any background, crop your tag to make
sure there are no stray edges, merge visible, resize first.
Add your copyrights and name.

That's it
Hope you enjoyed doing my tut.

Wednesday, July 7, 2021

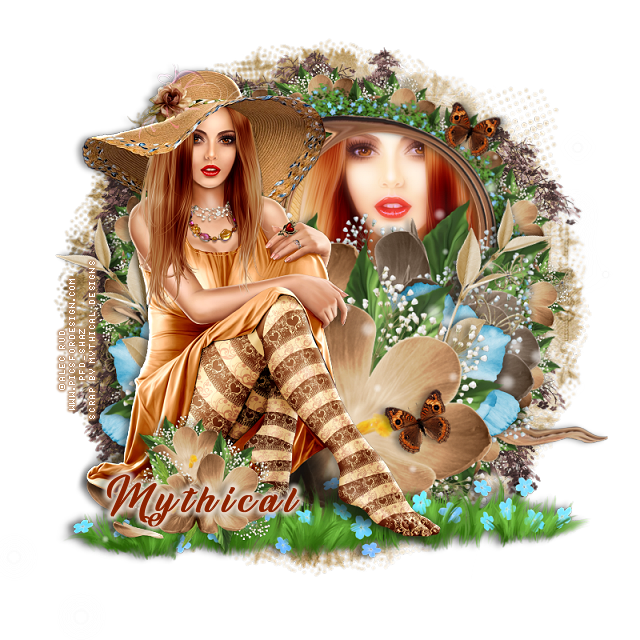
FTU Taya Beauty


  This tut was written July 6th, 2021 for those with a basic knowledge of psp.

I am using the awesome artwork of  Alec Rud
The tube is called "Taya" 
You need a license to use this tube, do not use without a license.
You can find this tube at PFD store  HERE

I used PSPX6...but any of them should work.
FTU kit  Simply May by Mythical Designs HERE
Check out the rest of the blog HERE
DD Mask NFM_2015_3 HERE
Check out to e rest of the blog HERE
Filters
xero-Porcelain
Mura Meister Copies-Encircle

Font of choice,  I used  Sunrise Place

Drop shadow is  V -2 H 4, 50, 10, or use what you prefer.
Let's get started
*Remember to add your drop shadow as you go along*

Open a new image 800 x 800 or a size you prefer, can always resize later.
Paste paper 8, apply your mask, delete, merge group, duplicate, merge down.

Paste element 15, resize to 90%, move to up and to the right a little.
Click inside with your magic wand, expand by 5, paste paper 2, invert, delete, 
keep selected.
Resize your tube to 65%, paste in the frame, delete, select none.
Duplicate the tube, go to Adjust, Blur, Gaussian blur, number on 5, change the blend
mode to Screen. 
Apply the xero filter, Porcelain to both tubes, merge down.

Paste element 14, resize to 90%, move to the left and down a little.

Resize element 2 to 40%, paste between the two flower layers, duplicate, mirror.

Resize element 20 to 30%, apply Mura Meister Copies-Encircle, first number on 14,
move below the frame layer and to the left a bit.
Resize element 14 to 35%, apply Mura Meister Copies-Encircle, first number on 16,
change the next two numbers to 52 move below the first circle.

Resize your tube to 35%, mirror, paste on the top layer to the left.

Resize element 35 to 35%,  duplicate, free rotate to the right at 20 degrees,
 move below the top flower on the right, duplicate, mirror.
Resize element 14 to 35%, paste at the lower left above the tube.

Resize element 26 to 15%, free rotate to the left at 15 degrees, duplicate, mirror,
resize to 85%, move to the upper right.
Paste element 11 above the mask, erase the trunk part at the bottom.
Resize element 21 to 70%, paste at the bottom below the tube.
Mirror element 25, paste below the tube layer.

Add any other elements that you would like, make it your own.
Always readjust your mask and elements how you like them before you
 merge your tag, resize, sharpen.

 Then add your copyright and name.
That's it

Hope you enjoyed doing my tut.   
Tag for Mythical