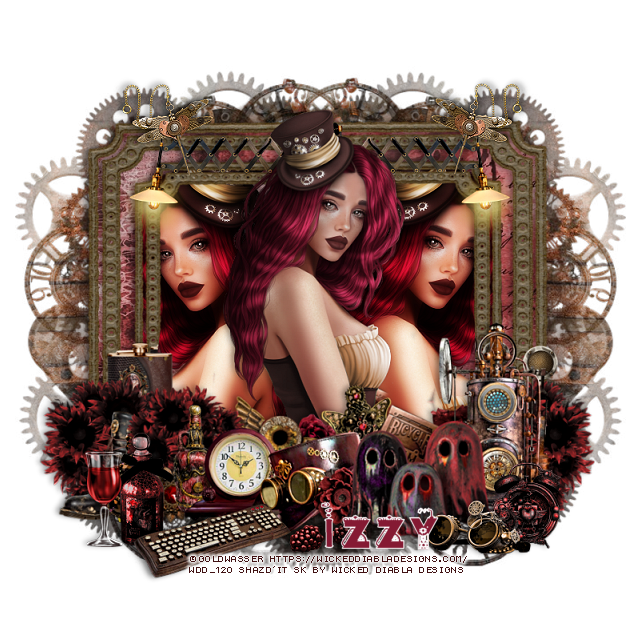
This tut was written December 14th, 2022 for those with a basic knowledge of psp.
I am using the awesome tube by ©Goldwasser
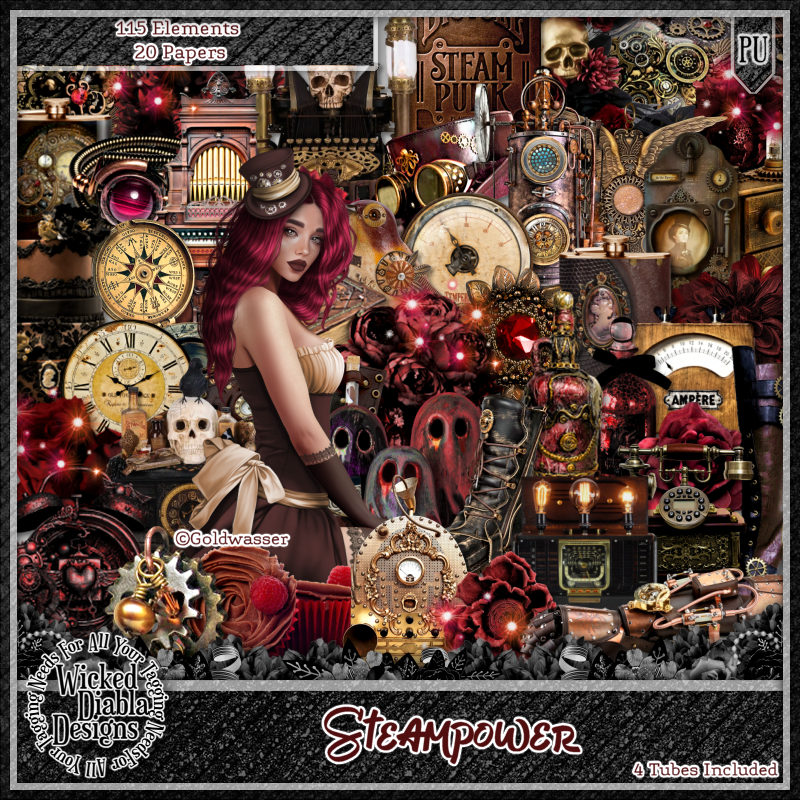
These 4 tubes are included in the kit
You need a license to use this tube, please do not use without a license.
You can find all her kits at her store HERE
Drop shadow is V -1 H -4, 50, 10, color black or use what you prefer.
Let's get started
*Remember to add your drop shadow as you go along*
Open a new image 800 x 800, paste paper 7, apply your mask, delete, merge group,
duplicate, mirror.
Resize cluster 2 to 90%, paste, duplicate, resize smaller to 80%, move below
the top frame, erase the elements on the small frame showing above the large frame.
Draw around the large frame, paste paper 19, invert, delete,
select none.
Paste your tube below the small frame on one side, duplicate, mirror,
delete the parts outside the frames, merge the tubes together, duplicate,
Adjust, Blur, Gaussian blur, number on 5, change the blend mode to Overlay,
merge down.
Resize your tube to 85%, paste below the top frame, erase the bottom part, duplicate,
move above, erase the extra showing at the bottom.
Resize element 2, 82 and 100 to 25%, paste at the bottom being on the top layer.
Resize element 90 to 20%, paste at the bottom.
Resize element 20 to 30%, paste above the large frame below the tube, duplicate,
mirror.
Resize element 102 to 20%, paste at the bottom being on the top layer.
Resize element 91 to 15%, paste at the top by the lights, duplicate, mirror.
Resize element 103 to 25%, paste at the bottom, erase the one to the left.
Add any other elements that you would like, make it your own.
Always readjust your mask and elements how you like them before you
merge your tag, resize, sharpen.
Crop your tag to be sure no shadows or lines are on the edges.
Then add your copyright and name.
That's it
Hope you enjoyed doing my tut.


No comments:
Post a Comment