
This tut was written Sept 16th, 2019 for those with a basic knowledge of psp.
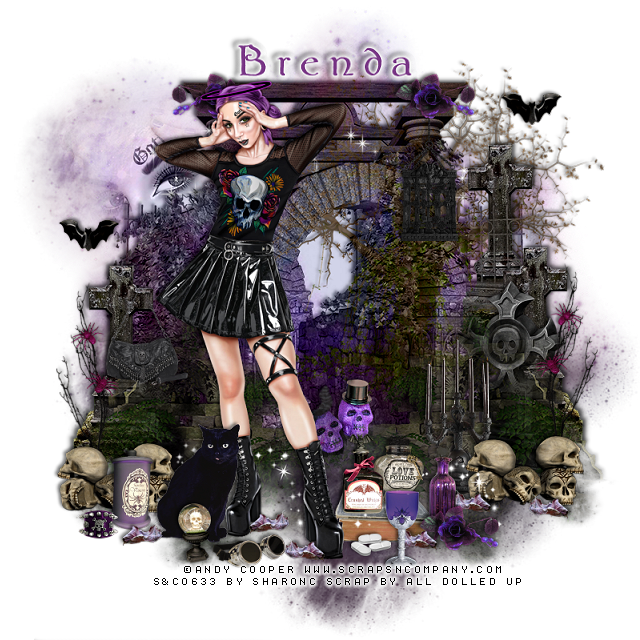
I am using the awesome artwork of Andy Cooper
The tube is "Headache Angel"
You need a license to use this tube, do not use without a license.
You find this tube at S&CO Store HERE
Drop shadow is usually V-2 H-2 Black, 45, 10, use what you prefer.
Let's get started
*Remember to add your drop shadow as you go along*
Open a new layer 800 x 800
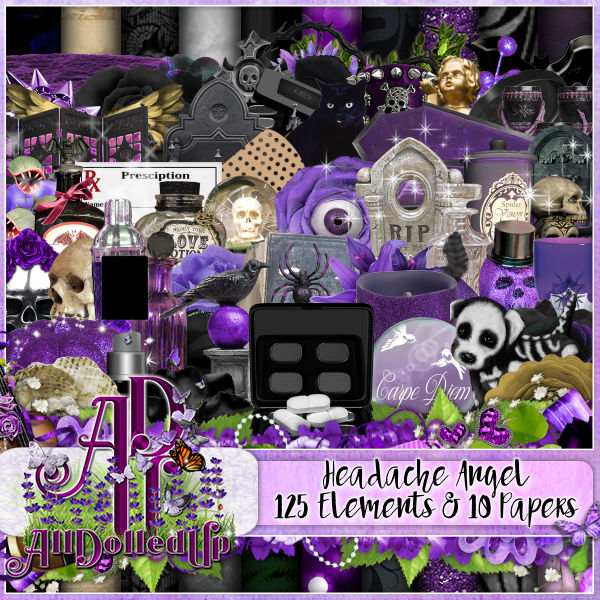
Paste paper 9, apply your mask, delete, merge group.
Paste element 41 toward the top, change the blend mode to Luminance(L).
Paste element 45 next, move a little to the left, change the blend mode
to Luminance(L).
Paste element 42, apply the same mask 0038, you used before, delete, merge group,
move to the left and down some, duplicate, mirror.
Resize your tube to 60%, paste to the left.
Resize element 118 to 50%, paste on the left below the element that you used
the mask on, duplicate, mirror, duplicate once more, move below the fence part
of the other element and up some.
Resize element 103 to 50%, paste on the right above the first headstone.
Resize element 44 to 30%, paste at the lower right below the tube layer,
duplicate, move to the left.
Go to your mask layer, select all, float, defloat, paste your close up how you like
to the left, letting the eyes show, invert, delete, change the blend mode
to Luminance(L).
Erase any part at the bottom that you don't want showing.
Resize element 30 to 30%, paste at the lower left by the tube, being on the top
layer now.
Resize element 27 to 35%, paste at the upper right on the building where you like.
Resize element 16 to 25%, paste on the headstone on the left behind the tube.
Paste element 115 on the mask on the upper right.
Resize element 81 to 50%, paste on the lower right below the skulls,
duplicate, mirror.
Resize element 70 to 25%, paste at the bottom by the tube's foot.
Resize element 59, 60 and 61 to 20%, paste two on the book and one to the left
above the skulls.
Resize element 49 to 10%, paste at the bottom above the book.
Resize element 78 to 20%, paste behind the tube to the right a little.
Resize element 53 to 15%, paste at the upper right being on the top layer,
duplicate, mirror, adjust where you like.
Resize element 125 to 10%, paste at the lower left above the vase.
Resize element 92 to 10%, paste at the bottom, duplicate a few times and move around.
Resize element 97 to 20%, paste at the top on the rail, being on the top layer,
duplicate, mirror, move below the tube layer, duplicate again, move to the bottom to the right
or where you prefer.
Resize element 25 to 20%, paste at the bottom by the left shoe of the tube.
Resize element 80 to 20%, paste at the bottom right below the flower.
Resize element 35 to 45%, paste on the lower right below the skull layer.
Resize element 55 to 15%, paste at the lower left above the cat.
Resize element 87 to 20%, paste at the bottom above the pills.
Paste element 121 at the top between the two building archways how you like.
Paste element 122 at the bottom below the tube layer.
Add any other elements that you like, make your own.
Remember to always adjust all the elements how you like on your tag,
then resize your mask if needed before merging your tag.
Once happy, close off any background you had.
Crop your tag to get rid of any stray edges, merge visible.
Resize, sharpen, add your Copyright and name.
That's it
Hope you enjoyed doing my tut.
No comments:
Post a Comment