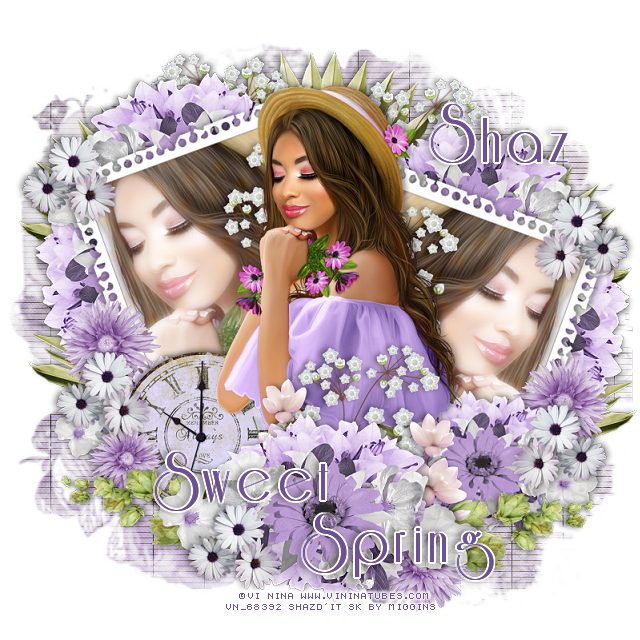
This tut was written April 21st, 2023 for those with a basic knowledge of psp.
I am using the awesome artwork of ©Vi Nina
The tube is called Sweet Spring
You need a license to use this tube, please do not use without a license.
You can find this tube at Vi Nina Store HERE
I used PSP2020...but any of them should work.
FTU SYHO Blog Train Blossom to Blossom by Miggins by HERE
Check out the rest of the blog HERE
Mask of choice, I used Miz Teeque's 179 HERE
Check out the rest of the blog HERE
Filters
Unplugged Tools-Jalusi
Font of choice, I used riesling for the name and wording
(Make the S bigger than the other letters)
Drop shadow is V -1 H -4, 40, 10, Black or use what you prefer.
Let's get started
*Remember to add your drop shadow as you go along*
Open a new image 800 x 800, paste paper 4, apply your mask, delete,
merge group.
As always readjust to fit the tag.
Apply the filter Unplugged Tools-Jalusi change the first 2 numbers to
7 and 6
Resize element 36 to 50%, paste, click inside with the magic wand, expand
by 4, paste paper 1, invert, delete, keep selected, paste your tube, delete,
select none.
Duplicate your tube, go to Adjust, Blur, Gaussian Blur, number on 5, change
the blend mode to Screen, change the bottom tube to Luminance(L).
Close off your mask and background, merge together, free rotate the
merged frame to the left at 20 and move up, erase any lines showing,
duplicate, mirror, move down on the right.
Open the mask and background.
Resize your tube to 65%, paste above the frame about center, you will
be erasing the bottom part once the flowers are placed.
Resize element 27 to 50%, paste above the tube and move down, duplicate,
resize to 75%, move to the left behind the tube, duplicate, move to the right.
Now erase the bottom part of the tube.
Copy the flower that is above the tube, duplicate, move to the upper right
below the frame, duplicate, mirror, adjust behind the left frame at the top, duplicate,
free rotate to the left at 90, adjust on the side of the frame, duplicate again, mirror.
Resize element 34 to 30%, paste on the left below the tube.
Resize element 17 to 50%, mirror, paste above the tube below the flowers,
duplicate, move to the upper right above the mask, duplicate, mirror, duplicate
once more and move behind the tube on the left, duplicate, mirror.
Resize element 40 to 40%, flip, paste below the top flower on the right, duplicate,
mirror, move above the clock.
Resize element 39 to 20%, paste on the right on the frame below the flowers,
duplicate, mirror, duplicate, move down to the bottom right under the flowers,
duplicate again, resize smaller to 75%, paste on the left above the clock.
Resize element 39 to 25%, paste below the top flower on the right, duplicate, mirror.
Resize element 8 to 25%, paste at the bottom being on the top layer, duplicate
a couple of times and move where you like.
Paste element 32 at the top on the mask layer behind the head of the tube,
duplicate, change the blend mode to Multiply, merge down, duplicate,
move down on the right so just a little shows, duplicate, mirror.
Duplicate more if you like.
Add any other elements you would like, make it your own.
Crop your tag to be sure no shadows or lines are on the edges.
Then add your copyright and name.
That's it
Hope you enjoyed doing my tut.


No comments:
Post a Comment