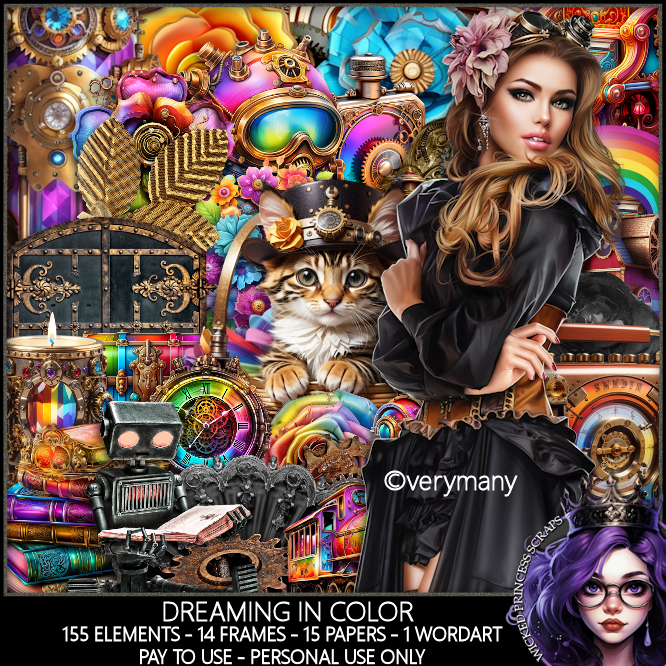
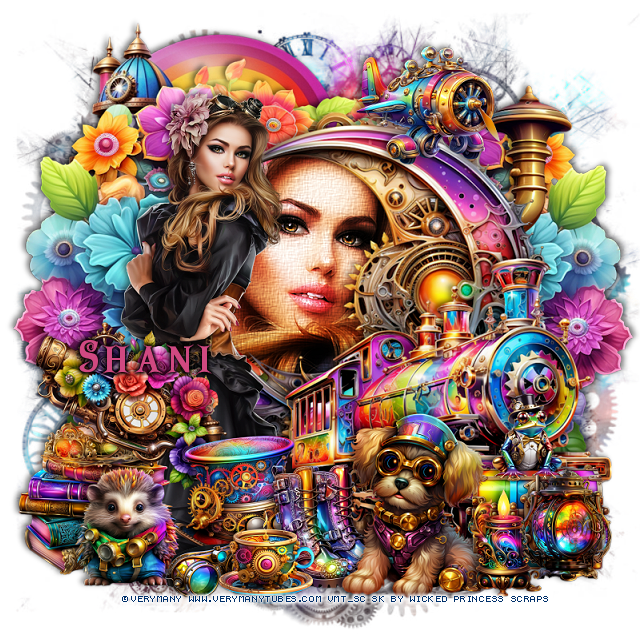
This tut was written January 23rd, 2024 for those with a basic knowledge of psp.
I am using the awesome tube by ©Verymany
The tube is called Steampunk 44
You need a license to use this tube, please do not use without a license.
You can find the tube at VMT HERE
Drop shadow as you go is V -2 H -4, 50, 10, or use what you prefer.
Let's get started
*Remember to add your drop shadow as you go along*
Open a new image 800 x 800, paste paper 12, apply your mask.
Resize element 16 to 85%, mirror, paste, draw around
with your free hand tool, paste your tube, invert, delete.
Duplicate the tube, go to Adjust, Blur, Gaussian blur, number on 8, change
the blend mode to Overlay, on the original tube, add a texture, merge down.
Paste element 170 on the bottom layer at the top, duplicate, mirror, move
below the first one, erase the stack on the left.
Resize your tube to 40%, paste on the left.
Resize element 46 to 75%, paste on the right below the tube.
Resize element 76 to 75%, paste at the upper left on the bottom layer.
Resize element 65 to 40%, paste at the bottom left above the tube.
Resize element 168 to 40%, paste on above the books.
Resize element 3 to 30%, paste at the bottom left.
Resize element 18 to 25%, paste at the bottom left.
Resize element 49 to 20%, paste at the bottom.
Resize element 36 to 30%, paste at the bottom.
Resize element 63 to 45%, paste at the bottom right.
Resize element 23 to 30%, paste at the upper right.
Resize element 12 to 30%, paste at the bottom right behind the dog.
Resize element 27 to 20%, paste at the bottom.
Resize element 38 and 42 to 25%, paste at the bottom right.
Resize element 50 to 20%, paste on the chest on the right.
Add any other elements that you would like, make it your own.
Always readjust your mask and elements how you like them before you
merge your tag, resize, sharpen.
Crop your tag to be sure no shadows or lines are on the edges.
Then add your copyright and name.
That's it
Hope you enjoyed doing my tut
Tag for Shani


No comments:
Post a Comment