

This tut was written July 18th, 2025 for those with a basic knowledge of psp.
I am using the Ai kit Seashell Splash it is part of
P4SSeashellSplash Blog Train
Everything used is included in the kit
Read their TOU on how to credit your tags.
Drop shadow is V-1 H-4 Black, 40, 10, use what you prefer.
Let's get started
*Remember to add your drop shadow as you go along*
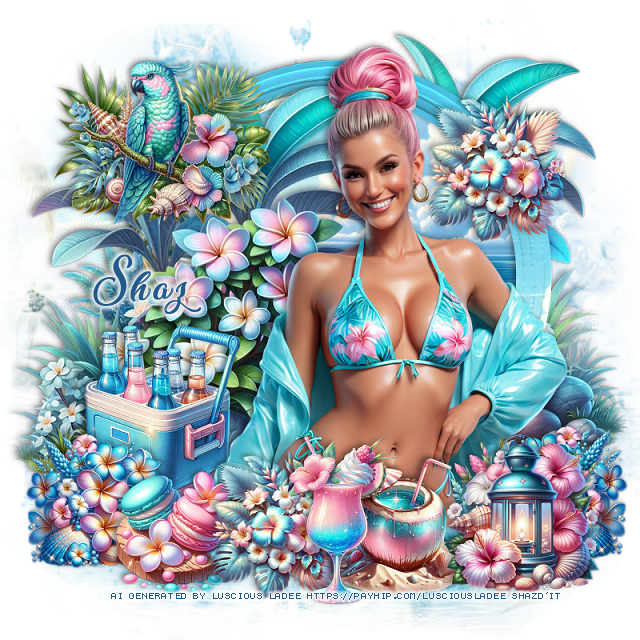
Open a new image, 800 x 800, paste the paper, apply your mask.
Open your Ellipse tool, open paper 1, close off the background color,
up on the tool bar of psp, change the width to whatever you prefer, I used 45,
draw out a circle.
Go to Effects, 3D Effects, Inner Bevel with these settings
Bevel shape 4, width 30
3, 4, 30, 20
0, 35, 40,
Color #fff4e5
Click inside, resize paper 1 to 65%, paste, move how you like, invert, delete.
Resize element 3 to 70%, paste on the left above the frame, duplicate, move
below the frame on the right.
Resize the tube to 60%, paste to the right.
Resize element 14 to 20%, paste at the bottom right, duplicate, mirror.
Resize element 4 to 25%, paste at the bottom right.
Resize element 13 to 35%, paste at the bottom left below the flowers.
Resize element 10 to 20%, paste at the bottom left below the flower.
Resize element 6 to 25%, paste at the bottom left, duplicate, move up on the right,
on the frame.
Resize element 12 to 25%, paste at the bottom.
Resize element 11 to 20%, paste at the bottom below the lantern.
Resize element 5 to 30%, paste at the upper left on the palm.
Add any other elements that you would like, make it your own.
Always readjust your mask and elements how you like them before you
merge your tag, sharpen once.
Crop your tag to make sure no shadows or anything on the edges
Crop your tag to make sure no shadows or anything on the edges
Then add your copyright and name.
That's it
Hope you enjoyed doing my tut.
No comments:
Post a Comment