
This tut was written January 23rd, 2026 for those with a basic knowledge of psp.
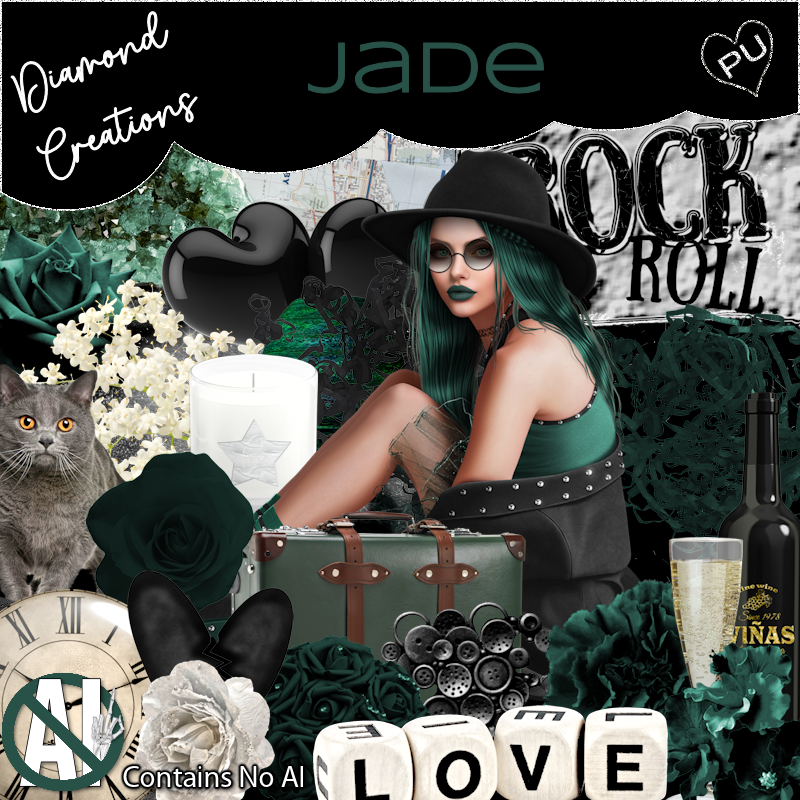
Awesome tube used ©Goldwasser
The tube is included in the kit, this contains "NO Al"
Everything used is included in the kit
Read the TOU on how to credit your tags
I used PSP2020...but any of them should work.
Drop shadow as you go is V -2 H -4, 50, 10, or use what you prefer.
Let's get started
*Remember to add your drop shadow as you go along*
Open the template, resize all layers to 125%, then Canvas size 800 x 800.
Delete the credits.
Paste paper 20, apply your mask, move to the bottom layer.
Merge copy of layer 10 with layer 10, select all, float, defloat, paste paper 16,
invert, delete, delete the template.
Click layer 5 with the magic wand in the white area, paste paper 4,
invert, delete, keep selected, resize the tube to 55%, paste, delete, select none.
Now click the border part, fill with #214138.
Layer 9, paste paper 14, invert, delete, add noise at 100.
Click layer 2 on the white part, resize paper 16 to 60%, paste, invert, delete.
Now click the border part, fill with #214138.
Layer 6, select all, float, defloat, fill with #214138.
Layer 4, paste paper 4, invert, delete, keep selected, resize
the tube to 55%, paste, delete, select none.
Now click the border part, fill with #214138.
Layer 9, new layer, fill with #214138, add noise at 100.
Layer 7, paste paper 4, invert, delete, add noise.
Resize 13 to 60%, paste above the circle, go to Adjust, Hue and
Saturation, colorize, both numbers on 0.
Resize the tube to 55%, paste at the bottom right.
Resize 12 to 45%, paste at the bottom left under the tube, change
the blend mode to Luminance (L), duplicate, mirror.
Resize 33 to 38%, paste at the bottom above the tube.
Resize 16 to 50%, paste on the left above the tube.
Resize 3 to 30%, paste on the left above the guitar.
Resize 15 to 30%, paste on the left above the guitar.
Resize 18 to 20%, paste on the right above the tube, free rotate to
the right at 13.
Resize 92 to 50%, paste at the bottom.
Resize 17 to 30%, free rotate to the left at 15, paste below the love word,
add a dark green glow.
Resize 27 to 30%, paste on the right below the disc.
Resize 8 to 60%, duplicate, change the blend mode to Multiply, merge
down, duplicate 2 or 3 times and move where you like.
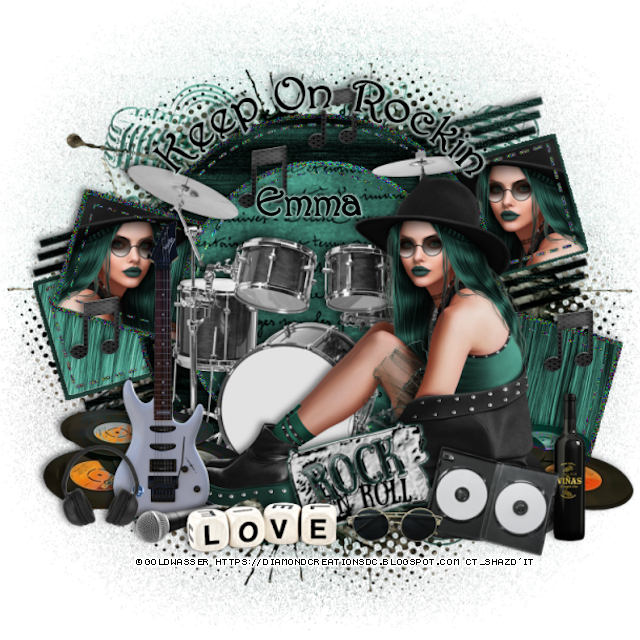
Add any wordart you like, I took the ellipse tool, line on 3, draw out
a circle to fit a little wider than the circle template, add a new layer,
select the Text tool and when you see the curve with the a on the circle,
type out what you want your tag to say.
Paste element 4 above the mask at the top, change the blend mode to
Luminance (L), mirror, duplicate, flip, move
to the bottom, duplicate, move up on the right and out, duplicate,
mirror.
Add any other elements that you would like, make it your own.
Always readjust your mask and elements how you like them before you
merge your tag, resize, sharpen.
Crop your tag to be sure no shadows or lines are on the edges.
Then add your copyright and name.
That's it
Hope you enjoyed doing my tut
No comments:
Post a Comment