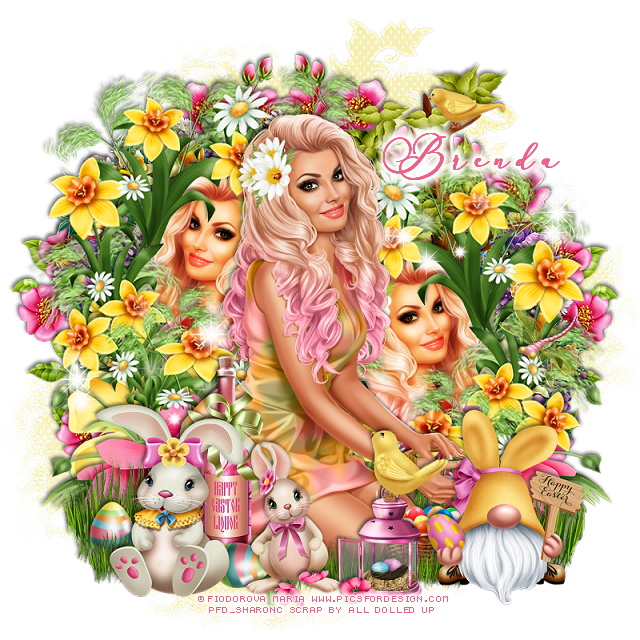
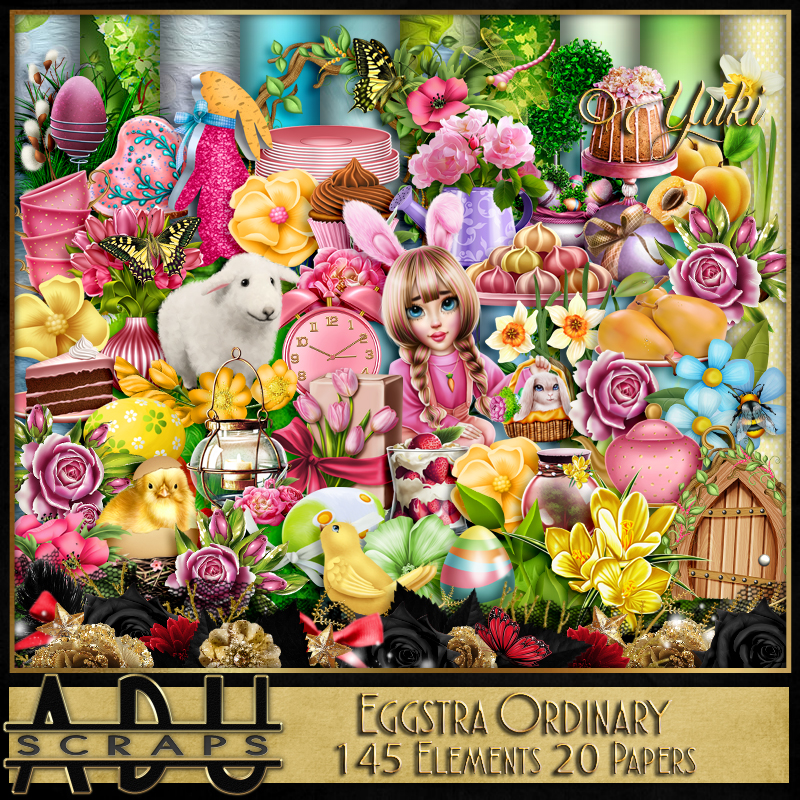
This tut was written March 13th, 2020, for those with a basic knowledge of psp.
I am using the awesome artwork of Fiodorova Maria
The tube is "Anna"
You need a license to use this tube, do not use without a license.
You can find this tube at PFD store HERE
Drop shadow is usually V-2 H-2 Black, 45, 10, use what you prefer.
Let's get started
*Remember to add your drop shadow as you go along*
Open a new layer 800 x 800
Paste paper 3, apply your mask, delete, merge group, mirror the mask.
Resize element 142 to 95%, paste at the upper left,
click inside with your magic wand, expand by 10, paste paper
3, invert, delete, keep selected.
Resize your tube to 30%, paste in the frame, delete, select none.
Duplicate the tube, go to Adjust. Blur, Gaussian blur, number on 4,
change the blend mode to Hard Light, merge down.
Merge the frame, tube and paper layer together, duplicate, mirror, move
down on the lower right.
Paste element 70 behind the frame, duplicate, move behind the
other frame.
Free rotate element 80 to the right at 90 degrees, paste below the
frames on the left, duplicate, move more to the center, duplicate, mirror,
move over more, duplicate once more, move to the edge on the right.
Resize your tube to 30%, paste about center above the frames.
Paste element 12 below the frames so the yellow flower shows at the
lower left.
Resize element 14 to 50%, paste at the lower left above the tube.
Resize element 16 to 40%, paste to the right of the other rabbit.
Resize element 44 to 50%, paste at the lower right above the tube.
Paste element 74 behind the tube, duplicate, move over a little.
Paste element 45 on the mask layer at the upper right.
Resize element 22 to 20%, paste on the tree.
Resize element 84 to 30%, paste at the bottom being on the top layer.
Resize element 23 to 20%, paste on the lantern.
Resize element 102 to 50%, paste at the bottom above the tube.
Resize element 10 to 15%, paste at the lower left by the rabbit,
duplicate, free rotate to the right at 90 degrees, move by the bottle.
Resize element 27 to 25%, paste at the bottom above the rabbit.
Paste element 29 at the lower left below the frame, duplicate, mirror.
Go back to the grass layer, duplicate, move above the tube, resize to
50%, duplicate again and move how you like.
Resize element 28 to 35%, paste on the right where you like.
Paste element 117 below the tube on the left, duplicate, move to the
upper right.
Add any other elements that you like, make your own.
Remember to always adjust all the elements how you like on your tag,
then resize your mask if needed before merging your tag.
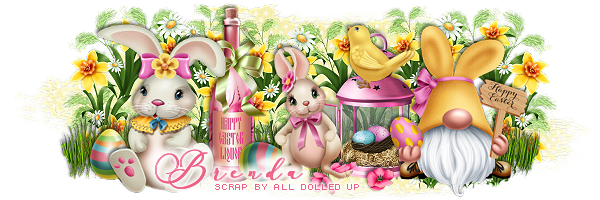
If you want a Signature tag do not merge just yet.
Open a new image 600 x 200
Copy the elements from your tag that you want to use.
I resize most to 70%, except for the lantern and grass.
For the mask I copied the one from the tag, apply the same mask,
check the fit to canvas box.
Once happy, merge visible, add your copyright and name.
Ava 170 x 170
Copies the elements you want to use, resize to fit.
I used the flower wreath, lantern and rabbit.
Add your copyright and name, merge visible.
Once happy, close off any background you had.
Crop your tag to get rid of any stray edges, merge visible.
Resize, sharpen, add your Copyright and name.
That's it
Hope you enjoyed doing my tut.


No comments:
Post a Comment