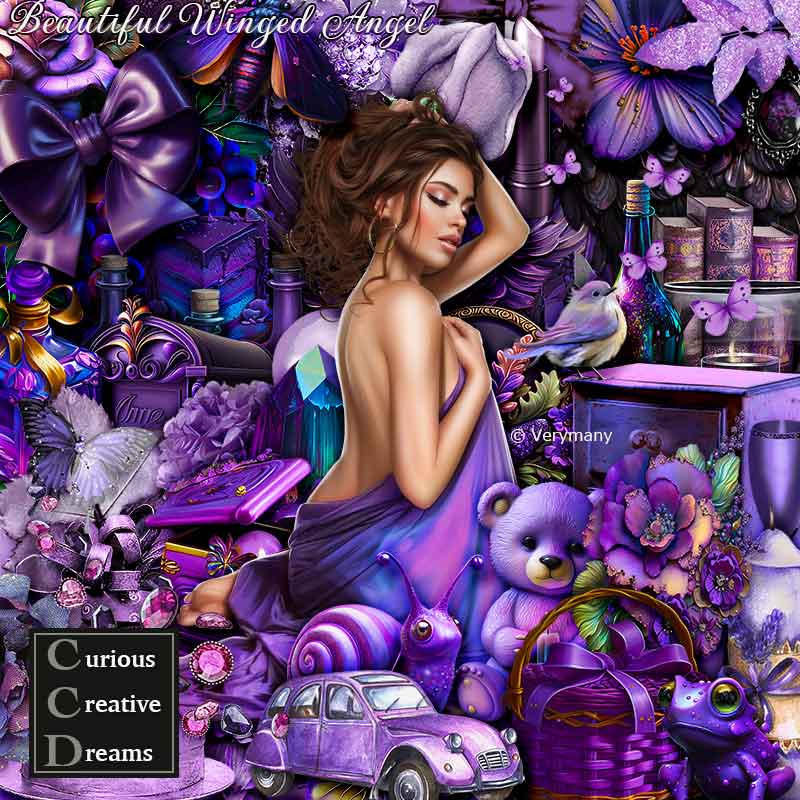
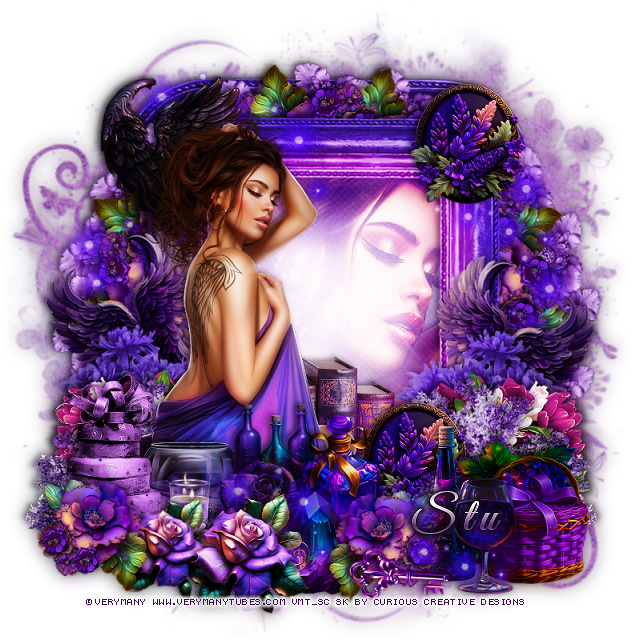
This tut was written November 29th, 2023 for those with a basic knowledge of psp.
I am using the awesome tube by ©Verymany
The tube is called Wings Tattoo
You need a license to use this tube, please do not use without a license.
You can find the tube at VMT store HERE
I used PSP2020...but any of them should work.
Drop shadow as you go is V -2 H -4, 50, 10, or use what you prefer.
Let's get started
*Remember to add your drop shadow as you go along*
Open a new image 800 x 800, paste paper 16, apply your mask.
Paste frame 3, duplicate, resize to 85%, click inside with the magic wand,
resize paper 7 to 65%, paste, invert, delete, keep selected.
Paste your tube, delete, select none.
Change the blend mode to Overlay, duplicate the tube, merge down.
Resize element 91 to 25%, flip, apply Mura Meister Copies-Encircle, first
3 numbers on 14, 55, 55, paste between the frames.
Resize element 15 to 15%, apply Mura Meister, change the first 3
numbers to 20, 70, 65, move below the first circle.
Resize your tube to 40%, paste to the left.
Resize element 1and 41 to 30%, paste behind the tube on the left,
duplicate, mirror.
Resize element 55 to 25%, flip, paste between the flowers on the left, duplicate,
mirror.
Resize element 20 to 25%, paste behind the tube.
Resize element 69 to 25%, free rotate to the left at 30, paste below
the flowers on the left, duplicate, mirror, move down.
Resize element 68 to 25%, paste at the upper left behind the tube.
Resize element 90 to 20%, paste at the bottom above the tube.
Resize element 91 to 20%, mirror, paste at the bottom left,
duplicate, move to the right more.
Resize element 76 to 30%, paste at the bottom below the flower layer.
Resize element 75 to 20%, paste by the bottle.
Resize element 84 to 20%, paste at the bottom right behind the glass.
Resize element 72 to 20%, paste behind the basket.
Resize element 79 to 20%, paste behind the bottle, duplicate, move
up on the frame at the top right.
Resize element 31 to 30%, paste behind the flower on the left.
Resize element 80 and 83 to 20%, paste at the bottom below the flower.
Resize element 92 to 20%, paste at the bottom being on the top layer, duplicate,
resize smaller to 85%, move to the left and below the flower.
Resize element 85 to 20%, paste above the tube at the bottom.
Resize element 54 to 15%, paste by the flower.
Resize element 66 to 15%, paste behind the rose.
Resize element 58 to 15%, free rotate to the left at 90, paste at the bottom.
Resize element 29 to 20%, duplicate a couple of times and move where you
like below some of the elements.
Optional
Once happy with the tag, merge visible, duplicate, go to
Adjust, Blur, Gaussian blur, number on 8, change the blend mode to
Soft Light, merge down.
Add any other elements that you would like, make it your own.
Always readjust your mask and elements how you like them before you
merge your tag, resize, sharpen.
Crop your tag to be sure no shadows or lines are on the edges.
Then add your copyright and name.
That's it
Hope you enjoyed doing my tut.
Tag for Stu


No comments:
Post a Comment