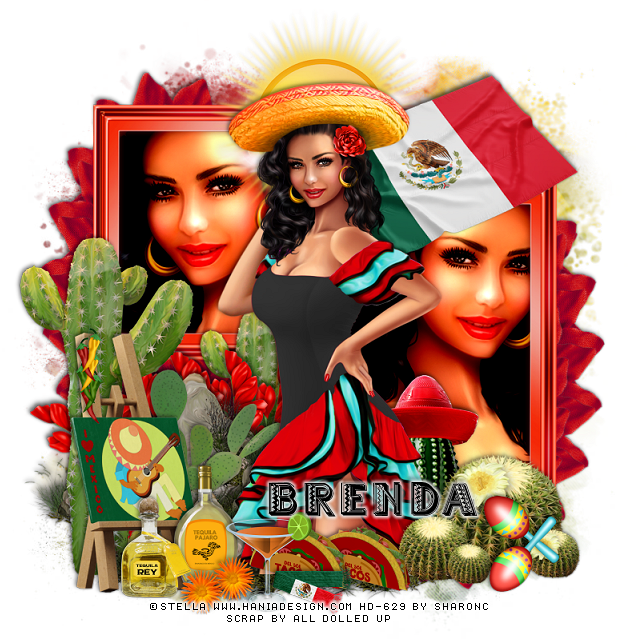
I am using the awesome artwork of Stella
The tube is "Cinco DeMayo"
You need a license to use this tube, do not use without a license.
I purchased this tube at Hania Designs Store HERE
The store is temporarily closed.
The store is temporarily closed.
Drop shadow is usually V-2 H-2 Black, 50, 5, use what you prefer.
Let's get started
*Remember to add your drop shadow as you go along*
Open a new layer 800 x 800
Paste paper 5, apply your mask, delete, merge group.
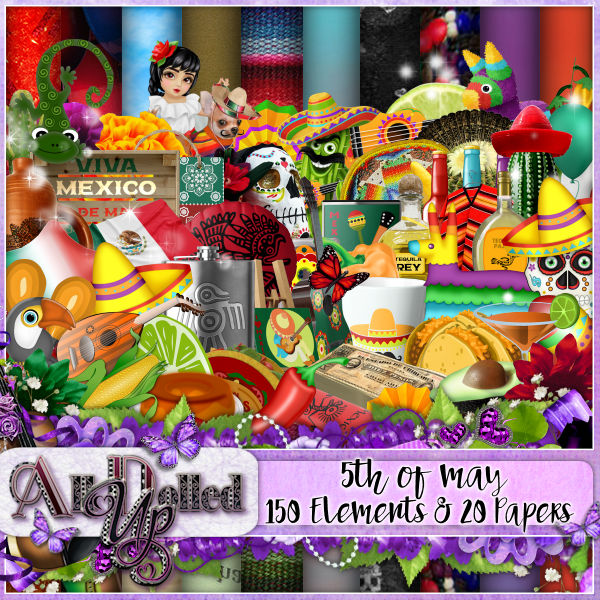
Resize element 140 to 90%, paste at the upper left, duplicate, free rotate
to the right at 90 degrees, move to the right and down.
Resize your tube to 45%, paste above the frames off center to make arranging
the frames better.
Go back to the frames, take your free hand tool,
draw around the frames, paste paper 14, invert, delete, keep selected,
paste your close up on one side, delete, then mirror your close up and paste in
the other frame, delete, selected none.
Move the tube on the right above the paper and erase any part you don't want
showing in the other frame.
Apply the xero filter-Bad Dream to both close ups
Paste element 14 at the top behind the tube on the frame layer.
Resize element 78 to 50%, paste at the lower right above the tube.
Paste element 80 below the tube to the left and up, duplicate, move down and to the
right a little more behind the tube.
Resize element 47 to 75%, paste behind the tube to the upper right.
Resize element 51 to 65%, paste at the lower left being on the top layer.
Resize element 38 to 30%, paste at the bottom.
Resize element 5 to 25%, paste by the bottle.
Resize element 37 to 25%, paste below the glass layer at the bottom, duplicate,
move over a little more.
Resize element 27 to 25%, paste at the lower right on the cactus.
Resize element 63 to 25%, paste at the bottom by the other bottle.
Resize element 79 to 40%, paste between the rocks behind the easel.
Mirror element 76, paste on the left below the one rock layer, duplicate, resize to
75%, move to the right more behind the tube a little and below the other rock layer.
Resize element 50 to 50%, paste below the round cactus on the right.
Resize element 128 to 25%, paste on the handle of the easel.
Resize element 147 to 15%, paste at the bottom by the bottles, duplicate, move
over a little.
Resize element 67 to 20%, paste at the bottom by the tacos.
Resize element 19 to 50%, mirror, apply Mura Meister Copies-Cards with
the default setting, move to the left below the rocks layer.
Resize element 2 to 55%, apply Mura Meister Copies-Cards, same setting as before,
free rotate to the left at 90 degrees, move below the paper layer on the left, duplicate,
mirror, move down on the right side.
Add any other elements that you like, make your own.
Remember to always adjust all the elements how you like on your tag,
then resize your mask if needed before merging your tag.
then resize your mask if needed before merging your tag.
Once happy, close off any background you had.
Crop your tag to get rid of any stray edges, merge visible.
Resize, sharpen, add your Copyright and name.
That's it
Hope you enjoyed doing my tut.


No comments:
Post a Comment