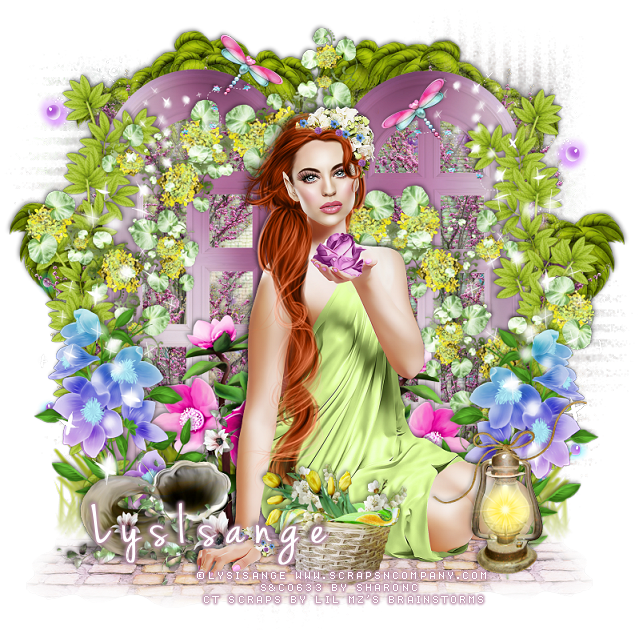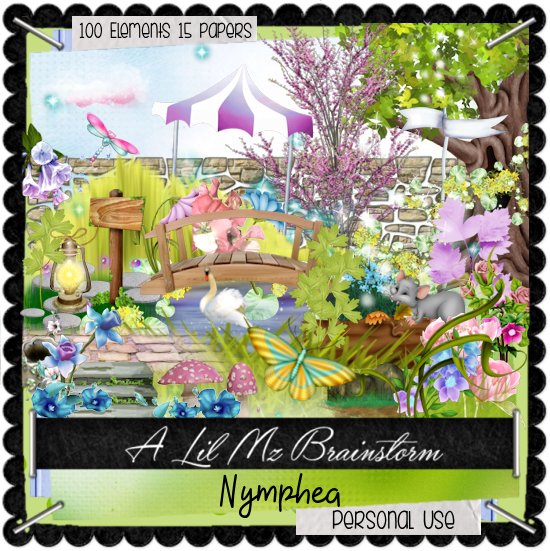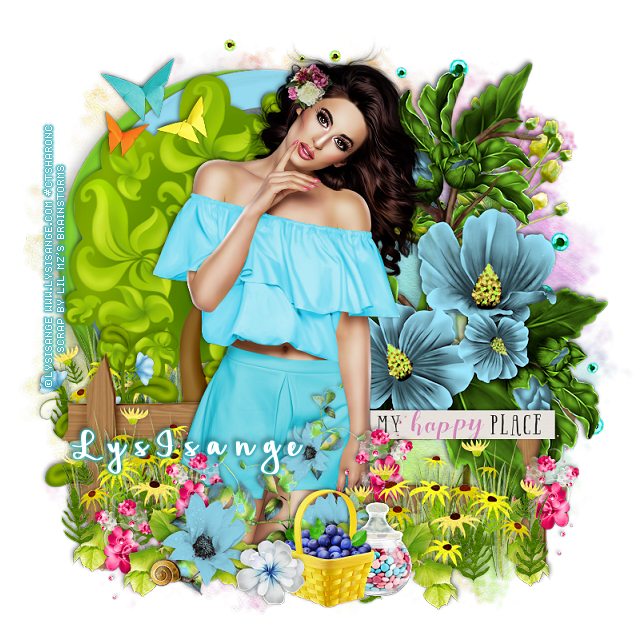
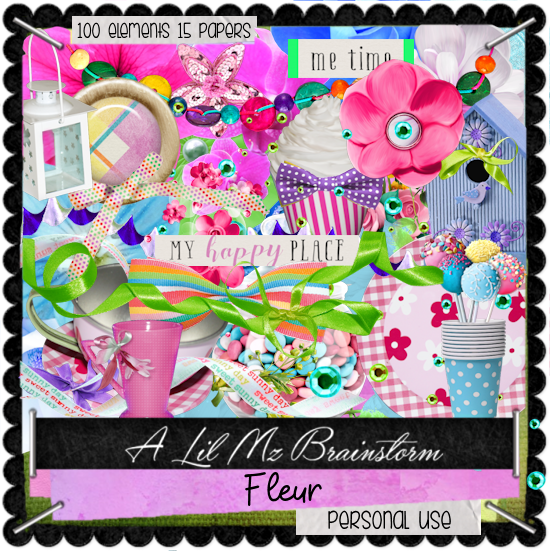
This tut was written July 8th, 2019, for those with a basic knowledge of psp.
I am using the awesome tube by artist © LysIsange
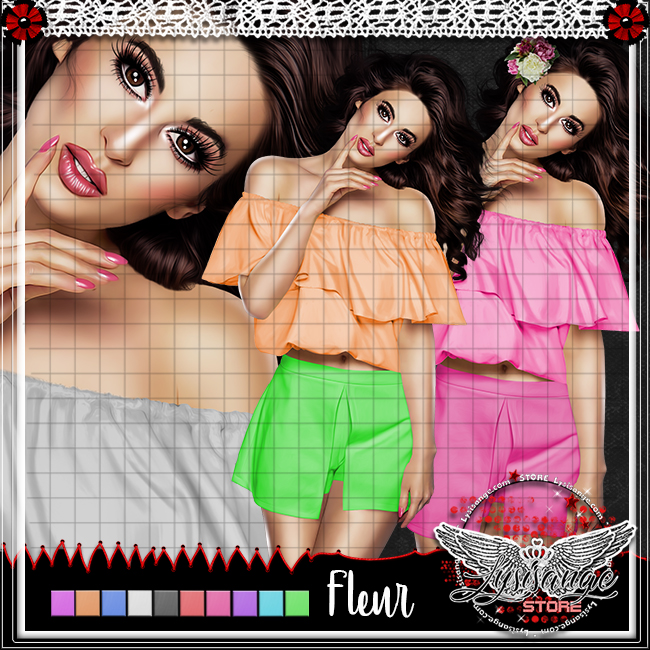
Tube is called "Fleur"
She comes in different colors
You need a license to use this art, please do not use without a license.
You can get this tube exclusive at her store HERE
Drop shadow is usually V-2 H-2 Black, 50, 5, use what you prefer.
Let's get started
*Remember to add your drop shadow as you go along*
Open a new image 800 x 800
Paste paper 9, apply your mask, delete, merge group, duplicate,
merge down.
Resize element 13 to 90%, paste a little to the left and up a bit.
Resize your tube to 25%, paste on the frame a little to the right.
Paste element 11 behind the tube on the right.
Resize element 39 to 50%, paste at the lower right above the tube,
duplicate, mirror, move behind the tube.
Resize element 12 to 50%, paste at the bottom above the tube.
Resize element 41 to 25%, paste at the bottom being on the top layer.
Paste element 33, free rotate to the left at 90 degrees, move behind the
large blue flower on the right.
Resize element 1 to 40%, paste on the right below the yellow flowers.
Paste element 30 on the frame on the left.
Resize element 21 to 50%, paste at the lower left below the blue flowers, duplicate, mirror.
Resize element 28 to 50%, paste on the left above the tree layer,
duplicate, move behind the tube more.
Paste element 3 on the mask layer on the right.
Resize element 69 to 25%, paste at the upper left, being on top.
Resize element 68 to 25%, paste at the bottom below the basket.
Resize element 92 to 25%, paste on the right above the tube by her hand, duplicate,
move to the right below the greenery, duplicate,
mirror, move to the left, duplicate again, move back to the right a little.
Duplicate the yellow flowers on the left, move behind the tree and adjust how
you like.
Resize element 55 to 15%, paste at the bottom by the basket.
Resize element 9 to 15%, paste at the lower left.
Resize element 22 to 115%, paste below the large blue flower layer.
merge down.
Resize element 13 to 90%, paste a little to the left and up a bit.
Resize your tube to 25%, paste on the frame a little to the right.
Paste element 11 behind the tube on the right.
Resize element 39 to 50%, paste at the lower right above the tube,
duplicate, mirror, move behind the tube.
Resize element 12 to 50%, paste at the bottom above the tube.
Resize element 41 to 25%, paste at the bottom being on the top layer.
Paste element 33, free rotate to the left at 90 degrees, move behind the
large blue flower on the right.
Resize element 1 to 40%, paste on the right below the yellow flowers.
Paste element 30 on the frame on the left.
Resize element 21 to 50%, paste at the lower left below the blue flowers, duplicate, mirror.
Resize element 28 to 50%, paste on the left above the tree layer,
duplicate, move behind the tube more.
Paste element 3 on the mask layer on the right.
Resize element 69 to 25%, paste at the upper left, being on top.
Resize element 68 to 25%, paste at the bottom below the basket.
Resize element 92 to 25%, paste on the right above the tube by her hand, duplicate,
move to the right below the greenery, duplicate,
mirror, move to the left, duplicate again, move back to the right a little.
Duplicate the yellow flowers on the left, move behind the tree and adjust how
you like.
Resize element 55 to 15%, paste at the bottom by the basket.
Resize element 9 to 15%, paste at the lower left.
Resize element 22 to 115%, paste below the large blue flower layer.
Add any other elements you would like, make it your own.
Always remember to adjust the elements before merging to get them like you like.
Once happy with your tag, close off any background, crop your tag to make
sure there are no stray edges, merge visible, resize first.
Add your copyrights and name.
That's it
That's it
Hope you enjoyed doing my tut.