Thursday, September 15, 2022

PTU HallowWitch


This tut was written September 15th, 2022 for those with a basic knowledge of psp. 

I am using the awesome artwork of ©Misticheskaya
Tube is Witch_Laurie
You need a license to use this tube, do not use without a license.
You can find this tube at PFD store HERE

I used PSP2020...but any of them should work.
PTU kit HallowWitch by Mythical Designs  
Beautiful kit, it contains 80 Autumn elements, 6 Frames & 12 Papers.
Check out her blog HERE
Mask of choice, I used Miz Teeques mask 354 HERE
Check out the rest of the blog HERE

Font of choice, I used October Twilight

Drop shadow is V -1 H -4, 50, 10, or use what you prefer.
Let's get started
*Remember to add your drop shadow as you go along*

Open a new image 800 x 800, paste paper 8, apply your mask, delete, merge group,
resize larger to 115%.

Resize frame 2 to 85%, paste, click inside with the magic wand, expand by 2,
add a new layer, resize paper 9 to 70%, paste into selection, move below the
frame.
Duplicate the frame, resize to 90%.

Paste element 9 on the frame on the left, duplicate, mirror, move between the
frames, erase the part inside the frame.

Resize element 34 to 70%, paste to the right below the tree layer.
Resize element 29 to 40%, paste on the right above the frame, duplicate, mirror.
Resize element 47 to 65%, paste above the pumpkins at the bottom.
Resize element 8 to 40%, paste at the lower left below the flowers.
Resize element 43 to 40%, paste below the pumpkins on the right, duplicate, mirror.

Resize your tube to 30%, paste below the tree, duplicate, move above the tree, 
erase the part to uncover the crow and some of the tree at the lower left.
Move the scarecrow below the tube.

Resize elements 28, 39, 40 and 41 to 25%, paste at the bottom being on the 
top layer, arranging them how you like.
Resize element 10 to 50%, paste on the right above the pumpkins.
Resize element 44 to 25%, paste at the lower left above the tombstone.
Resize element 53 to 75%, paste inside the frame below the scarecrow.

Resize element 30 to 40%, paste on the left below the tree, duplicate, mirror,
move below the tree on the right and down.
Resize element 20 to 15%, paste at the lower right above the bottles.
Resize element 35 to 30%, paste above the tube by the leg.

Add any other elements that you would like, make it your own.
Always readjust your mask and elements how you like them before you
 merge your tag, resize, sharpen.

Crop your tag to be sure no shadows or lines are on the edges.
 Then add your copyright and name.
That's it

Hope you enjoyed doing my tut.    

Wednesday, September 14, 2022

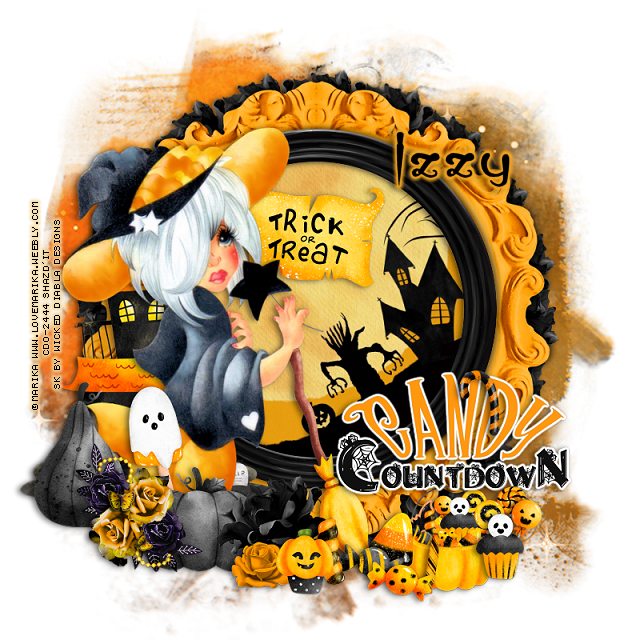
PTU Trick or Treat


 This tut was written September 14th, 2022 for those with a basic knowledge of psp. 

I am using the artist Marika

The tube is "80-3" it is not included in the kit.

You need a license to use this tube, please do not use without a license.
You can find her tubes at CDO HERE  


I used PSP2020...but any of them should work.
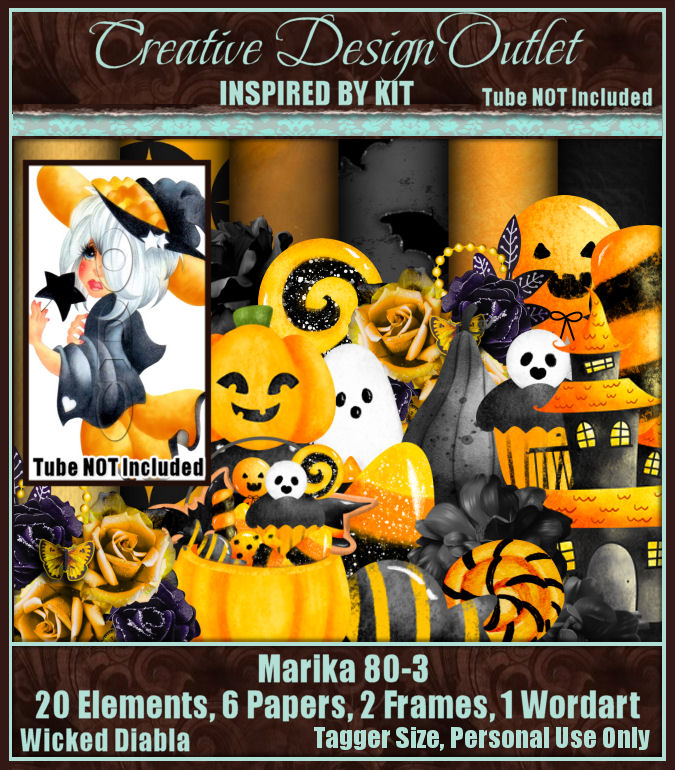
PTU ScrapWD_IB-Marika-80-3 by Wicked Diabla Designs HERE 
This kit has 20 elements, 6 papers and 2 frames and 1 wordart
Mask of choice, I used Miz Teeque's Mask 345  HERE
Check out the rest of the Blog HERE
Filters
Murs Meister Copies-Encircle

Font of choice, I used Elephant

Drop shadow is V -1 H -4, 50, 10, or use what you prefer.
Let's get started
*Remember to add your drop shadow as you go along*

Open a new image 800 x 800, paste paper 5, apply your mask, delete, merge group.
Paste paper 1, apply the mask, delete, merge group, change the blend
mode to Overlay on this one.
Resize both mask to 120%.

Resize frame 2 to 65%, paste, click inside with your magic wand, expand by 2,
add a new layer, resize paper 3 to 50%, paste into selection, select none,
move below the frame.
Resize frame 1 to 50%, paste above the other frame, adjust.
Resize element 24 to 25%, apply Mura Meister Copies-Encircle, first 
3 numbers on 20, 60, 60, move below the paper layer of the frame.

Resize element 25 to 35%, paste inside the frame to the left and up a bit.
Resize element 22 to 50%, paste above the frame at the bottom.

Resize your tube to 75%, mirror, paste on the left above the broom layer.

Resize element 23 to 75%, paste on the left behind the tube.
Resize element 20 to 35%, paste on the lower left above the tube.
Resize element 21 to 30%, paste by the first pumpkin.
Resize element 15 to 30%, paste above the pumpkins at the bottom.
Resize element 24 to 25%, paste at the bottom by the pumpkin and broom.

Resize the wordart to 15%, paste at the lower right, add a fat white gradient glow.
Resize element 1 to 25%, paste at the lower right below the wordart.
Resize element 10, 11, 12, & 14 to 15%, paste by the bucket of candy to the left.
Resize element 8 to 15%, paste on the word candy at the top.
Resize element 6, 7, 9, & 13  to 15%, paste at the bottom to the right of the
 bucket of candy.
Resize elements 3 & 4 to 15%, paste at the bottom.
Resize element 5 to 25%, paste on the left below the pumpkins.
Resize element 17 to 15%, paste at the bottom below the cupcake.

Add any other elements that you would like, make it your own.
Always readjust your mask and elements how you like them before you
 merge your tag, resize, sharpen.

Crop your tag to be sure no shadows or lines are on the edges.
 Then add your copyright and name.
That's it

Hope you enjoyed doing my tut.    
Tuesday, September 13, 2022

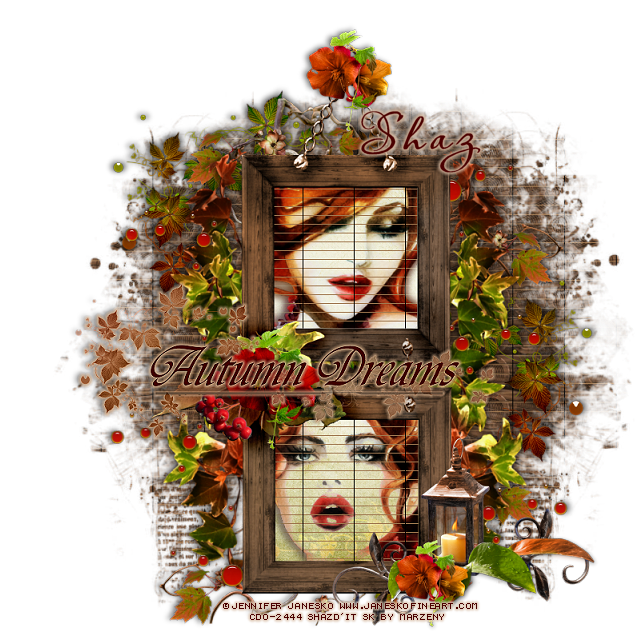
FTU Autumn Dreams

This tut was written September 13th, 2022 for those with a basic knowledge of psp. 

I am using the awesome artwork of Jennifer Janesko
I used two different tubes "167-3 & 167-2"
You need a license to use this tube, do not use without a license.
You can find this art at CDO Store HERE HERE

I used PSP2020...but any of them should work.
FTU Autumn Dreams by Marzeny  HERE
Mask of choice, I used Miz Teeque's Mask 343 HERE
Check out the rest of the blog HERE
Filter
Unplugged Tools-Jalusi
xero-Porcelain

Font of choice, I used Aquarella

Drop shadow is V -1 H -4, 50, 10, color if choice or use what you prefer.
Let's get started
*Remember to add your drop shadow as you go along*

Open a new image 800 x 800, , resize paper 2 to 20%, paste, apply your
mask, delete, merge group, duplicate, mirror.
Apply The Unplugged Tools- Jalusic filter on your masks
with these settings or play around and get what you like.
11, 10, 64, 48, 32, 64, 255, 0

Resize element 26 to 20%, paste, click inside with your magic wand, expand
by 5, resize paper 1 to 20%, paste, invert, delete, move 
below the frame, keep selected.

Resize tube 167-3 to 90%, paste below the top frame, delete.
Resize tube 167-2 to 80%, paste below the bottom frame, delete, select none,
merge the tube together.
Duplicate, Adjust, Gaussian Blur, number on 5, change the blend mode to
Overlay or one you prefer, merge down.

Apply the xero filter-Porcelain  and then apply
The Unplugged Tools- Jalusic filter 
with these settings or play around and get what you like.
11, 10, 64, 48, 32, 64, 255, 0
Change the blend mode to Darken now.

Resize element 17 to 23%, free rotate to the left at 95, paste on the right below
the paper layer of the frame, duplicate, mirror.
Resize element 27 to 15%, paste at the top on the hanger.
Resize element 37 to 15%, paste above the frame at the lower right.

Wordart of choice, I used wordart 3, resize to 28%,  paste on the frame 
how you like, add a light gradient glow.
Resize element 19 to 20%, paste below the paper layer of the frames, move how you 
like with just a few of the red dots showing, duplicate a couple of times and 
move around, erasing the parts you don't want.

Resize element 34 to 25%, paste at the bottom above the mask layer, duplicate,
flip, mirror, adjust at the top.
Resize element 3 to 20%, paste at the upper left above the mask layer, duplicate,
mirror, move down more on the right.

Add any other elements that you would like, make it your own.
Always readjust your mask and elements how you like them before you
 merge your tag, resize, sharpen.

Crop your tag to be sure no shadows or lines are on the edges.
 Then add your copyright and name.
That's it

Hope you enjoyed doing my tut.