Monday, October 3, 2022

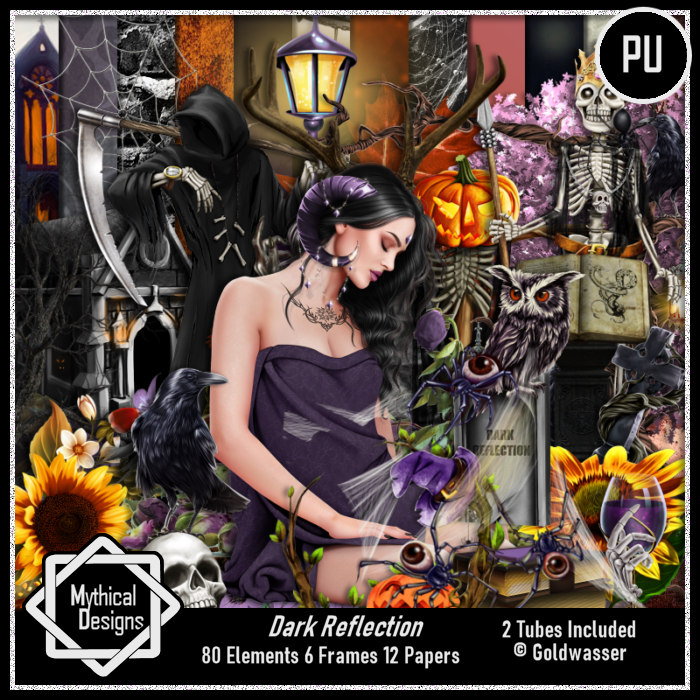
CT Tags Dark Reflection by Mythical Designs

  CT Tags for Wicked Mythical Designs
Awesome kit, it contains 80 elements, 6 frames & 12 papers
2 tubes by ©Goldwasser are included with this kit
This kit is ready for all your Halloween, Spooky, Gothic tagging fun
You can find this kit HERE  HERE


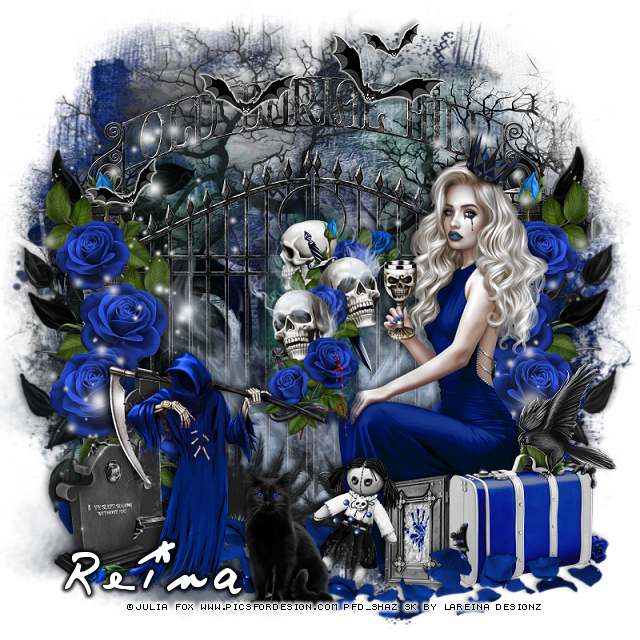
PTU Royal Blue


This tut was written October 3rd, 2022 for those with a basic knowledge of psp. 

I am using the artist Julia Fox

This tube is included in the kit.

You need a license to use this tube, please do not use without a license.

Use your license where you bought the kit.  


I used PSP2020...but any of them should work.
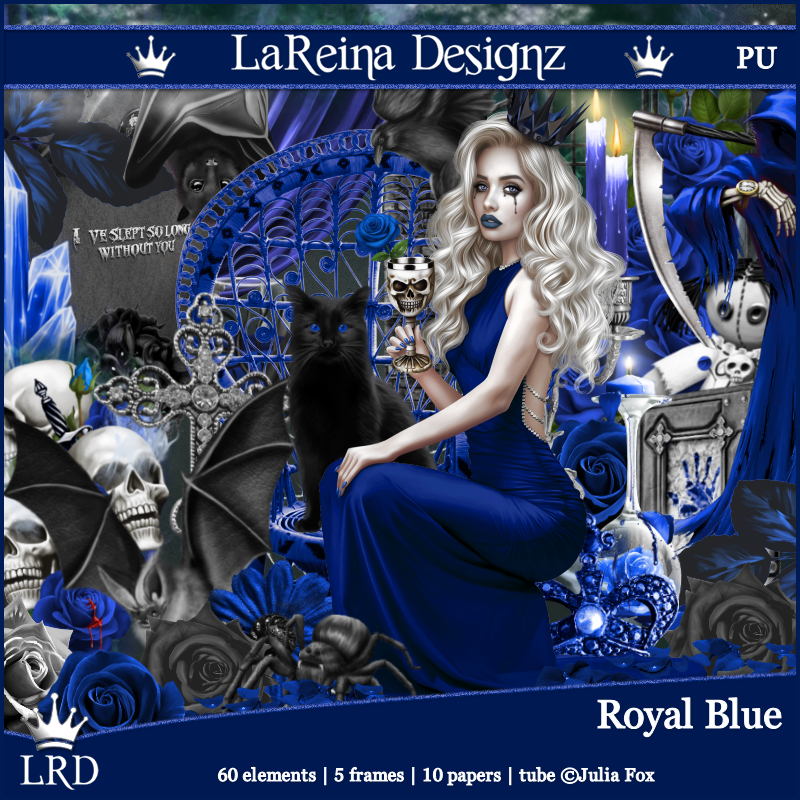
PTU Scrap Royal Blue by LaReina Designz HERE HERE
This kit contains 60 elements, 5 frames and 10 matching papers!
Tube by ©Julia Fox is included!
Mask of choice, I used Miz Teeques Mask 283 HERE
Check out the rest of the Blog HERE

Font of choice, I used Mayo

Drop shadow as you go is V -1 H -5, 50, 10, or use what you prefer.
Let's get started
*Remember to add your drop shadow as you go along*

Open a new image 800 x 800, paste paper 9, apply your mask, delete, merge group.
Paste paper 6, apply your mask, delete, merge group, mirror.

Paste element 8, sharpen a couple of times. 
Paste element 60 below the gate to the left, change the blend mode to Overlay,
duplicate, mirror.
Resize element 49 to 75%, flip, move below the 2 overlay elements toward the top
 and left a bit.
Resize element 5 to 50%, paste on the gate.
Resize element 37 to 65%, paste on the gate on the right, duplicate, mirror.
Resize element 47 to 65%, paste below the fence on one side, duplicate, mirror.

Resize element 52 to 40%, paste at the bottom above the gate, move to one
side, duplicate, mirror.
Resize your tube to 60%, paste on the right being on the top layer.

Flip element 54, paste at the bottom below the tube, duplicate, resize to 75%,
move above the tube.
Resize element 31 to 40%, paste at the lower right below the leaves.
Resize element 45 to 75%, paste at the top, sharpen a couple of times, add a gradient
glow.
Resize element 30 to 25%, paste below the suitcase layer.
Resize element 9 to 25%, paste at the bottom above the book.

Resize element 36 to 35%, paste at the bottom being on the top layer.
Resize element 20 to 50%, paste on the left.
Resize element 25 to 30%, paste at the lower left below the reaper.
Resize element 33 to 40%, paste behind the other headstone.
Paste element 59 on the gate layer where you like.
Paste element 56 on the blue flowers below the tube on one side, duplicate, mirror.
Resize element 22 to 25%, paste on the suitcase, sharpen a couple of times.

Add any other elements that you would like, make it your own.
Always readjust your mask and elements how you like them before you
 merge your tag, resize, sharpen.

Crop your tag to be sure no shadows or lines are on the edges.
 Then add your copyright and name.
That's it

Hope you enjoyed doing my tut.   

Sunday, October 2, 2022

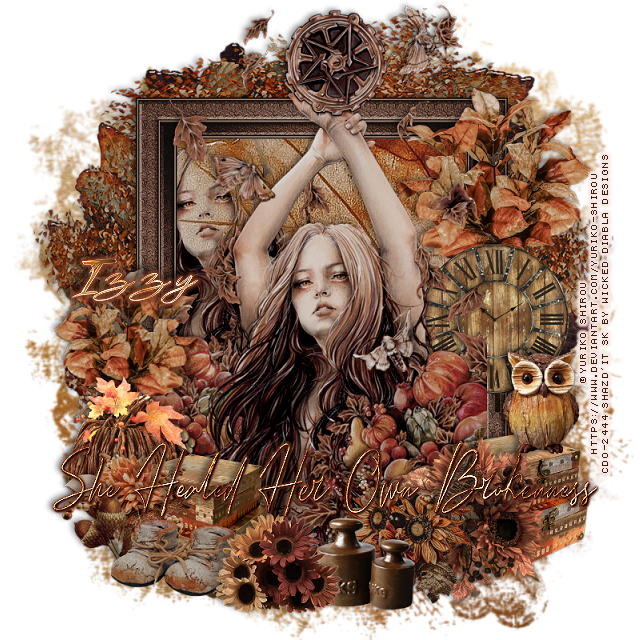
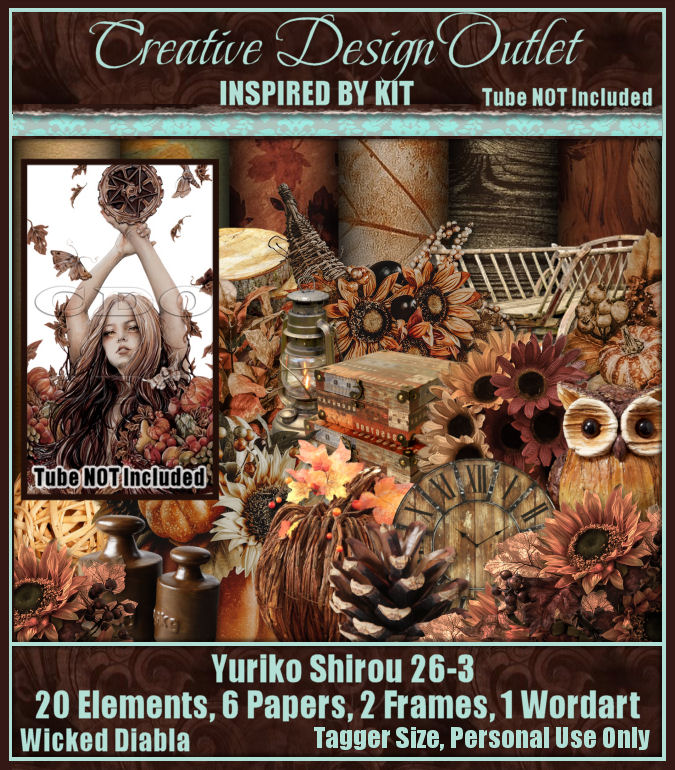
PTU Yuriko Shirou


This tut was written October 2nd, 2022 for those with a basic knowledge of psp. 

I am using the artist Yuriko Shirou

The tube is "26-3" it is not included in the kit.

You need a license to use this tube, please do not use without a license.
You can find these tubes at CDO HERE  


I used PSP2020...but any of them should work.
PTU ScrapWD_IB-Yuriko Shirou-26-3 by Wicked Diabla Designs HERE 
This kit has 20 elements, 6 papers and 2 frames and 1 wordart
Mask of choice, I used Miz Teeque's Mask 124  HERE
Check out the rest of the Blog HERE

Font of choice, I used Kalvise Brushy

Drop shadow is V -1 H -4, 50, 10, or use what you prefer.
Let's get started
*Remember to add your drop shadow as you go along*

Open a new image 800 x 800, paste paper 6, apply your mask, delete, merge group.

Resize frame 1 to 65%, free rotate 90 degrees, paste, click inside with the magic wand, 
expand by 5, paste paper 4, move how you like, invert, delete, select none.

Resize your tube to 80%, paste on the frame.
Duplicate the tube, move below the frame to the upper left, change the blend
mode to Darken, erase or use your free hand tool to get rid of the part
outside the frame.

Resize frame 2 to 80%, paste above the mask layer.
Paste element 20 at the top, resize larger to 10%, duplicate, free rotate to the left
at 90 degrees, move on the left, duplicate, mirror.
Resize element 23 to 75%, paste on the frame on the right and up, duplicate,
mirror, resize smaller to 75%, move down on the left.

Resize element 2 to 35%, paste on the right below the tube.
Resize element 21 to 35%, paste on the lower left above the flower.
Resize element 14 to 20%, paste at the lower left above the pumpkin.
Resize element 7 to 35%, paste at the lower right, duplicate, mirror.
Resize element 9 to 40%, paste at the lower right above the suitcases.
Resize element 1 to 40%, paste at the lower right above the flowers.

Resize element 11 to 30%, paste at the bottom
Resize element 25 to 30%, paste on the left by the suitcase.
Resize element 22 to 30%, mirror, paste at the lower left.
Resize element 4 to 30%, paste at the bottom.
Resize element 8 to 25%, paste on the right on the suitcase.

Resize the wordart to 70%, paste where you like, sharpen a couple of times.
Add a darker gradient glow.

Add any other elements that you would like, make it your own.
Always readjust your mask and elements how you like them before you
 merge your tag, resize, sharpen.

Crop your tag to be sure no shadows or lines are on the edges.
 Then add your copyright and name.
That's it

Hope you enjoyed doing my tut.