Thursday, January 5, 2023

PTU Sweet Heart


 This tut was written January 4th, 2023 for those with a basic knowledge of psp. 

I am using the awesome tube by ©Vi Nina

The tube is called Sweet Heart
You need a license to use this tube, please do not use without a license.
You can find this tube at HERE

I used PSP2020...but any of them should work.
PTU Scrap Sweet Heart by Wicked Diabla Designs  HERE 
This awesome kit has 115 elements and 10 papers
Was made to match the tube Sweet Heart
"Tube is not included" 
Mask of choice, I used DD Valentine 21_1  HERE
Check out the rest of the Blog HERE
Filters Mura Meister Copies-Encircle

Font of choice, I used Beauty Sleep

Drop shadow is V -1 H -4, 50, 10, color black or use what you prefer.
Let's get started
*Remember to add your drop shadow as you go along*

Open a new image, 800 x 800, paste paper 1, resize the mask to 85%, 
paste, delete, merge group, adjust to fit you tag later.

Resize element 12 to 85%, paste, click inside with the magic wand, expand
by 10, paste paper 5, invert, delete, select none.
Resize element 34 to 20%, apply Mura Meister Copies-Encircle, first
3 numbers on 26, 45, 65

Resize your tube to 40%, paste above the frame.

Resize element 9 to 25%, paste on the left behind the tube.
Resize element 87 to 20%, paste at the bottom above the tube.
Resize element 79 to 25%, paste on the left below the gift box.

Resize element 26, 43, 60,  and 73 to 20%, paste all at the bottom how you like.
Resize element 74 to 15%, paste at the bottom.
Resize element 85 to 25%, paste on the right on the frame.
Resize element 103 to 15%, paste at the bottom.

Resize element 65 to 30% and element 107 to 25%, paste at the bottom right.
Resize element 94 to 25%, paste at the bottom.
Resize element 27 to 20%, paste on the lower right below the bottle and glass.
Duplicate the rose flower by the tube, mirror, move above the letter on the right.

Resize element 102 to 25%, paste on the left below the flower.
Resize element 101 to 30%, paste on the right above the frame, free rotate to
the right at 20 degrees.
Resize element 8 to 20%, paste on the left above the wordart.
Resize element 23 to 20%, paste at the bottom left.
Paste element 98 at the bottom being on the top layer.
Resize element 36 to 65%, paste on the left above the frame.
Resize element 6 to 15%, paste on the right below the box candy, duplicate, mirror,
move behind the other cupcakes, duplicate, move down.

Resize element 2 to 20%, paste at the lower left below the double cups.
Resize element 1 to 20%, paste at the bottom below the donuts.

Add any other elements that you would like, make it your own.
Always readjust your mask and elements how you like them before you
 merge your tag, resize, sharpen.

Crop your tag to be sure no shadows or lines are on the edges.
 Then add your copyright and name.
That's it

Hope you enjoyed doing my tut.    

Wednesday, January 4, 2023

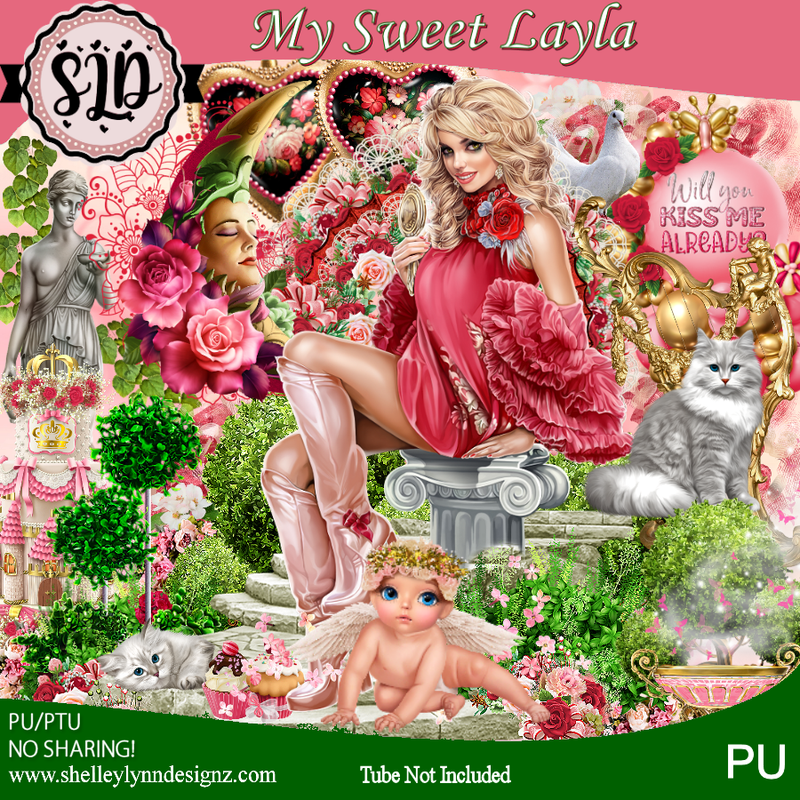
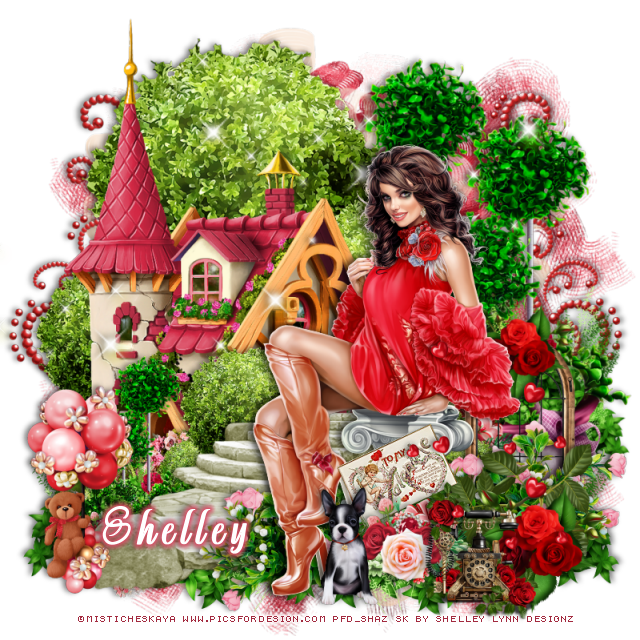
PTU My Sweet Layla


 This tut was written January 4th, 2023 for those with a basic knowledge of psp. 

I am using the awesome artist ©Misticheskaya 
You can find all Shelley's older kits HERE
To get her new kits please PM her on FB HERE
You need a license to use this artist, please do not use without a license.
You can find this tube at PFD HERE

I used PSP2020...but any of them should work.
PTU My Sweet Layla by Shelley Lynn Designz  HERE 
Kit contains 167 elements, 15 frames, 14 papers and 
2 tubes by ©Julia Fox

Font of choice, I used Aromabar

Drop shadow is V -1 H -4, 50, 10, or use what you prefer.
Let's get started
*Remember to add your drop shadow as you go along*

Open a new image 800 x 800, resize element 153 to 85%, paste, move
to the top, duplicate, move down.

Resize element 135 to 70%, paste on the left.
Resize element 43 to 75%, paste on the left above the tree bushes.
Resize element 128 to 65%, paste on the left and down above the house.
Resize element 131 to 75%, paste above the first steps.
Resize element 130 to 55%, paste on the right below the steps layers,
duplicate move up and to the left a bit.

Resize your tube to 30%, paste on the right being on the top layer.

Resize element 86 to 20%, paste at the lower right above the tube.
Resize element 56 to 15%, free rotate to the left at 15 degrees, paste below
the flowers on the right.
Resize element 126 to 25%, paste at the lower right below the sign layer.
Resize element 58 to 30%, paste on the lower right below the green leaves.
Resize element 89 to 20%, paste behind the phone above the green leaves,
duplicate, resize to 80%, move on top of the window.
Resize element 62 to 20%, paste at the lower right being on the top layer.

Resize element 3 to 13%, paste at the bottom by the boot of the tube.
Resize element 148 to 60%, paste on the left below the trees, duplicate, mirror.
Resize element 133 to 50%, paste at the lower left below the house layer, duplicate,
mirror.
Resize element 47 to 30%, paste at the lower left being on top layer.
Resize element 85 to 30%, paste at the bottom below the tube, duplicate, 
move to the right above the window.
Resize element 144 to 30%, paste on the right.
Paste element 140 below the tube at the top.

Add any other elements that you like, make it your own.
Crop your tag to be sure no shadows or lines are on the edges.
 Then add your copyright and name.
That's it

Hope you enjoyed doing my tut.           
Monday, January 2, 2023

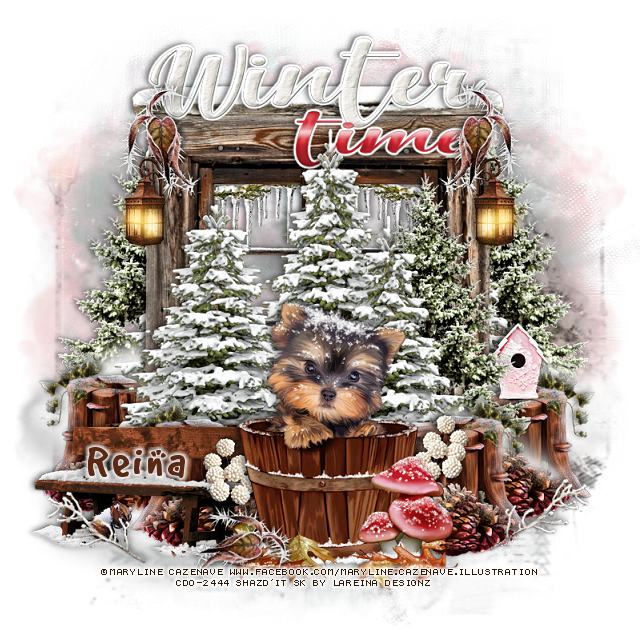
PTU Winter Time


This tut was written January 2nd 2033 for those with a basic knowledge of psp. 

I am using the awesome tube by ©Maryline Cazenave

This is the 124-2

You need a license to use the tube, please do not use without a license.
You can find this  artist tube at CDO HERE  


I used PSP2020...but any of them should work.
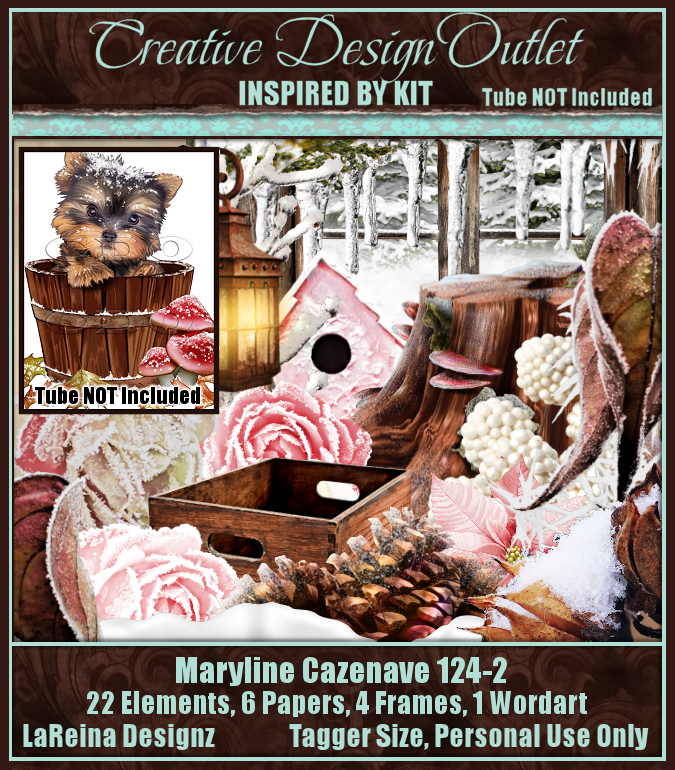
PTU ScrapLRD_IB-Maryline Cazenave-124-2 by LaReina Designz HERE 
This kit has 22 elements, 6 papers, 4 frames and 1 wordart
Tube is not included
Mask of choice, I used Miz Teeques Mask 284  HERE
Check out the rest of the Blog HERE

Font of choice, I used Good Dog Cool

Drop shadow is V -1 H -4, 50, 10, or use what you prefer.
Let's get started
*Remember to add your drop shadow as you go along*

Open a new image 800 x 800, paste paper 2, apply your mask, delete, 
merge group.
Paste element 22 below the mask on one side, duplicate, mirror.

Paste element 12, center on the mask.
Resize element 16 to 25%, paste below the window on one side, duplicate, mirror.
Draw around the window, paste paper 2, invert, delete, move below 
the window.
Paste element 20 on the right below the paper layer, duplicate, mirror,
Duplicate one, move above the window.
Resize element 9 to 40%, paste on the right below the trees, duplicate,
move above the trees, duplicate, mirror,  duplicate, move below the trees on the left.

Resize your tube to 45%, paste at the bottom being on the top layer now.

Resize element 13 to 30%, paste below the top stump on one side, duplicate,
mirror.
Duplicate both and move up behind the tube on each side.
Resize element 2 to 50%, paste at the bottom left below the tube.
Resize element 1 to 20%, paste on the window on one side, duplicate, mirror.
Resize element 8 to 10%, paste at the bottom left.
Resize element 7 to 25%, free rotate to the right at 45, paste at the lower right,
duplicate, mirror.

Resize element 11 to 25%, paste at the upper right on the lantern, duplicate,
mirror, duplicate once more, move to the bottom above the tube, resize smaller
to 90%.
Resize element 6 to 20%, paste on the right below the top trees on the stump.
Resize element 14 to 20%, paste on the right and below the tube, duplicate, mirror.
Resize the wordart to 50%, add a fat white gradient glow, paste at the top on
the window below the trees.

Add any other elements that you would like, make it your own.
Always readjust your mask and elements how you like them before you
 merge your tag, resize, sharpen.

Crop your tag to be sure no shadows or lines are on the edges.
 Then add your copyright and name.
That's it

Hope you enjoyed doing my tut.