Wednesday, February 8, 2023

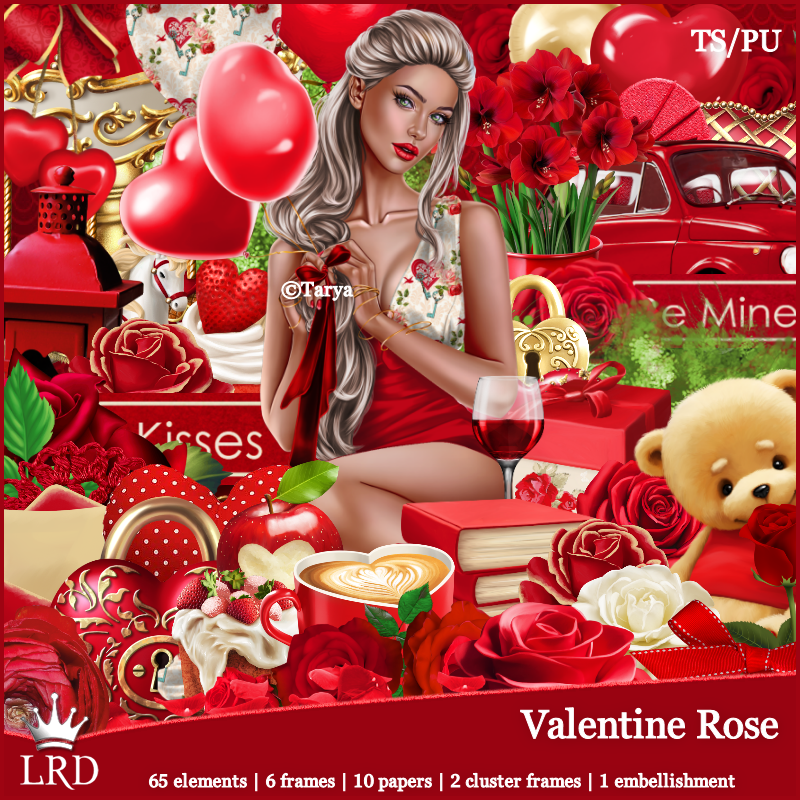
PTU Valentine Rose


This tut was written February 8th, 2023 for those with a basic knowledge of psp. 

I am using the artist ©Tarya

Tube is included in the kit

You need a license to use this tube, please do not use without a license.

Use your license where you buy the kit at.

I used PSP2020...but any of them should work.
PTU Scrap Valentine Rose by LaReina Designz HERE HERE HERE HERE
Kit includes 65 elements, 6, frames and 10 papers, 2 Clusters, 1 Embellishment 
and tube by Tarya is included
Mask of choice, I used Miz Teeque's Mask 294 HERE
Check out the rest of the blog HERE

 Font of choice, I used Love Fairy

Drop shadow as you go is V -1 H -4, 50, 10, or use what you prefer.
Let's get started
*Remember to add your drop shadow as you go along*

Open a new image 800 x 800, select all, new layer, paste paper 1 into selection
apply your mask, delete, merge group, duplicate, mirror.

Resize frame 5 to 65%, paste click inside the frame with the magic wand, 
expand by 10. resize paper 3 to 50%, paste below the frame, invert, delete, select none.
Resize element 3 to 50%, paste inside the frame.
Duplicate the frame twice, move one to the right below the paper and the other
to the left, duplicate the paper and move to each frame.

Resize your tube to 50%, paste above the frame.

Resize EM 1 to 50%, paste at the bottom left above the tube.
Resize element 65 to 50%, mirror, paste on the right above the frame.
Resize element 14 to 60%, paste on the right behind the tube.
Resize element 38 to 105%, paste at the bottom above the car, duplicate, 
mirror, move down a little.

Resize element 43 to 40%, paste at the bottom right above the tube, duplicate,
move to the top on the frame.
Resize element 56 and 1 to 20%, and element 26, 48 and 55 to 15%, paste at the bottom.
Resize element 5 to 25%, paste at the top on the flowers.

Resize element 39 to 25%, paste at the bottom above the tube layer.
Resize element 60 to 40%, paste at the bottom left.
Resize element 33 to 20%, paste on the left below the glass.
Resize wordart 1, 2 and 3 to 25%, free rotate the kisses to 20 degrees right, 
paste at the top right below the flowers, paste be mine by the kisses below the hearts
and together free rotate and paste down below the glass.
Resize element 47 to 15%, paste at the bottom right.
Resize element 61 to 20%, paste on the lower left below the flowers, duplicate,
mirror, move behind the cup.

Add any other elements that you would like, make it your own.
Always readjust your mask and elements how you like them before you
 merge your tag, resize, sharpen.

Crop your tag to be sure no shadows or lines are on the edges.
 Then add your copyright and name.
That's it

Hope you enjoyed doing my tut.   

Sunday, February 5, 2023

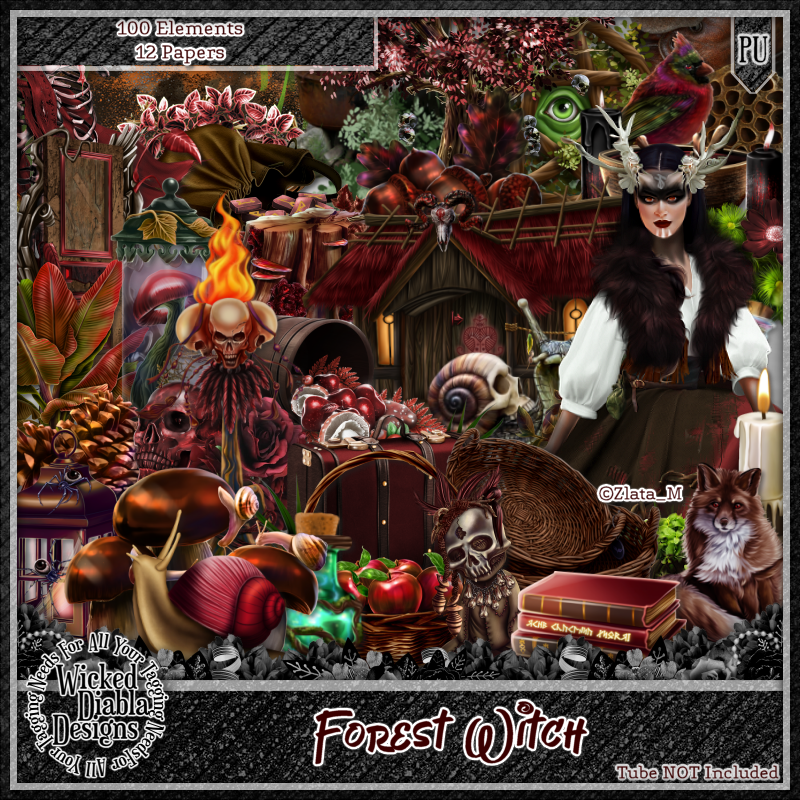
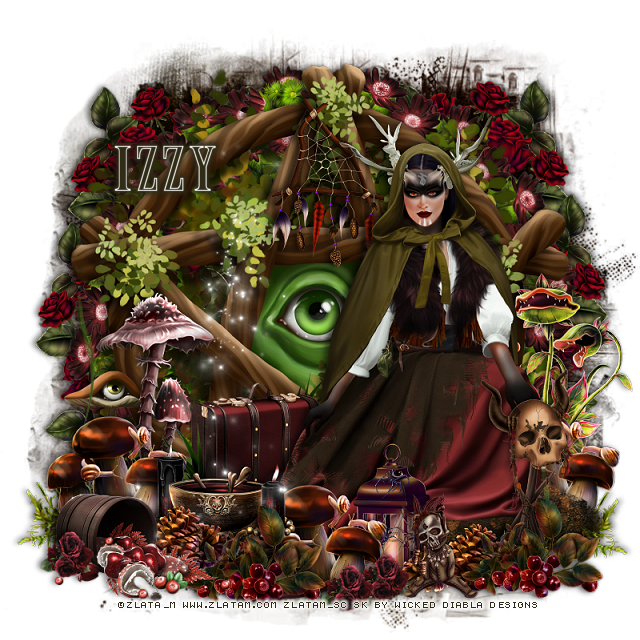
PTU Forest Witch


This tut was written February 5th, 2023 for those with a basic knowledge of psp. 

I am using the awesome tube by ©Zlata_M

Tube is called Forest Witch
You need a license to use this tube, please do not use without a license.
You can find this tube at Zlata_M store HERE

I used PSP2020...but any of them should work.
PTU Scrap Forest Witch by Wicked Diabla Designs  HERE 
 This awesome kit a match for Forest Witch, has 100 elements and 12 papers
Tube is not included
Mask of choice, I used Miz Teeques Mask 284 HERE
Check out the rest of the Blog HERE
Filters
Mura Meister Copies-Encircle

Font of choice, I used Army of Darkness

Drop shadow is V -1 H -4, 50, 10, color black or use what you prefer.
Let's get started
*Remember to add your drop shadow as you go along*

Open a new image, 800 x 800, select all, add a new layer, paste paper 9 into
selection, apply your mask, keep selected, add a new layer, paste paper 3 into
selection, apply the mask, select none, change the blend mode to Soft Light,
merge down.

Element 58 to 25%, apply Mura Meister Copies-Encircle, first 3 numbers
16, 60, 60
Element 38 to 75%, paste on the circle.
Element 51 to 40%, paste below the flower circle, duplicate, mirror, 
duplicate both and move down on each side.

Resize tube to 30%, paste on the left on the frame.

Element 24 to 30%, paste on the right behind the tube.
Element 89 to 50%, paste at the bottom below the tube to one side, duplicate,
mirror.
Element 27 to 85%, paste at the bottom below the tube.
Element 12 to 25%, paste at the top on the frame.
Element 56 to 25%, paste at the bottom right above the tube.
Element 63 to 25%, paste behind the tube to the left.

Element 1 to 20%, paste at the bottom above the tube to the left, duplicate, move
to the right.
Element 47 to 20%, paste at the bottom below the berries, duplicate, move 
below the other berries.
Element 3 to 25%, paste at the bottom left being on the top layer.

Element 18 to 20%, paste below the pinecones.
Element 45 to 20%, paste by the lantern, duplicate, move to the left more, duplicate
again, move to the right below the grass layer behind the tube.
Element 52 to 20%, paste above the mushrooms.

Element 82 to 10%, paste at the bottom being on the top layer, duplicate a couple
of times and move where you like.
Element 86 to 30%, paste on the left above the frame.
Element 35 to 20%, paste by the mushroom.
Element 15 paste on the left being on the top layer.
Element 65 to 15%, paste at the bottom.
Add any other elements that you would like, make it your own.
Always readjust your mask and elements how you like them before you
 merge your tag, resize, sharpen.

Crop your tag to be sure no shadows or lines are on the edges.
 Then add your copyright and name.
That's it

Hope you enjoyed doing my tut.  
Friday, February 3, 2023

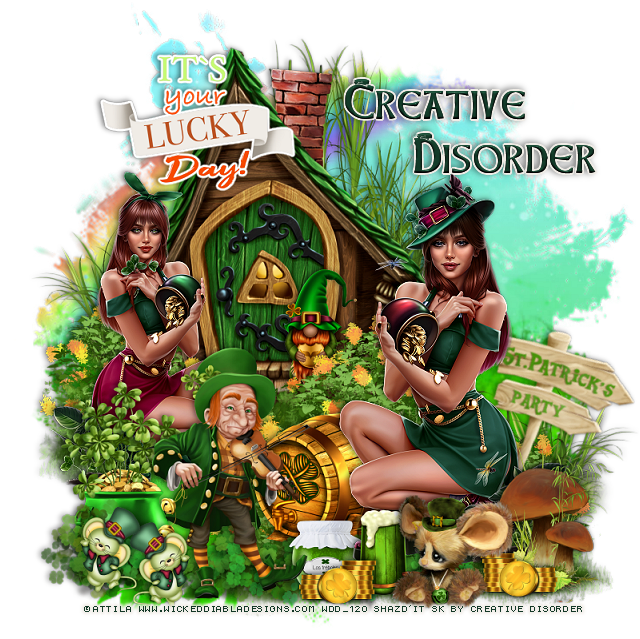
PTU St Patty's Beauty


This tut was written February 3rd, 2023 for those with a basic knowledge of psp. 

I am using the awesome artwork of ©Attila
2 Tubes are included in the kit
You need a license to use this tube, do not use without a license.
Use the license where you buy the kit.

I used PSP2020...but any of them should work.
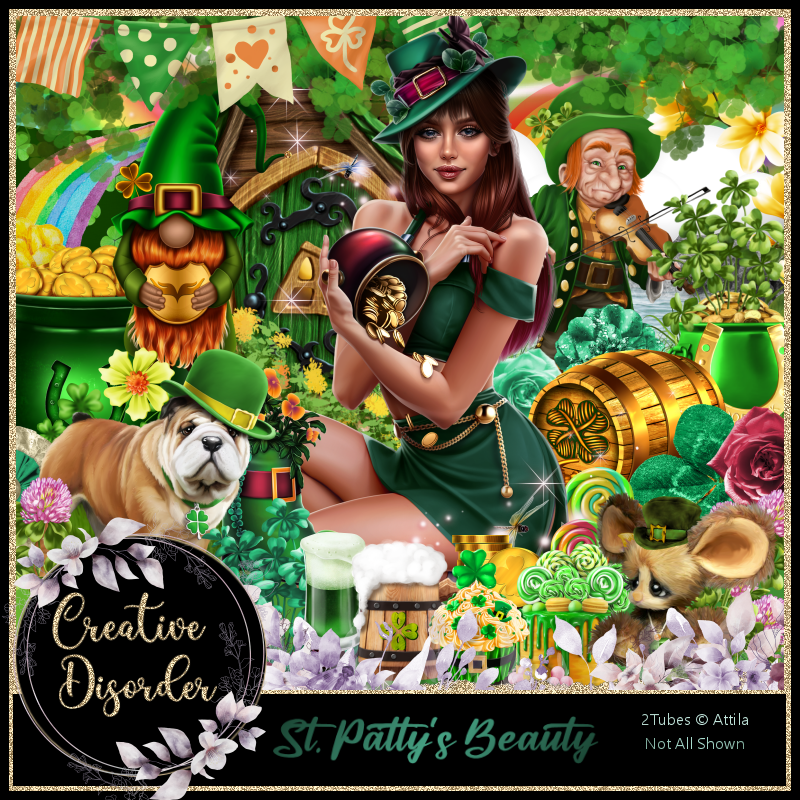
PTU St Patty's Beauty by Creative Disorder  HERE  HERE
Kit contains 107 elements, 16 papers and 2 awesome tubes by Attila
Check out her blog HERE
Mask of choice, I used Miz Teeques Mask 285 HERE
Check out the rest of the blog HERE

Font of choice, I used Leprechaun Hats

Drop shadow is V -1 H -3, 50, 10, or use what you prefer.
Let's get started
*Remember to add your drop shadow as you go along*

Open a new image 800 x 800, paste paper 2, apply your mask.

Resize element 78 to 55%, paste at the upper left.
Resize element 11 to 55%, paste behind the cabin, duplicate, mirror,
move down on the lower right.
Resize element 79 to 50%, paste above the cabin at the bottom of it, duplicate,
move down to the bottom right.

Resize your tube with the hat to 25%, paste on the right.
Resize the other tube to 20%, mirror, paste on the left by the cabin.

Resize element 10 to 40%, paste at the bottom below the tube.
Resize element 9 to 25%, paste behind the tube.
Resize element 62 to 35%, paste at the bottom toward the left.
Resize element 59 to 20%, paste below the bushes in front of the cabin.

Resize element 61 to 20%, paste at the bottom above the tube.
Resize element 13 to 25%, paste at the lower right below the mouse.
Resize element 95 to 35%, free rotate to the right at 20, paste on the right behind the tube.

Resize elements 1 and 5 to 15%, paste at the bottom by the mouse, duplicate the 
coins, mirror, move back by the drink.
Resize element 27 to 15%, paste at the bottom below the coins.
Resize element 70 to 25%, paste on the lower left below the clover border.
Resize element 17 to 35%, paste at the top on the cabin.
Resize element 40 to 15%, paste at the bottom left, duplicate, mirror, move back
by the mouse.

Add any other elements that you would like, make it your own.
Always readjust your mask and elements how you like them before you
 merge your tag, resize, sharpen.

Crop your tag to be sure no shadows or lines are on the edges.
 Then add your copyright and name.
That's it

Hope you enjoyed doing my tut.