Saturday, June 3, 2023

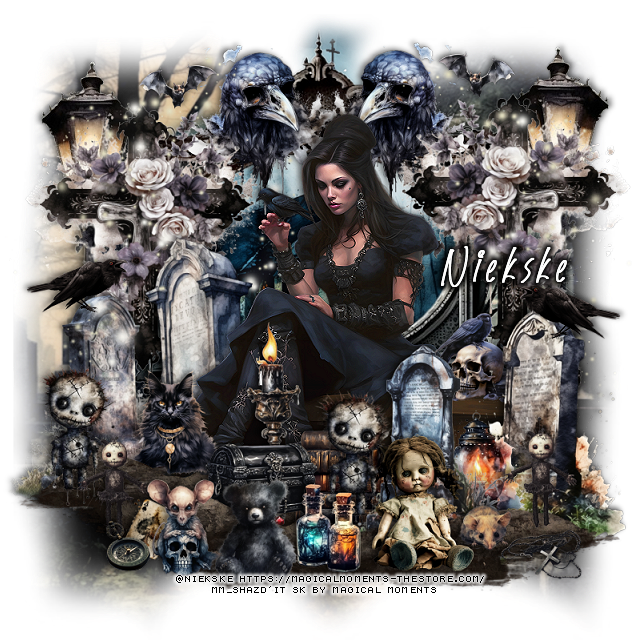
PTU Dark Treasures


 This tut was written June 2nd, 2023 for those with a basic knowledge of psp. 

I am using the awesome artwork by Niekske
 Tube is included with the kit
You need a license to use this tube, do not use without a license.
Read the TOU about the license

I used PSP2020...but any of them should work.
PTU Dark Treasures by Magical Moments HERE  HERE HERE
Awesome kit with 84 elements, 5 papers and a tube by Niekske

Font of choice, I used Speed Written

Drop shadow is V -2 H -4, 35, 10, color Black or use what you prefer.
Let's get started
*Remember to add your drop shadow as you go along*

Open a new image 800 x 800, paste element 71 on the bottom layer, 
adjust to fit your tag. 

Resize element 74 to 90%, paste.
Resize element 72 to 75%, paste below the frame.

Resize the tube to 45%, paste above the frame, mirror.
Go to Effects, 3D Effects, Inner Bevel with these numbers and apply 
it to the tube,
Shape 2, Width 3
5, 6, 35, 40
357, 35, 40 
color on white and sharpen the tube twice.

Resize element 24, 25 and 26 to 65%, paste 2 on the right above the tube
and one on the left below the tube.
Resize element 9 to 30%, paste on the right on the bench of the tube.

Paste element 73 above the tube at the bottom, duplicate, move above the 
tombstones  to the left.
Resize element 65 to 75%, paste on the right above the frame, duplicate, mirror.
Resize element 50 to 75%, paste on the left above the cross.
Paste element 62 on the left behind the cross, duplicate, mirror.

Resize element 14 to 35%, paste at the bottom above the tube.
Resize element 35 to 30%, paste behind the chest and headstone.
Resize element 47 to 50%, paste behind the chest.

Resize element 60 to 50%, paste on the frame at the top, duplicate, mirror.
Resize element 82 to 40%, paste at the bottom being on the top layer.
Resize element 58 to 25%, paste by the doll.
Resize element 7 to 30%, paste on the left above the tube.
Resize element 23 to 30%, paste on the right behind the tombstone behind the 
doll and mouse.

Resize element 41 to 40%, paste on the left, duplicate, move by the doll.
Resize element 36 to 30%, paste at the bottom.
Resize element 40 to 30%, duplicate, paste on each side.
Resize element 77 to 20%, mirror, paste on the tombstone on the left, duplicate,
mirror.
Resize element 6 to 20%, paste at the upper right, duplicate, mirror.
Resize element 79 to 60%, duplicate a couple of times, move where you like.
Resize element 53 to 35%, paste at the bottom.
Resize element 43 to 45%, paste at the bottom.
Resize element 20 to 25%, paste at the bottom left.
Resize element 17 to 25%, paste at the bottom right.
Resize element 83 to 15% free rotate to the right at 25, paste behind the
mouse at the bottom left.

Add any other elements you would like, make it your own.
Crop your tag to be sure no shadows or lines are on the edges.
 Then add your copyright and name.
That's it

Hope you enjoyed doing my tut.       

Friday, June 2, 2023

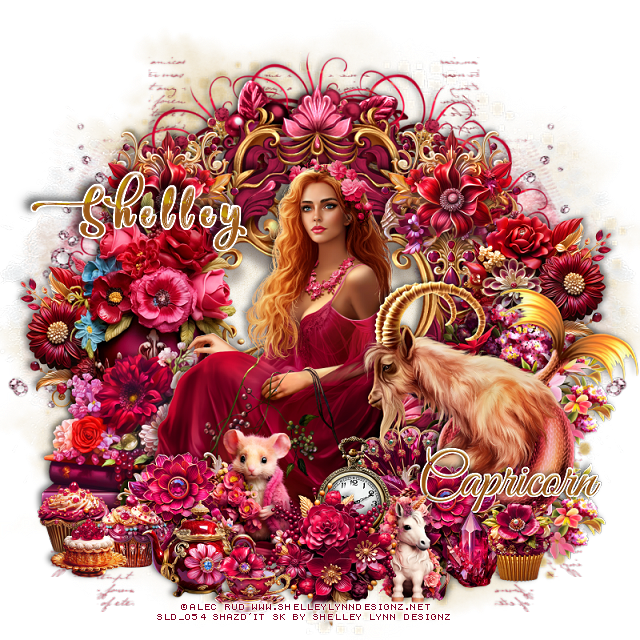
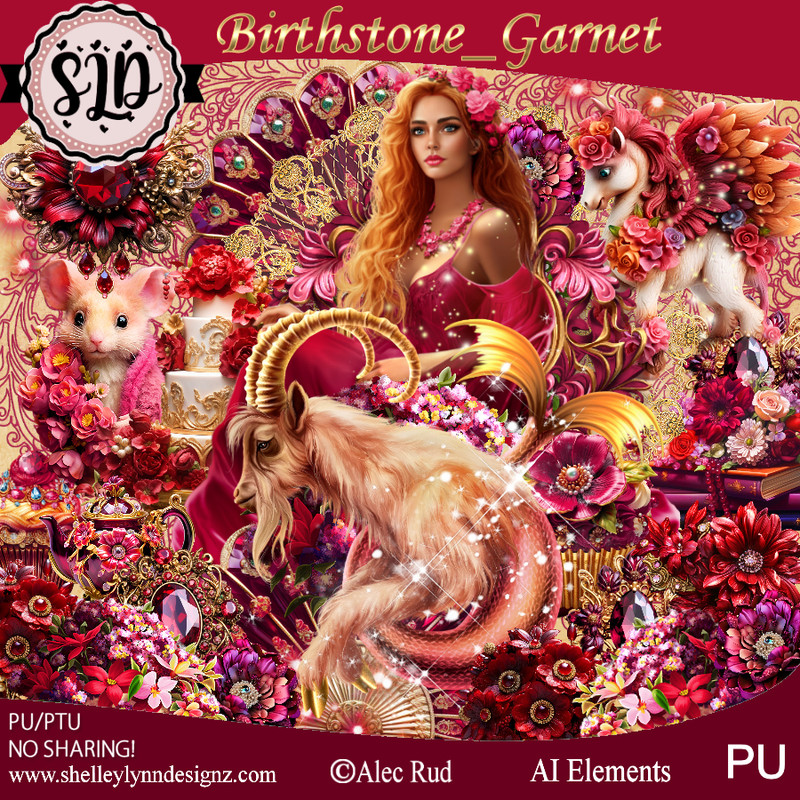
PTU Birthstone Garnet


This tut was written June2nd, 2023 for those with a basic knowledge of psp. 

I am using the awesome artist ©Alec Rud
You need a license to use this artist, please do not use without a license.
The  tube is included in the kit.

I used PSP2020...but any of them should work.
PTU Birthstone Garnet by Shelley Lynn Designz  HERE 
The kit has 135 elements, 10 papers, 11 frames, tube included and
4 Wordart
Mask of Choice I used Miz Teeque's Mask 70 HERE
Check out the rest of the blog HERE

Font of choice, I used Pacific Again

Drop shadow is V -1 H -4, 40, 10, or use what you prefer.
Let's get started
*Remember to add your drop shadow as you go along*

Open a new image 800 x 800, select all, add a new layer, paste paper 9,
apply your mask, delete, merge group.
As always adjust to fit your tag.

Resize mask 1 that is in the kit to 80%, paste on the left, duplicate, mirror.
Resize element 130 to 75%, paste.
Resize frame 3 to 75%, paste.
Resize frame 5 to 65%, paste, click inside the second frame with the magic wand, 
expand by 5, resize paper 9 to 20%, paste, invert, delete, select none.

Resize the tube to 60%, paste on the top frame.

Resize element 26 to 30%, paste on the left behind the tube and up.
Resize element 50 to 30%, paste on the left below the tube.
Resize element 112 to 25%, paste at the bottom above the tube.
Resize element 118 to 25%, paste at the bottom left below the flower, duplicate, 
mirror.
Resize element 8 to 20%, paste below the top flower.
Resize element 106 to 30%, paste on the right, duplicate, move down more.
Resize element 3 to 40%, paste on the right below the flower.
Resize element 43 to 25%, paste below the animal.

Resize element 109 to 25%, paste on the left below the other flowers, duplicate,
mirror, move up.
Resize element 11 to 15%, paste at the bottom being on the top layer.
Resize element 17 to 15%, paste at the bottom below the cup.
Resize element 20, 34 and 37 to 15%, paste at the lower left below the tea pot.
Resize element 33 to 15%, paste at the lower right above the flowers.
Resize element 6 to 15%, mirror, paste at the bottom below the top flower.

Resize element 53 to 15%, paste at the bottom above the fan.
Resize element 90 to 15%, paste at the bottom by the unicorn.
Resize element 64 to 25%, paste on the upper right below the flower, duplicate,
mirror.
Resize wordart 2 to 20%, paste on the right, add a white background.

Add any other elements that you like, make it your own.
Crop your tag to be sure no shadows or lines are on the edges.
 Then add your copyright and name.
That's it

Hope you enjoyed doing my tut.       
Thursday, June 1, 2023

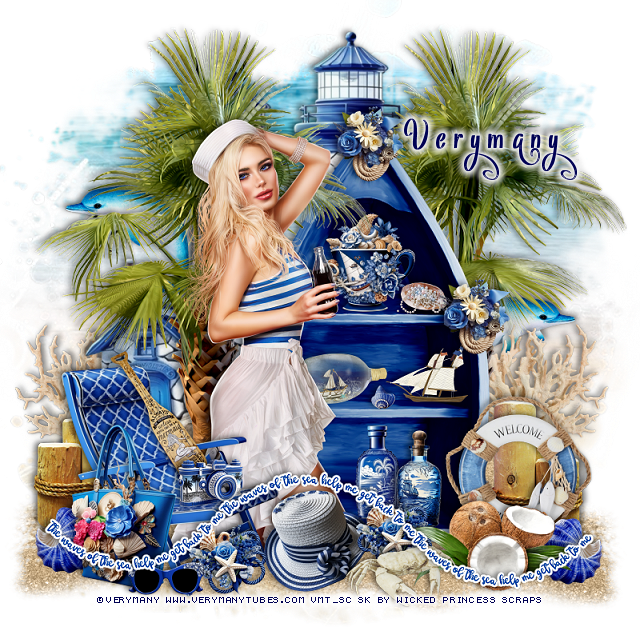
PTU Cute Sailor


This tut was written  June 1st, 2023 for those with a basic knowledge of psp. 

I am using the awesome tube by ©Verymany

The tube is called Cute Sailor
You need a license to use this tube, please do not use without a license.
You can find the tube at Verymany HERE

I used PSP2020...but any of them should work.
PTU Scrap Sail Away by Wicked Princess Scraps  HERE
"Tube is NOT included"
You can find all Wicked Princess Scraps kits HERE
Mask of choice, I used RD Mask 892 HERE
Check out the rest of the blog HERE

 Font of choice, I used Vytorla mix

Drop shadow as you go is V -2 H -4, 50, 10, or use what you prefer.
Let's get started
*Remember to add your drop shadow as you go along*

Open a new image 800 x 800, paste paper 10, apply your mask, delete,
merge group.

Resize boats to 80%, paste off center to the right.
Resize tree 4 to 75%, paste behind the boat on the right, duplicate, 
move above the boat to the left.
Paste the sand at the bottom left above the mask, duplicate, mirror.

Resize your tube to 35%, paste above the left tree.

Resize cup to 20%, paste on the top shelf of the boat.
Resize bottle 1 and 2 to 18%, paste on the bottom shelf.
Resize boat 3 to 15%, paste on the second shelf.
Resize bottle 3 to 15%, paste on the second shelf.
Resize hat 1 to 20%, paste at the bottom above the tube.
Resize chair 1 to 45%, paste at the lower left above the tube.
Resize the camera to 13%, paste on the chair.
Resize paddle 1 to 25%, paste in the chair behind the camera.
Resize shell 1 to 5%, paste on the second shelf.
Resize shell 11 to 10%, paste on the top shelf.

Resize flower 1 to 15%, paste on the boat at the top, duplicate, move down
on the right.
Resize post 2 to 30%, paste on the left behind the chair, duplicate, mirror,
move below the boat layer.
Resize coconut 1 to 40%, paste at the bottom right above the post.
Resize the floatie to 30%, paste on the lower right below the coconut.
Resize the crab to 20%, paste at the bottom.

Resize the bag 2 to 30%, paste on the left above the chair.
Resize the sunglasses to 15%, paste at the bottom by the bag.

Resize the light house to 75%, paste on the mask layer at the top,
duplicate, move down on the left, erase any rocks showing on either one.
Resize coral 5 to 30%, paste on the right above the mask layer, duplicate,
mirror.

Resize the wordart to 85%, paste toward the bottom, add a fat white gradient glow.
Resize the dolphin to 30%, paste on the left above the mask, duplicate, mirror.
Resize cluster 2 to 15%, paste at the bottom above the hat, duplicate, move to
the right more behind the crab.
Resize shell 2 to 15%, paste on the bottom right above the post, duplicate, mirror.

Add any other elements that you would like, make it your own.
Always readjust your mask and elements how you like them before you
 merge your tag, resize, sharpen.

Crop your tag to be sure no shadows or lines are on the edges.
 Then add your copyright and name.
That's it

Hope you enjoyed doing my tut.  
Tag for Shani