Monday, April 1, 2024

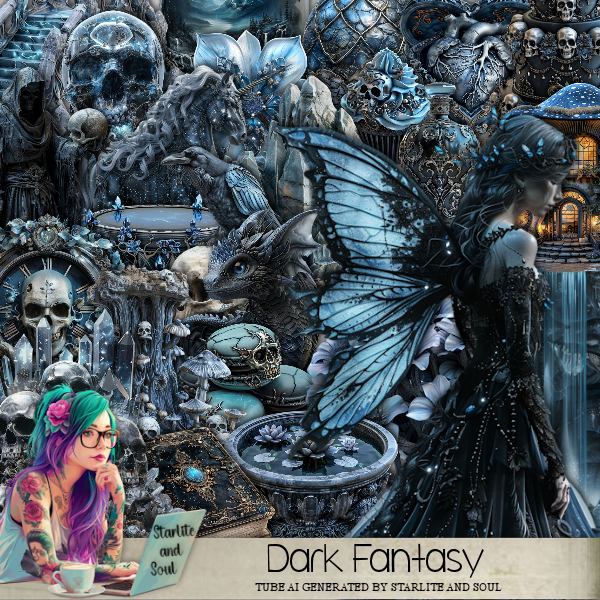
PTU Dark Fantasy


This tut was written  April 1st, 2024 for those with a basic knowledge of psp. 

I am using an awesome AI tube by SAS
The tube is included in the kit
Read the TOU on how to credit your tags

I used PSP2020...but any of them should work.
PTU Scrap Dark Fantasy by Starlite and Soul  HERE
Check her store out to see all her other kits HERE
Mask of choice I used Miz Teeques Mask 125 HERE
Check out the rest of the blog HERE
Mask of choice I also used Vivienne's Digital Tagging Mask 85 HERE
Check out the rest of the blog HERE

 Font of choice, I used Sea Balance

Drop shadow as you go is V -2 H -4, 50, 10, or use what you prefer.
Let's get started
*Remember to add your drop shadow as you go along*

Open a new image 800 x 800, paste paper 5, apply your mask.
Paste paper 5 again, apply mask 85 at the bottom where you like,
invert, delete, move to the bottom right, duplicate mirror,
duplicate again, move to the center.

Resize element 32 to 75%, paste at the upper left.
Resize element 14 to 65%, paste at the top behind the tree, duplicate,
move to the right and down.
Paste element 3 on the right above the arch.
Resize element 7 to 30%, paste on the upper right behind the branches.
Resize element 34 to 50%, paste above the tree.
Resize element 96 to 70%, paste above the waterfall.
Resize element 104 to 60%, paste above the house on the right.

Resize the tube to 45% paste above the bridge.

Resize element 118 to 50%, paste on the left and down.
Resize element 113 to 25%, paste on the bottom left.
Resize element 46 to 10%, paste at the bottom left.
Resize element 49 to 20%, paste at the bottom left.
Resize element 65 to 25%, paste at the bottom left.
Resize element 40 to 55%, paste on the right above the bridge.
Resize element 62 to 30%, paste on the right behind the hooded ghost.

Resize element 31 to 35%, paste at the bottom above the tube.
Resize element 78 to 25%, mirror, paste at the bottom above the bench.
Resize element 66 to 20%, paste at the bottom right.
Resize element 150 to 25%, paste on the bottom right behind the skull,
duplicate, mirror.
Resize element 159 to 20%, paste above the tube at the bottom, duplicate once
or twice and move where you like.
Resize element 76 to 18%, paste on the bench.
Resize element 41 to 25%, paste at the top on the house.
Resize element 56 to 10%, paste at the bottom left being on the top layer.

Resize element 64 to 20%, paste at the bottom below the dragon.
Resize element 80 to 15%, paste on the books.
Resize element 107 to 25%, paste at the bottom right.

I used Impact font and typed out Dark Fantasy, duplicate, change the 
bottom one to Soft Light, the top one to Scree, drop shadow on both.

Add any other elements that you would like, make it your own.
Always readjust your mask and elements how you like them before you
 merge your tag, resize, sharpen.

Crop your tag to be sure no shadows or lines are on the edges.
 Then add your copyright and name.
That's it

Hope you enjoyed doing my tut.  

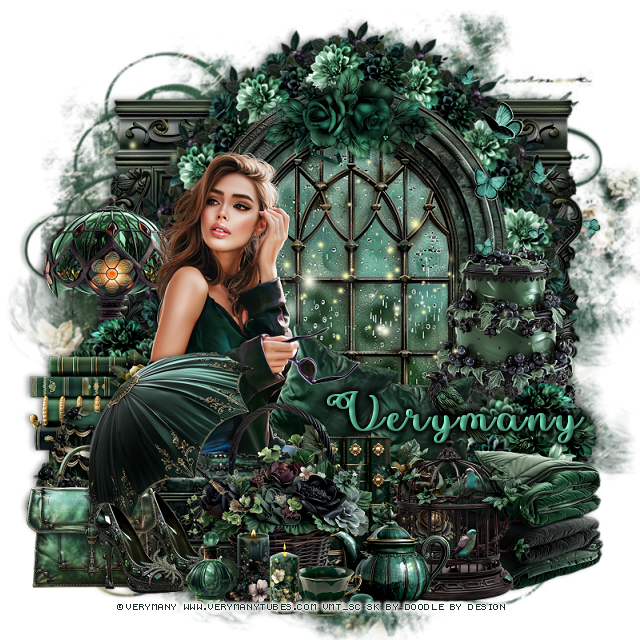
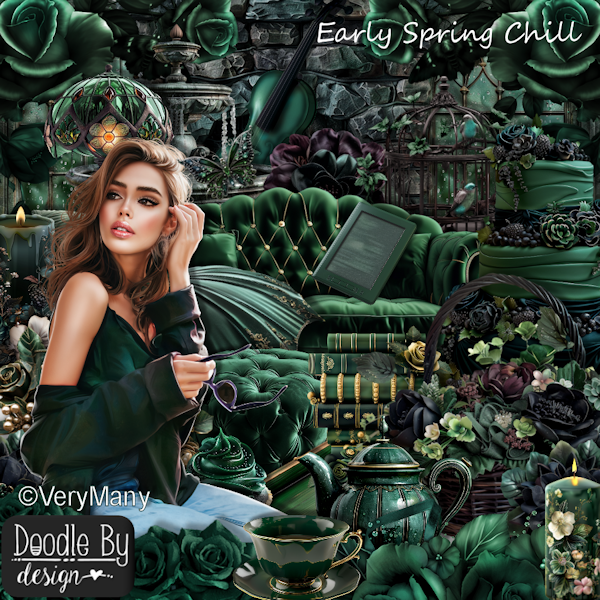
PTU Early Spring Chill


 This tut was written April 1st, 2024 for those with a basic knowledge of psp. 

I am using the awesome tube by ©Verymany

The tube is called Warm Spring day
You need a license to use this tube, please do not use without a license.
You can find the tube at VMT HERE

I used PSP2020...but any of them should work.
PTU Scrap Early Spring chill by Doodle by Design  HERE
"Tube is NOT included"
You can find all Doodle by Design kits  HERE
Mask of choice I used Miz Teeques Mask 56 HERE
Check out the rest of the blog HERE
Filters 
Mura Meister Copies-Encircle

Font of choice, I used Pretty Summer

Drop shadow as you go is V -2 H 4, 50, 10, or use what you prefer.
Let's get started
*Remember to add your drop shadow as you go along*

Open a new image 800 x 800, resize paper 19 to 90%, paste , apply your mask.
Paste element 12 on the mask layer about center.

Paste element 7 to the right a little.
Resize element 79 to 25%, flip. apply Mura Meister Copies-Encircle, first
3 numbers on 14, 48, 65, paste behind the window.
Resize element 84 to 25%, apply Mura Meister, first 3 numbers on 20, 52, 67,
move below the first circle.

Resize your tube to 40%, paste on the left above the window.

Resize element 53 to 40%, paste on the left behind the tube.
Resize element 28 to 35%, paste behind the tube on the left.
Resize element 55 to 35%, paste at the bottom above the tube.
Resize element 36 to 40%, paste on the right on the frame.
Resize element 79 to 30%, paste on the left above the lamp, duplicate, mirror.
move down on the cake.

Resize element 54 to 40%, paste at the bottom above the books.
Resize element 13 to 35%, paste at the bottom left.
Resize element 31 to 25%, paste behind the tube, duplicate, free rotate to
the right at 25, move over a little.
Resize element 9 to 35%, paste at the bottom right below the books.
Resize element 26 to 35%, paste at the bottom below the basket.
Resize element 1 to 35%, paste on the right above the books.
Resize element 34 to 35%, paste on the left above the basket.

Resize element 62 to 20%, paste at the bottom left, duplicate, move over.
Resize element 50 to 25%, paste at the bottom.
Resize element 19 to 15%, paste at the bottom.
Resize element 47 to 17%, paste at the bottom.
Resize element 25 to 15%, paste at the bottom.
Resize element 60 to 15%, paste at the bottom.
Resize element 10 to 15%, paste on top of the birdcage.
Resize element 11 to 5%, paste at the bottom.
Resize element 92 to 35%, flip, paste on top of the window.
Resize element 6 to 30%, paste behind the shoes on the left.
Resize element 113 to 40%, mirror, move up on the right.
Paste element 121 on the top layer on the window, erase the parts you 
don't want.

Add any other elements that you would like, make it your own.
Always readjust your mask and elements how you like them before you
 merge your tag, resize, sharpen.

Crop your tag to be sure no shadows or lines are on the edges.
 Then add your copyright and name.
That's it

Hope you enjoyed doing my tut

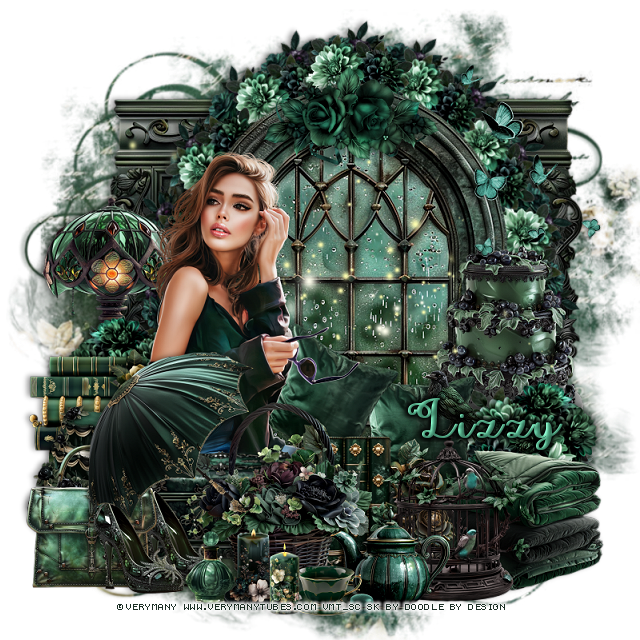
Tag for Lizzy 


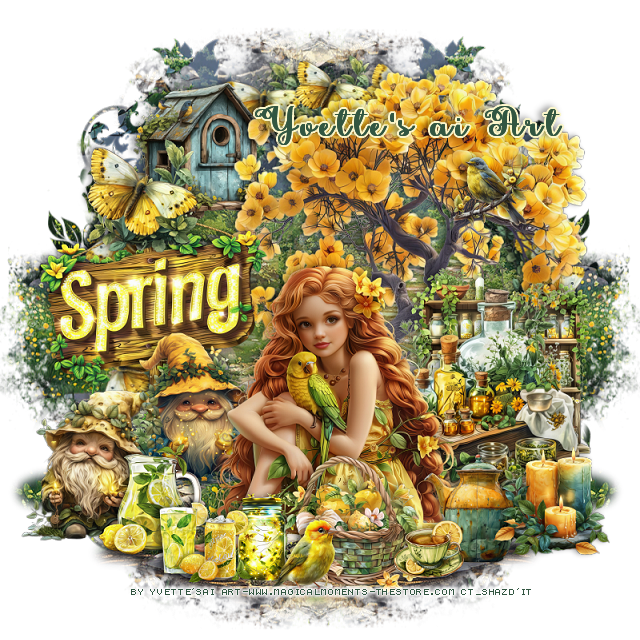
PTU Yvette's ai Art CU/PU Pack 11


 This tut was written March 31st, 2024 for those with a basic knowledge of psp. 

AI generated tube and kit by Yvette ai Art
This is an AI generated CU Pack
23 elements, 1 png tube and 2 Backgrounds for CU/PU
Awesome Spring Pack
Read the TOU on how to credit your tags

I used PSP2020...but any of them should work.
PTU Scrap YV CU Pack 11 by Yvetter ai Art  HERE 

Mask of choice I used Vivienne's Digital Tagging mask 32 and 85  HERE  
Check out the rest of the blog HERE 

Font of choice, I used Pretty Summer 

Drop shadow as you go is V -2 H 4, 50, 10, or use what you prefer.
Let's get started
*Remember to add your drop shadow as you go along*

Open a new image 800 x 800, paste paper 1, apply mask 85 on the paper
where you like, invert, delete, paste at the bottom, duplicate, mirror.
Resize paper 1 to 80%, paste, apply mask 32, move to the left, duplicate, mirror.

Resize element 15 to 10%,apply Mura Meister Copies-Encircle first 
3 numbers on 18, 65, 65, paste, click inside with the magic wand,
paste paper 1 where you like, invert, delete.
Lower the opacity to around 60.

Resize the tube to 18%, paste at the bottom.

Resize element 12 to 30%, paste behind the tube on the right.
Resize element 11 to 25%, paste on the right above the tree behind the 
other shelf.
Resize element 1 to 50%, paste above the frame on the right.
Resize element 21 to 15%, paste at the bottom right.
Resize element 3 to 15%, paste at the bottom right below the candles.
Resize element 7 to 18%, paste at the bottom above the tube.
Resize element 13 to 10%, paste up on the tree.

Resize element 14 to 18%, paste at the upper left below the tree.
Resize element 15 to 15%, paste on the left above the birdhouse.
Resize element 60 to 30%, paste on the left below the tube.
Resize element 8 to 15%, paste at the bottom below the basket.
Resize element 18 and 19 to 20%, paste on the bottom left below the tube.
Resize element 4 to 10%, paste at the bottom above the basket.
Resize element 10 to 10%, paste at the bottom.
Resize element 5 to 15%, paste at the bottom left.
Resize element 6 to 10%, paste at the bottom.
Resize element 20 to 10%, paste at the bottom.

Add any other elements that you would like, make it your own.
Always readjust your mask and elements how you like them before you
 merge your tag, resize, sharpen.

Crop your tag to be sure no shadows or lines are on the edges.
 Then add your copyright and name.
That's it

Hope you enjoyed doing my tut