Saturday, January 30, 2021

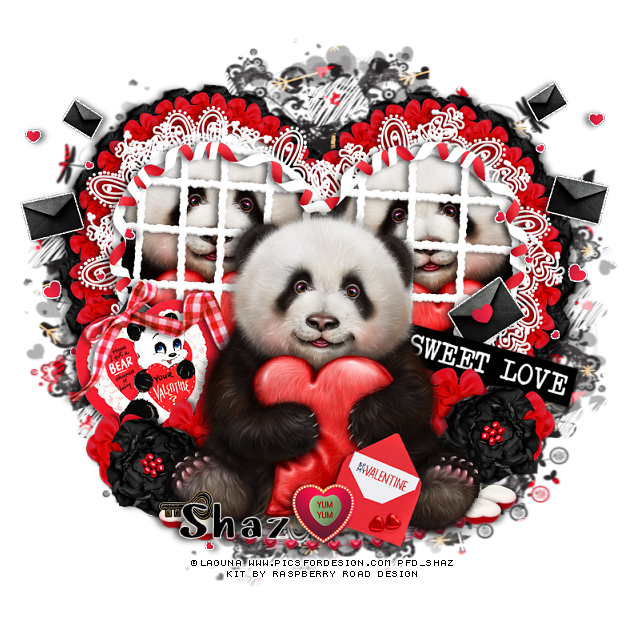
FTU Sweet Talking Panda

This tut was written January 30th, 2021 for those with a basic knowledge of psp.

I am using the awesome artwork of  Laguna
The tube is called "Valentine Panda" 
You need a license to use this tube, do not use without a license.
You can find this tube at PFD store  HERE

I used PSPX...but any of them should work.
FTU kit Sweet Talk Mini kit from Raspberry Road Designs HERE
You will have to register at the store if you are not already  HERE
DD VMask 7 HERE
Check out the rest of the blog HERE
Filters
Mura Meister Copies-Encircle

Font of choice,  I used Baby Panda

Drop shadow is  V 1 H -5, 50, 10, or use what you prefer.
Let's get started
*Remember to add your drop shadow as you go along*

Open a new image 800 x 800 or a size you prefer, can always resize later,
fill with white.
Resize paper 4 to 20%, paste apply your mask, delete, merge group.

Resize element 16 to 30%, paste.
Take your free hand tool, draw around the solid seam on the heart,
add a new layer, fill with black, keep selected.
Resize your tube to 30%, paste on one side, mirror, paste to the other side,
invert, delete, select none.

Paste your resized tube above the frame, then adjust the ones in the frame.
Duplicate the ones in the frame, go to Adjust, Blur, Gaussian blur, number on 5,
change the blend mode to Screen or one you prefer, merge down.

Resize element 17 to 31%, paste on the white frame.

Resize element 21 to 10%, apply Mura Meister Copies-Encircle,
changing the first 3 numbers to 
22, 35, 45, move below the paper layer of the heart frame, duplicate, mirror.
Resize element 10 to 10%, apply the Encircle with the same settings, move
below the red flower circle, duplicate, mirror.

Resize element 9 to 20%, paste on the right below the tube, select all, float,
defloat, expand by 2, add a new layer, fill with white, move below, add noise at 100%,
merge the black envelopes down with the white, duplicate, mirror.
Resize element 6 to 15%, free rotate to the left at 15 degrees, move below the tube
on the left.
Resize element 8 to 13%, free rotate to the right at 15 degrees, paste on the bear sign.

Resize element 24 to 35%, free rotate to the right at 15 degrees, paste on the right
below the tube layer.
Resize element 21 to 15%, paste above the word sign, duplicate a couple of
times and place where you like.
Resize element 10 to 15%, paste by the red flower, duplicate, mirror.
Resize element 2 to 10%, paste at the bottom being on the top layer, duplicate 
a couple of times or so and move where you like.

Resize element 3 to 15%, paste at the bottom below the other elements.
Resize element 7 to 8%, free rotate to the right at 15%, paste above the tube at the bottom.
Resize element 23 to 8%, paste by the envelope.
Resize element 28 to 10%, free rotate to the right at 90 degrees, paste on the 
left on the hearts.
Resize element 11 to 10%, paste on top of the heart at the bottom.

Add any other elements that you would like, make it your own.
Always readjust your mask and elements how you like them before you
 merge your tag, resize, sharpen once.
Crop your tag to make sure no shadows or anything on the edges

 Then add your copyright and name.
That's it

Hope you enjoyed doing my tut.  


Wednesday, January 27, 2021

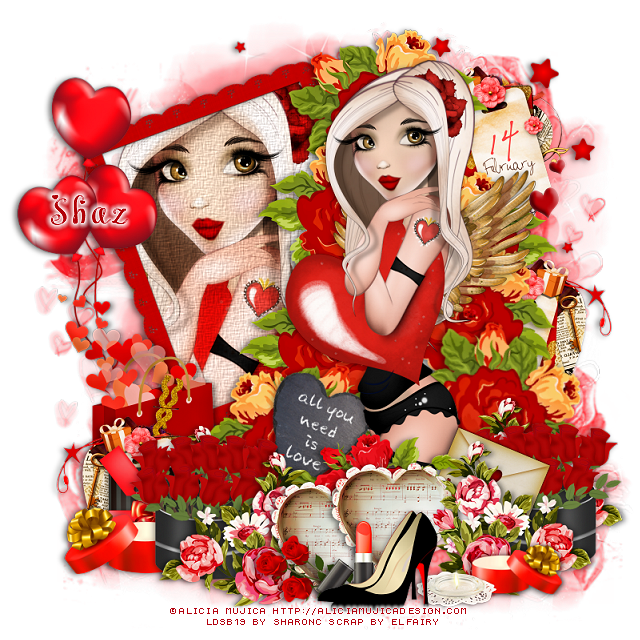
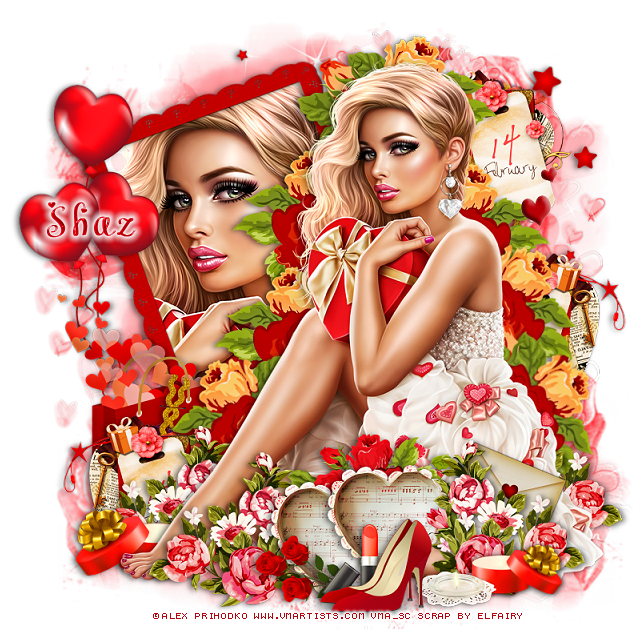
FTU Time for Love

 This tut was written January 27th, 2021 for those with a basic knowledge of psp.

I am using the awesome artwork of  Alex Prihodko
The tube is called "Estelle" 
You need a license to use this tube, do not use without a license.
You can find this tube at VMArtists store  HERE

I used PSPX...but any of them should work.
FTU kit Time for Love by ElFairy  Scrap HERE
Check out the rest of the blog HERE
BD New Mask Set -Valentines 2016-14 HERE
Check out the rest of the blog HERE

Font of choice,  I used Meybi

Drop shadow is  V 1 H 4, 40, 10, or use what you prefer.
Let's get started
*Remember to add your drop shadow as you go along*

Open a new image 800 x 800 or a size you prefer, can always resize later.
Resize paper 4 to 80%, mirror, paste, apply your mask, delete, merge group.

Resize element 18 to 25%, paste at the top right, duplicate 6 more times,
move 3 down a little more on the right, mirror the other 3 and move to the left 
and each one down a little more from each other.
Free rotate the 2 bottom ones, the left one rotate to the left at 20 degrees,
the right one 20 degrees to the right.

Resize your tube to 65%,  paste it now, it will help arrange the flowers better.

Resize element 32 to 40%, free rotate to the left at 20 degrees, move to the left 
and below the flower layers, click inside the frame, expand by 5, 
resize paper 2 to 60%, paste, invert, delete, keep selected, paste your tube,
 delete, select none.

Resize element 19 to 25%, paste at the bottom above the tube.
Resize element 22 to 20%, paste at the lower left above the flower, duplicate, mirror.
Duplicate both and move below the tube layer on each side.
Resize element 24 to 15%, paste at the bottom above the flowers, duplicate, 
move up a little and below the pink flowers.

Resize element 25 to 25%, paste at the upper right below the flowers so the
wording shows, duplicate, mirror, move down on the right, duplicate, again,
mirror, adjust on the left below the pink flowers.
Go back and erase the ribbon on the top right one.

Resize element 4 to 15%, paste at the bottom being on the top layer.
Resize element 51 to 25%, mirror, paste on the left above the frame.
Resize element 7 to 60%, paste above the mask and move up to the right so some
of the stars shows.

Resize element 26 to 15%, paste on the right below the pink flowers.
Resize element 13 to 15%, mirror, move below the red shoes.
Resize element 39 to 40%, paste on the left below the bag of hearts.
Resize element 69 to 10%, paste at the bottom below the shoes.
Resize element 34 to 10%, paste at the upper right on the element with the 
wording on it, erase one heart.
Resize element 46 to 10%, paste at the bottom below the shoes.

Resize element 50 to 15%, paste at the lower left below the foot of the tube, duplicate,
resize smaller to 75%, mirror, move to the right below the candle.

Add any other elements that you would like, make it your own.
Always readjust your mask and elements how you like them before you
 merge your tag, resize, sharpen once.
Crop your tag to make sure no shadows or anything on the edges

 Then add your copyright and name.
That's it

Hope you enjoyed doing my tut.  
Here is another example of using the same kit, just add more of the black elements. 


Tuesday, January 26, 2021

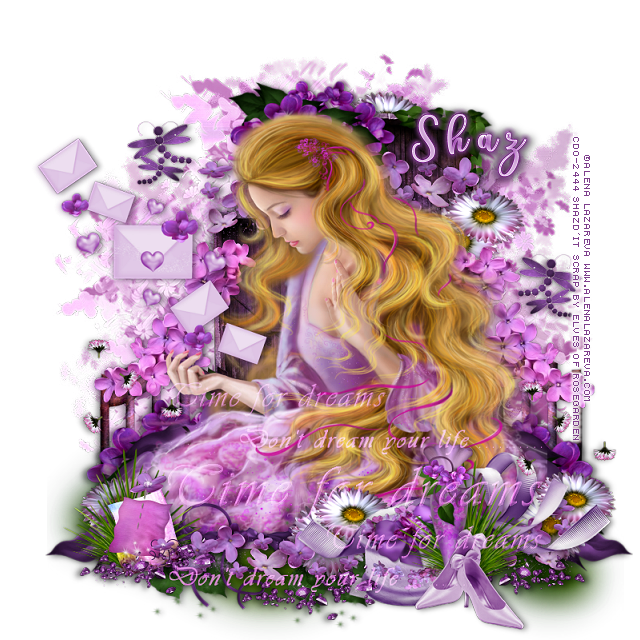
FTU Time for Dreams


This tut was written January 26th, 2021 for those with a basic knowledge of psp.

I am using the awesome artwork of  Alena Lazareva
The tube is called "21-3" 
You need a license to use this tube, do not use without a license.
You can find this tube at CDO store  HERE

I used PSPX...but any of them should work.
FTU kit Time for Dreams by Elves of Rosegarden HERE
Check out the rest of the blog HERE
DD Assorted Autumn Mask_Set3-Mask 9 HERE
Check out the rest of the blog HERE

Font of choice,  I used Breyhana

Drop shadow is  V 1 H 4, 40, 10, or use what you prefer.
Let's get started
*Remember to add your drop shadow as you go along*

Open a new image 800 x 800 or a size you prefer, can always resize later.
Fill with white, paste paper 7 first then paper 6, apply your mask to each paper,
delete, merge group. 
Off set the papers so both colors shows.

Paste element 47 at the bottom.
Paste your tube on top of the greenery.

Resize element 53 to 40%, paste behind the tube and up a little on the right,
duplicate, move to the left and down a little.

Resize element 75 to 40%, paste at the top behind the head of the tube.
Resize element 52 to 45%, paste at the top behind the tube to the left,
duplicate, move to the right, erase any part to the left you don't want.

Resize element 22 to 20%, duplicate twice, move one behind the wood box and
one above the wood box where you like.

Resize element 3 to 50%, paste on the left above the hand of the tube.
Resize element 33 to 50%, paste at the bottom above the tube to the left,
 to cover the straight edge, duplicate, mirror.
Resize element 52 to 45%, paste at the bottom above the ribbon, duplicate, mirror.

Resize element 56 to 50%, paste on the right above the flowers on the mask,
duplicate, mirror, adjust on the left.
Resize element 11 to 40%, paste on the left above the fence, duplicate, mirror.

Resize element 4 to 20%, paste at the bottom.
Resize element 1 to 25%, paste at the bottom by the box.
Resize element 2 to 20%, paste at the lower right.
Resize element 28 to 60%, paste at the bottom below the shoes and box.

Resize element 75 to 40%, paste on the lower right above the fence,
duplicate, mirror.
Resize element 6 to 35%, paste above the flowers you just pasted, duplicate, 
mirror.

Resize element 9 to 20%, paste at the lower left being on the top layer.
Resize element 22 to 20%, paste at the bottom below the ribbon and flowers on
the right, duplicate, move a little more to the center, duplicate again,
mirror, move below the tube on the left.

Resize element 43 to 25%, paste at the bottom, duplicate, mirror, move to the right
below the shoes, duplicate, mirror, adjust on the left.

Resize element 68 to 25%, paste on the left by the fence, duplicate, mirror.
Resize element 30 to 15%, paste where you like and duplicate once.

Resize element 71 to 30%, paste at the lower right above the box behind the shoes, 
duplicate, mirror.
Resize element 51 to 25%, mirror, paste at the lower left above the tube 
layer, duplicate, move toward the center more.

Resize element 55 to 70%, paste being on the top layer, duplicate, merge down,
change the blend mode to Screen.

Add any other elements that you would like, make it your own.
Always readjust your mask and elements how you like them before you
 merge your tag, resize, sharpen once.
Crop your tag to make sure no shadows or anything on the edges

 Then add your copyright and name.
That's it

Hope you enjoyed doing my tut.