Saturday, May 21, 2022

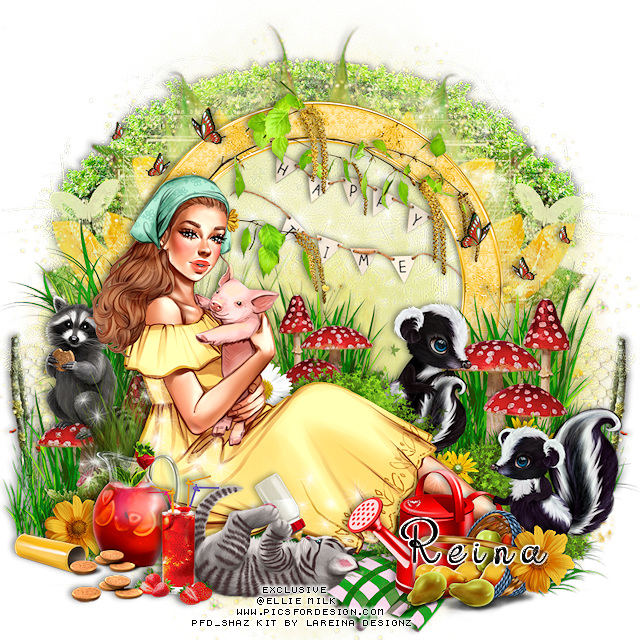
PTU Happy Times


 This tut was written May 21 st, 2022 for those with a basic knowledge of psp. 

I am using the awesome artwork of Ellie Milk
This is an Exclusive called Friend on a picnic
You need a license to use this tube, do not use without a license.
You can find the tube at PFD Store HERE

I used PSP2020...but any of them should work.
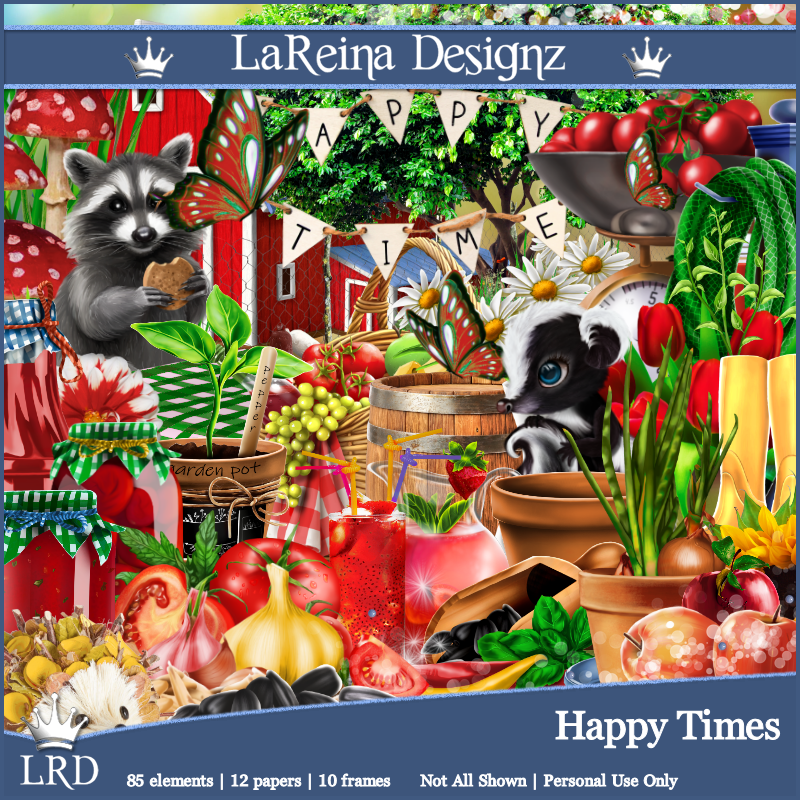
PTU kit Happy Times by LaReina Designz 
Beautiful kit 85 elements, 12 papers and 10 frames
  HERE HERE 
Mask of choice, I used Miz Teeques Mask 355 HERE
Check out the rest of the Blog HERE
Filter
Mura Meister Copies-Encircle
Font of choice, I used Orhydea

Drop shadow is V -1 H -4, 40, 10, or use what you prefer.
Let's get started
*Remember to add your drop shadow as you go along*

Open a new image 800 x 800, paste paper 2, apply your mask, delete, merge group,
duplicate, mirror, merge down.

Paste frame 4, resize to 70%, paste above the mask layer.
Paste element 27 below the mask layer on the left, duplicate, mirror, erase the center
part in the frame.
Paste element 30 at the bottom being on the top layer.

Paste element 7 above the green check blanket.
Resize element 31 to 30%, paste on the right below the grass layer.
Resize element 32 to 30%, paste at the lower right above the grass.

Resize your tube to 40%, mirror, paste at the bottom below the skunk.

Resize element 46 to 40%, paste on the right below the skunk, duplicate, mirror,
duplicate again, resize to 75%, move to the center behind the tube.
Resize element 3 to 30%, paste on the left on the mushroom below the grass layer.

Resize element 20 to 30%, paste at the lower right above the skunk.
Resize element 45 to 30%, paste at the lower right below the basket.
Resize element 14 to 35%, paste at the bottom being on the top layer.

Resize element 66 to 35%, paste at the lower left.
Resize element 67 to 25%, paste by the pitcher.
Resize element 2 to 15%, paste by the pitcher to the left.
Resize element 1 to 25%, paste at the lower left below the cookies.
Resize element 83 to 90%, apply Mura Meister Copies-Encircle, default settings,
move below the mask layer.

Resize element 78 to 60%, paste on the frame at the top.
Resize element 68 to 25%, paste on the right, duplicate, mirror.
Resize element 26 to 15%, paste at the lower right above the basket, duplicate, mirror,
move behind the canister of cookies.
Resize element 74 to 50%, paste on the left behind the raccoon.
Resize element 81 to 75%, paste at the bottom above the tube, duplicate, flip,
move below the frame.

Resize element 73 to 55%, free rotate to the right at 20 degrees, paste below the
frame layer.
Paste element  80 below the mask layer to one side, duplicate, mirror, erase
the parts showing in the frame.

Add any other elements that you would like, make it your own.
Always readjust your mask and elements how you like them before you
 merge your tag, resize, sharpen.

Crop your tag to be sure no shadows or lines are on the edges.
 Then add your copyright and name.
That's it

Hope you enjoyed doing my tut.   

Sunday, May 15, 2022

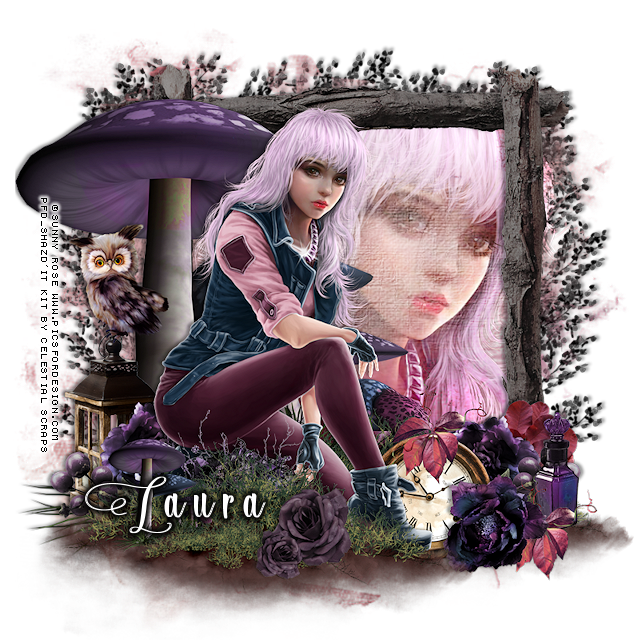
PTU Dark Valley


This tut was written May 15th, 2022 for those with a basic knowledge of psp. 

I am using the awesome artwork of  Sunny Rose 
Tube is Oksana
You need a license to use this tube, do not use without a license.
You can this tube at PFD  HERE
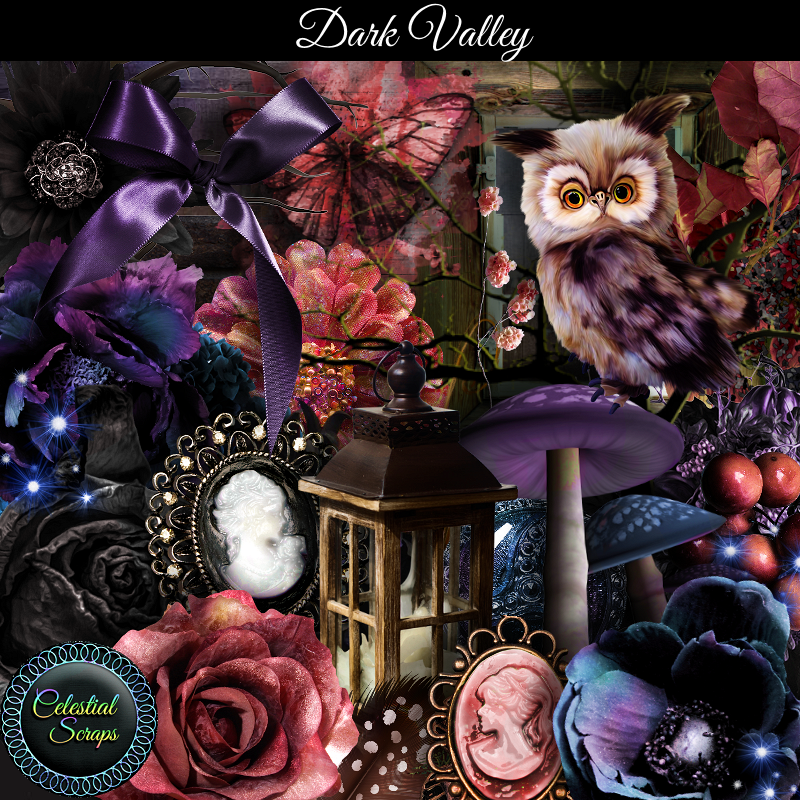
PTU kit Dark Valley by Celestial Scraps  HERE
Miz Teeques Mask 241 HERE 
Check out the rest of the Blog HERE

Font of choice, I used Lonely Basket

Drop shadow is V -1 H -4, 40, 10, or use what you prefer.
Let's get started
*Remember to add your drop shadow as you go along*

Open a new image 800 x 800, paste paper 11, apply your mask,
 delete, merge group. Resize larger to 115

Paste element 16, click inside with your magic wand, expand by 5,
resize your tube to 75%, mirror, paste below the frame, invert, delete, select none.
Change the blend mode to Overlay.

Paste element 47 above the frame on the left.
Paste element 31 at the bottom to the right, duplicate, move to the left and 
down a bit.
Resize your tube to 30%, mirror, paste between the grass layers to the left.

Resize element 69 to 40%, paste on the left above the mushrooms.
Resize element 96 to 25%, paste on the lantern.
Resize element 79 to 25%, paste on the left above the lantern, duplicate, mirror.
Resize element 87 to 30%, paste at the lower right below the tube.
Resize element 48 to 25%, paste at the lower left above the flower, duplicate, mirror.

Resize element 81 to 25%, paste at the lower right.
Resize element 10 to 25%, paste on the right below the flowers.
Resize element 13 to 25%, paste at the lower right below the top flower, duplicate,
move above the clock.
Resize element 82 to 25%, paste on the right below the leaves and flower.

Paste element 39 on the left above the mask layer, duplicate, mirror, move below 
the mask layer, erase any part showing on the face of the tube.
Duplicate the left tree, free rotate to the right at 90, move to top, erase any part
showing on the tube.
Resize element 56 to 20%, paste at the bottom being on the top layer.

Duplicate the mushroom, move to the top layer, resize to 50%, move to the lower left.
Duplicate the grass layer, resize to 50%, move above the mushrooms at the bottom and
below the flower.
Resize element 80 to 40%, paste above the tube at the bottom.

Add any other elements that you would like, make it your own.
Always readjust your mask and elements how you like them before you
 merge your tag, resize, sharpen.

Crop your tag to be sure no shadows or lines are on the edges.
 Then add your copyright and name.
That's it

Hope you enjoyed doing my tut.       
Saturday, May 14, 2022

PTU Enchanting Dawn


This tut was written May 14th, 2022 for those with a basic knowledge of psp. 

I am using the awesome artwork of Sybile Art 
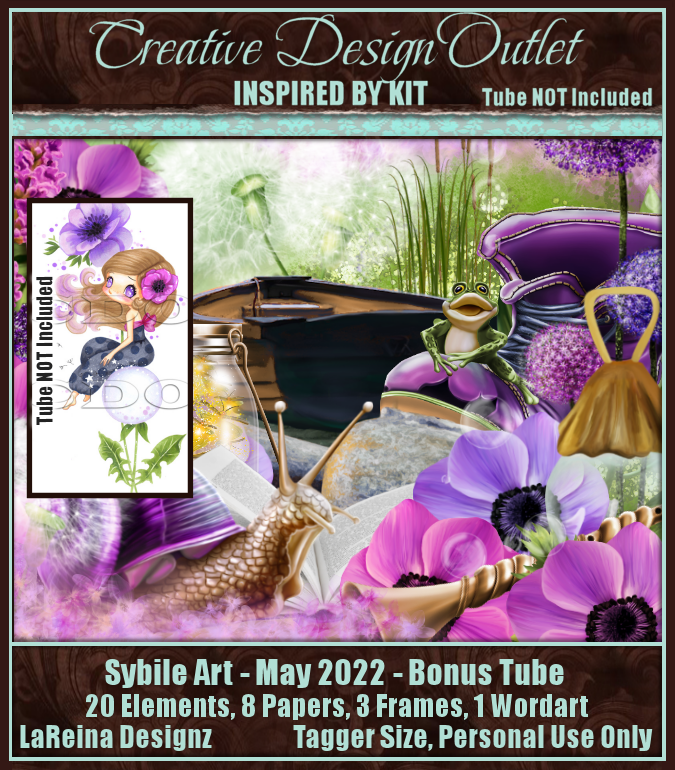
Tube is Sybile Art-May 2022 Bonus Tube
You need a license to use this tube, do not use without a license.
If you spend $10.00 in May on this artist you can get this bonus tube 
CDO HERE  

I used PSP2020...but any of them should work.
PTU kit ScrapLDR_IB-SybileArt-May2022-bt HERE 
Beautiful kit with 20 elements, 8 papers, 3 frames and 1 wordart
Mask of choice, I used RD Mask 852 HERE
Check out the rest of the Blog HERE

Font of choice, I used Camellia

Drop shadow is V -1 H -4, 50, 10, or use what you prefer.
Let's get started
*Remember to add your drop shadow as you go along*

Open a new image 800 x 800, paste paper 2, apply your mask, delete, 
merge group.
Apply paper 1, apply the same mask, delete, merge group, merge down.

Paste tube, mirror, move back to the left, apply the mask, delete, merge group.
Blend mode to Overlay.
Resize frame 1 to 75%, paste to the left above the tube.

Paste element 18 on the frame toward the bottom, duplicate, move to the right
and down more.
Resize element 17 to 95%, paste at the bottom to the left.
Resize element 1 to 40%, paste on the right below the boat layer, duplicate, mirror.

Resize the tube to 45%, paste on the right so the feet are touching the boat.

Resize element 18 to 65%, paste at the bottom being on the top layer to one side,
duplicate, mirror.
Paste element 20 below the green layer, duplicate, mirror.
Resize element 19 to 50%, paste above the boat layer to the left.
Resize element 12 to 35%, paste between the green at the bottom.

Resize element 14 to 30%, paste on the right below the green, duplicate, move over
and down a bit.
Resize element 13 to 20%, mirror, paste on the seat of the boat.
Resize element 11 to 30%, paste at the lower left below the green.
Resize element 16 to 25%, paste above the boat, duplicate a few times and move 
where you like.
Resize the wordart to 85%, seperate the words and paste one above the frame,
and the other to the right above the tube.
Add a bevel or glass if you like.
Resize element 8 to 15%, paste by the boot at the bottom, duplicate, move to the left
behind the bottle.
Resize element 3 to 25%, paste at the bottom by the boot.

Add any other elements that you would like, make it your own.
Always readjust your mask and elements how you like them before you
 merge your tag, resize, sharpen.

Crop your tag to be sure no shadows or lines are on the edges.
 Then add your copyright and name.
That's it

Hope you enjoyed doing my tut.