Thursday, December 28, 2023

PTU Frosty Pink


 This tut was written  December 28th, 2023 for those with a basic knowledge of psp. 

I am using an adorable AI generated tube by Carita Creationz
The tube is included in the kit.
Everything used in this tutorial is included in the kit
Read the TOU on how to credit your tags

I used PSP2020...but any of them should work.
PTU Scrap Frosty Pink by Scraps Dimensions  HERE
Check her blog to see what stores her kits are in and check out 
all of her kits.
Mask of choice I used RD Mask 731 HERE
Check out the rest of the blog HERE

 Font of choice, I used Follow Me

Drop shadow as you go is V -2 H -4, 40, 10, or use what you prefer.
Let's get started
*Remember to add your drop shadow as you go along*

Open a new image 800 x 800, paste paper 10, apply your mask, duplicate,
mirror.
Paste element 26.
Resize element 37 to 50%, paste at the bottom.
Paste element 21 behind the house on the left, duplicate, mirror.

Resize the tube to 50%, paste to the left.

Resize element 6 to 35%, paste behind the tube on the left, 
duplicate, move to the right of the sled.
Resize element 8 to 50%, paste at the bottom behind the tube by the sled.
Resize element 12 to 50%, paste on the bottom right.
Resize element 11 to 30%, paste at the bottom by the tube.

Resize element 56 to 50%, mirror, paste behind the house on the right.
Resize element 69 to 30%, paste at the bottom above the sled.
Resize element 70 to 30%, paste on the right behind the snowman,
duplicate, mirror.
Resize element 32 to 25%, paste on the bottom left.

Resize element 33 to 35%, paste at the bottom.
Resize element 35 to 35%, paste at the bottom left below the jar.
Resize element 39 to 25%, paste at the bottom.
Resize element 3 to 25%, paste at the bottom right below the gnomes.
Resize element 7 to 25%, paste on the roof.
Resize element 63 to 20%, paste at the bottom.

Resize element 28 to 25%, paste at the bottom right.
Resize element 67 to 20%, paste at the bottom left.
Resize element 57 to 20%, paste at the bottom left.
Resize element 29 to 20%, paste at the bottom.
Paste element 70 at the top behind the house.

Add any other elements that you would like, make it your own.
Always readjust your mask and elements how you like them before you
 merge your tag, resize, sharpen.

Crop your tag to be sure no shadows or lines are on the edges.
 Then add your copyright and name.
That's it

Hope you enjoyed doing my tut.   

PTU Wishes for Christmas


 This tut was written December 28th, 2023 for those with a basic knowledge of psp. 

I am using the awesome tube by ©Verymany

The tube is called  Christmas Angel 3
You need a license to use this tube, please do not use without a license.
You can find the tube at VMT HERE

I used PSP2020...but any of them should work.
PTU Scrap Wishes for Christmas by Doodle by Design  HERE
"Tube is NOT included"
You can find all Doodle by Design kits  HERE
Mask of choice, I used Lori's PSP Graphic Mask 804 HERE
Check out the rest of the blog HERE
Filter 
Mura Meister Copies-Encircle

 Font of choice, I used Fairy Godmother

Drop shadow as you go is V -2 H -4, 40, 10, or use what you prefer.
Let's get started
*Remember to add your drop shadow as you go along*

Open a new image 800 x 800, paste paper 12, apply your mask,
duplicate, change the blend mode to Multiply, merge down.

Resize frame 7 to 75%, paste, click inside with the magic wand,
paste paper 2, invert, delete.
Resize frame 6 to 75%, paste on top of the other frame.
Resize element 68 to 35%, flip, apply Mura Meister Copies-Encircle, 
first 3 numbers on 12, 50, 50, move below the paper layer.
Paste element 37 on the frame on the left.
Paste element 42 on the bottom layer at the top, duplicate, flip.
Paste element 100 below the fan on the left, duplicate, mirror.

Resize your tube to 35%, paste.

Resize element 9 to 35%, paste behind the tube on the right,
duplicate, mirror.
Paste element 36 at the bottom above the tube.
Resize element 68 to 25%, paste on the bottom right below the cloud,
duplicate, mirror, move down.
Resize element 10 to 35%, paste below the cloud to the left, go to Adjust,
Hue and Saturation, Colorize, both numbers on 0, duplicate, move
to the right below the flower.

Resize element 123 to 85%, paste on one side, duplicate a couple of times,
 merge them together.
Paste element 31 on the bottom layer at the top, duplicate, move to the 
bottom.
Resize element 28 to 35%, paste on the left below the cloud.
Resize element 3 to 30%, paste on the right below the cloud.
Paste element 33 at the bottom below the cloud.
Paste element 32, flip, move at the bottom below the lights by the books,
duplicate twice, move over.
Paste element 119 on the top layer, erase the parts on the face.
Resize element 41 to 30%, paste on the left behind the tube, duplicate move
above the tube.
Resize element 116 to 50%, paste on the cloud to the right, duplicate, mirror.

Add any other elements that you would like, make it your own.
Always readjust your mask and elements how you like them before you
 merge your tag, resize, sharpen.

Crop your tag to be sure no shadows or lines are on the edges.
 Then add your copyright and name.
That's it

Hope you enjoyed doing my tut

Tag for Lizzy


Wednesday, December 27, 2023

PTU Love Bites


 This tut was written December 27th, 2023 for those with a basic knowledge of psp. 

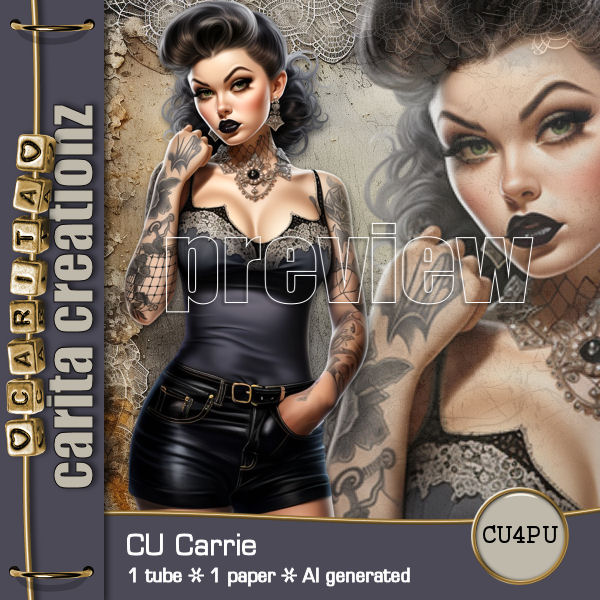
I am using this beautiful AI generated tube by Carita
The tube is call Carrie, it is CU4PU
Read the TOU on how to credit your tags.
You can find the tube at her store HERE

I used PSP2020...but any of them should work.
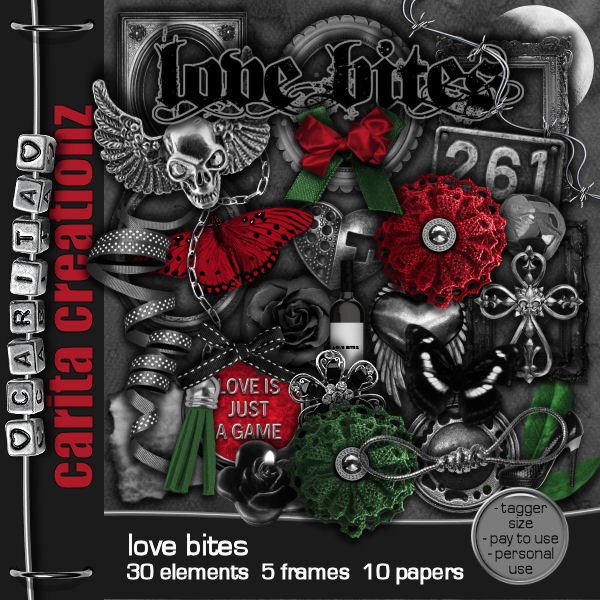
PTU Scrap Love Bites by Carita Creationz  HERE
Check her store out to see all her other kits and tubes HERE
Filter
Mura Meister Copies-Encircle

 Font of choice, I used Franklin Goth Medium

Drop shadow as you go is V -2 H -4, 50, 10, or use what you prefer.
Let's get started
*Remember to add your drop shadow as you go along*

Open a new image 800 x 800

Resize frame 3 to 75%, paste.
Resize frame 4 to 65%, paste above the other frame.
Paste element 2 below the bottom frame.

Paste element 17 below the frames on the left, duplicate, mirror,
select the left one, select all, float, defloat, resize your tube to 45%, paste,
do the same with the right one, only mirror the tube.

Resize frame 3 to 85%, free rotate to the right at 20, move to the bottom layer.
Resize element 20 to 35%, apply Mura Meister Copies-Encircle, first 
3 numbers on 14, 60, 60, move below the round frames.
Resize element 1 to 50%, erase the loop, paste at the top on the frame.

Resize your tube to 45%, paste on the right above the frame.

Resize element 10 to 60%, paste on the left above the frames, duplicate, 
resize to 65%, move below, duplicate again, move down more.
Resize element 11 to 40%, paste on the metal element.
Resize element 9 to 90%, paste at the bottom above the tube.

Resize element 26 to 30%, duplicate 6 more times, paste across the bottom
moving up and down across, move one behind the tube on the right.
Rotate element 12 to 90 degrees left, paste under the wordart.
Paste element 16 on the bottom layer on the left, duplicate, mirror.

Resize element 29 to 50%, paste at the bottom.
Resize element 3 to 25%, paste on the bottle.
Resize element 28 to 40%, paste at the bottom above the bottle, duplicate, 
mirror, move back by the other shoe.
Resize element 30 to 40%, paste at the bottom right, duplicate, move over.
Paste element 14 under the wordart on the bottom left, duplicate, mirror.

Add any other elements that you would like, make it your own.
Always readjust your mask and elements how you like them before you
 merge your tag, resize, sharpen.
Crop your tag to be sure no shadows or lines are on the edges.
 Then add your copyright and name.
That's it

Hope you enjoyed doing my tut.