Sunday, November 8, 2026

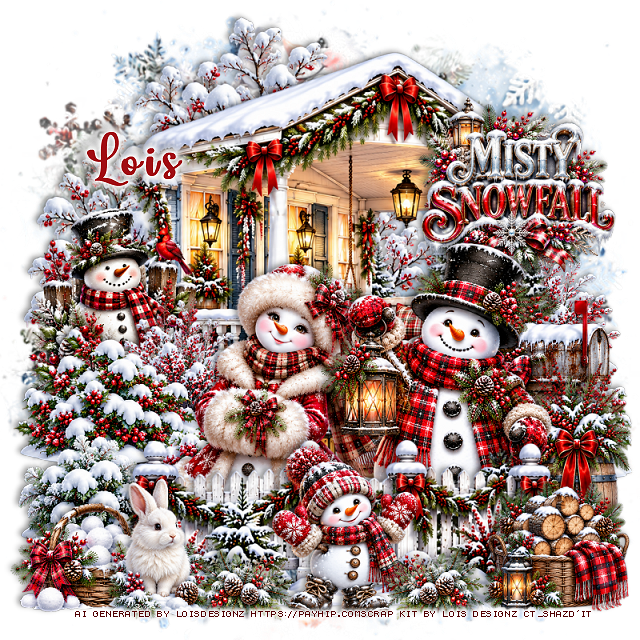
PTU Misty Snowfall


 This tut was written November 8th, 2026 for those with a basic knowledge of psp. 

I am using the Awesome Al kit/Tubes by Lois Designz
Everything used is included in the kit
Please read the TOU on how to credit your tags

I used PSP2020...but any of them should work.
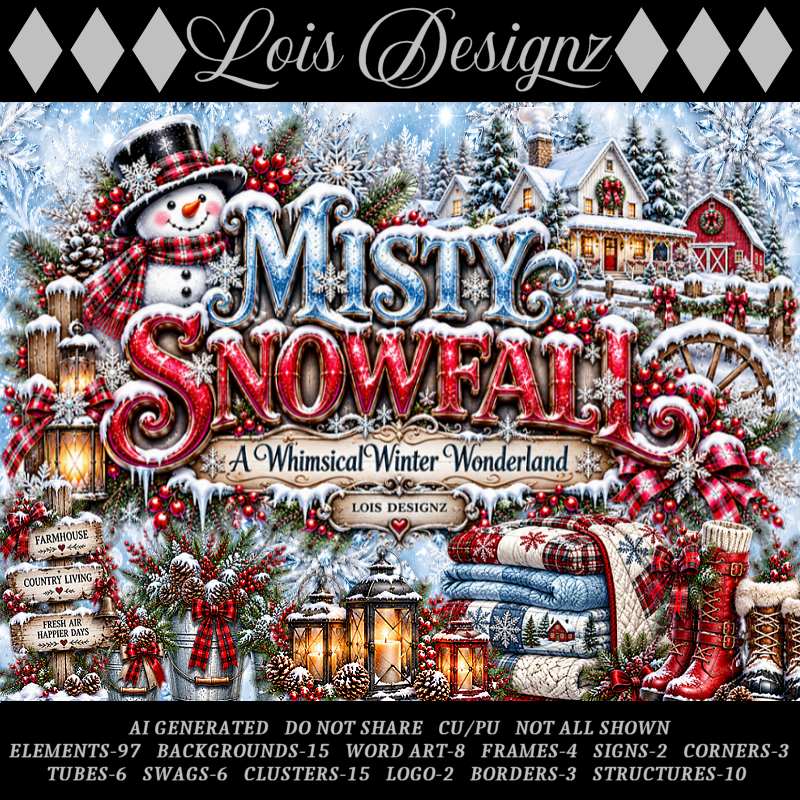
PTU Scrap Misty Snowfall by Lois Designz  HERE
Check her store out to see all her other kits HERE
RD Mask 713 HERE
Check the blog out HERE

Font of choice, I used Lovely Butterfly

Drop shadow as you go is V -2 H 4, 40, 10, or use what you prefer.
Let's get started
*Remember to add your drop shadow as you go along*

Open a new image 800 x 800, paste paper 15, apply your mask.

Resize Structure 5 to 65%, paste on the right.
Resize 64 to 65%, paste below the house on the upper left.
Resize 63 to 40%, paste above the house on the bottom left, duplicate,
move to the right and below the house.
Resize CL 8 to 40%, paste on the left below the bush.
Resize 30 to 30%, paste on the bottom right above the house.

Resize tube 4 and 5 to 40%, paste at the bottom.

Resize 8 to 65%, paste at the bottom above the snowman and woman.
Resize 21 to 30%, paste at the bottom left.
Resize 90 to 25%, paste at the bottom by the basket.
Resize 2 to 25%, paste on the bottom right.
Resize tube 1 to 25%, paste at the bottom.
Resize CL 12 to 25%, paste at the bottom to the left of the little snowboy,
duplicate, mirror.
Resize 11 to 40%, paste on the right above the mailbox.
Resize wordart 2 to 30%, paste on the upper right below the snowman.

Add any other elements that you would like, make it your own.
Always readjust your mask and elements how you like them before you
 merge your tag, resize, sharpen.
Crop your tag to be sure no shadows or lines are on the edges.
 Then add your copyright and name.
That's it

Hope you enjoyed doing my tut.       

Saturday, November 7, 2026

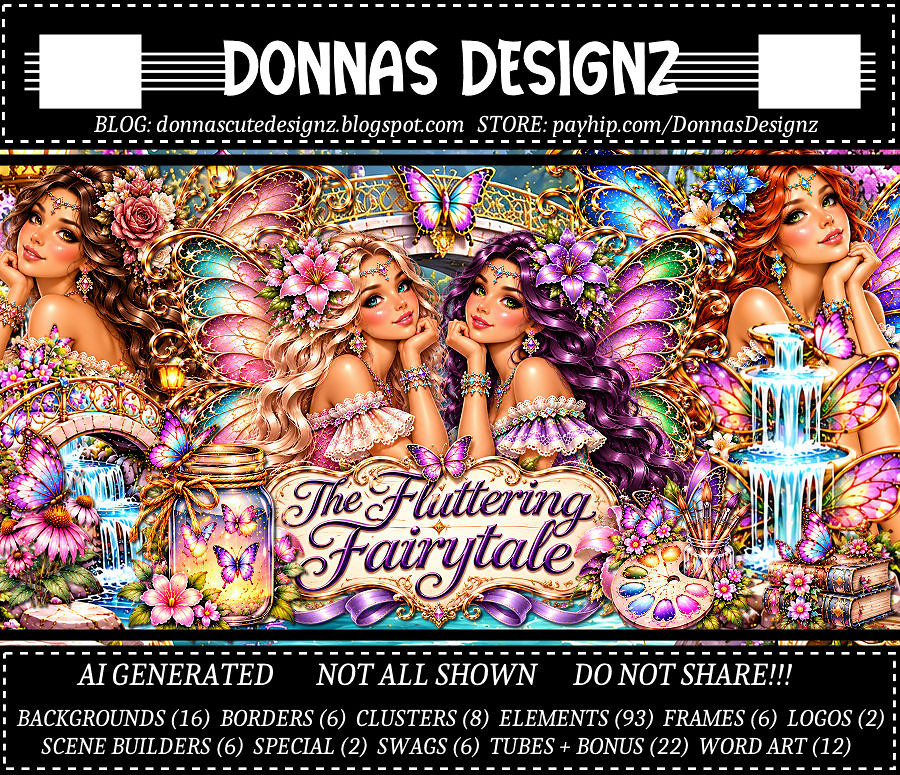
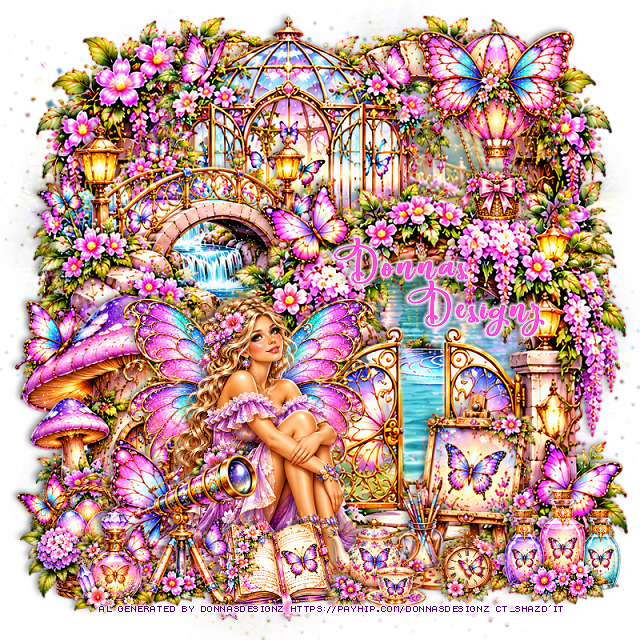
PTU The Fluttering Fairytale

   This tut was written November 7th, 2026 for those with a basic knowledge of psp. 

I am using the Awesome Al kit/Tubes by Donna Designz
Everything used is included in the kit
Please read the TOU on how to credit your tags

I used PSP2020...but any of them should work.
PTU Scrap The Fluttering Fairytale by Donnas Designz  HERE 
Check the rest of her kit at her store HERE
Vivienne's Digital Tagging Mask 30 HERE
Check the rest of the blog HERE

Font of choice, I used Pacific Again

Drop shadow as you go is V -2 H 4, 40, 10, or use what you prefer.
Let's get started
*Remember to add your drop shadow as you go along*

Open a new image 800 x 800, paste paper 6, apply your mask, 

Paste Scene builder 2 to the right, draw around the white part,
delete.
Resize Scene builder 4 to 75%, paste on the left below the gate.
Paste 91 at the top below the bridge.
Resize Bonus tube 1 to 27%, paste at the bottom left.
Resize Scene builder 5 to 65%, paste below the tube on the left.
Resize 90 to 75%, paste at the upper right.
Paste frame 3 at the upper left above the mask, erase the butterfly showing,
duplicate, mirror.

Resize 36 to 75%, mirror, paste at the bottom to the right.
Resize 87 to 50%, paste at the bottom above the tube.
Resize 7 to 65%, paste at the bottom left by the book.
Resize 23 to 50%, paste on the bottom right.
Resize 20 to 40%, paste at the bottom.
Resize Cluster 3 to 40%, paste on the bottom left below the telescope.
Resize Cluster 5 to 27%, paste on the bottom left.
Resize Cluster 6 to 20%, paste at the bottom.

Add any other elements that you would like, make it your own.
Always readjust your mask and elements how you like them before you
 merge your tag, resize, sharpen.
Crop your tag to be sure no shadows or lines are on the edges.
 Then add your copyright and name.
That's it

Hope you enjoyed doing my tut.       
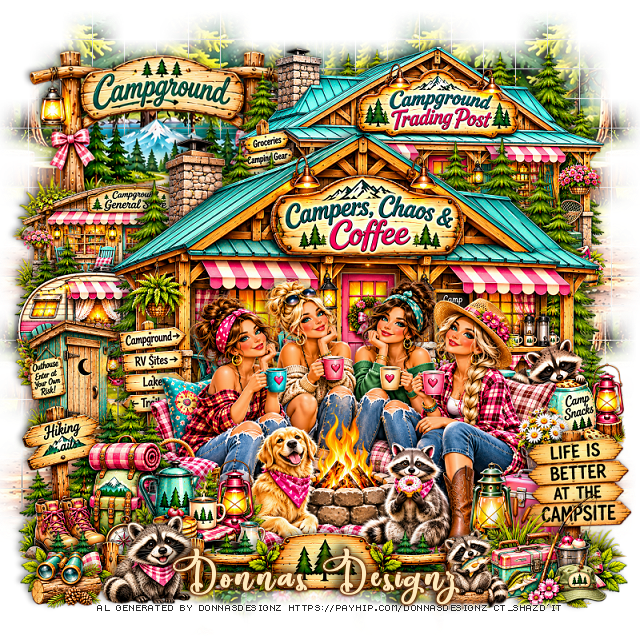
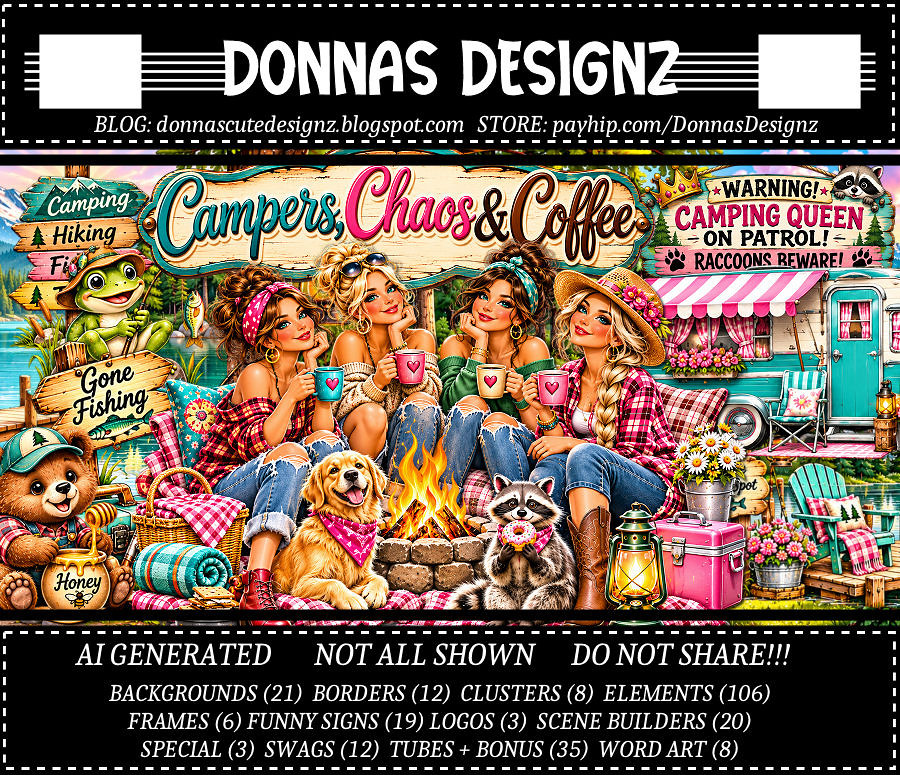
PTU Campers, Chaos & Coffee


 This tut was written November 6th, 2026 for those with a basic knowledge of psp. 

I am using the Awesome Al kit/Tubes by Donna Designz
Everything used is included in the kit
Please read the TOU on how to credit your tags

I used PSP2020...but any of them should work.
PTU Scrap Campers, Chaos & Coffee by Donnas Designz  HERE 
Check the rest of her kit at her store HERE
Weescotlass Creation Mask 84 (link is no longer available) use mask of choice

Font of choice, I used Pacific Again

Drop shadow as you go is V -2 H 4, 40, 10, or use what you prefer.
Let's get started
*Remember to add your drop shadow as you go along*

Open a new image 800 x 800, paste paper 2, apply your mask, 
move to the left, duplicate, mirror, merge, duplicate, move to 
the bottom.

Resize Special 3 to 30%, paste at the upper right.
Resize Special 2 to 40%, paste.
Resize Special 1 to 35%, paste at the bottom.
Resize Scene builder 17 to 75%, paste at the upper left below the buildings.
Resize Scene builder 5 to 40%, paste at the upper left above the sign.

Resize Cluster 3 to 40%, paste on the left below the building.
Resize 46 to 40%, paste on the left below the signs.
Resize Cluster 13 to 30%, paste on the right below the ladies.
Resize Cluster 12 to 40%, paste on the bottom left above the ladies.
Resize 8 to 50%, paste on the bottom right. 

Resize Cluster 10 to 35%, paste at the bottom.
Resize border 12 to 50%, paste at the bottom being on the top layer.
Resize 28 to 35%, paste at the bottom left above the fence.
Resize Cluster 2 to 30%, paste on the bottom right.
Resize 6 to 30%, paste at the bottom right.
Resize 80 to 30%, paste at the bottom left.

Add any other elements that you would like, make it your own.
Always readjust your mask and elements how you like them before you
 merge your tag, resize, sharpen.
Crop your tag to be sure no shadows or lines are on the edges.
 Then add your copyright and name.
That's it

Hope you enjoyed doing my tut.