Tuesday, September 13, 2022

FTU Be Unforgettable

 This tut was written September 12th, 2022 for those with a basic knowledge of psp. 

I am using the awesome artwork of Jennifer Janesko
The tube is "169-2"
You need a license to use this tube, do not use without a license.
You can find this art at CDO Store HERE

I used PSP2020...but any of them should work.
FTU mini with Cluster by E_Scape and Scrap: G&T Designs  HERE
Mask of choice, I used Vivienne's Digital Tagging Mask 18 HERE
Scroll down a bit
Check out the rest of the blog HERE
Filter
Unplugged Tools-Jalusi
Screen Works-Light Gauze
Eye Candy 4000-Gradient Glow

Font of choice, I used Pacific Again

Drop shadow is V -1 H -4, 35, 10, color if choice or use what you prefer.
Let's get started
*Remember to add your drop shadow as you go along*
"A Quickie"

Open a new image 800 x 800, resize freebie 2 to 25%, paste, apply your
mask, delete, merge group. Resize larger to 120%.

Apply the Unplugged Tools- Jalusic filter 
with these settings or play around and get what you like.
11, 10, 64, 48, 32, 64, 255, 0

Resize freebie 3 to 40%, paste on the left and up, add a medium white glow 
with Eye Candy 4000-Gradient Glow

Resize freebie 6 to 25%, paste more to the left.
Take your free hand took draw around the black circle frame,  mirror your tube,
paste so the eye is in the circle, invert, delete, select none.
Duplicate, Adjust, Gaussian blur, number on 4, change the blend mode to Overlay,
merge down.
Apply the Screen Works Filter-Light Gauze, default setting.

Paste your tube on the top layer for now, resize the mask to 75%, apply to 
your tube, delete, merge group, move below the frame on the right, then resize it
to 70% and up on the right.
Change the blend mode to Darken.

Go back to the pink flower, duplicate, flip, resize to 75%, move down on the 
right how you like.

Add any other elements that you would like, make it your own.
Always readjust your mask and elements how you like them before you
 merge your tag, resize, sharpen.

Crop your tag to be sure no shadows or lines are on the edges.
 Then add your copyright and name.
That's it

Hope you enjoyed doing my tut.          

Monday, September 12, 2022

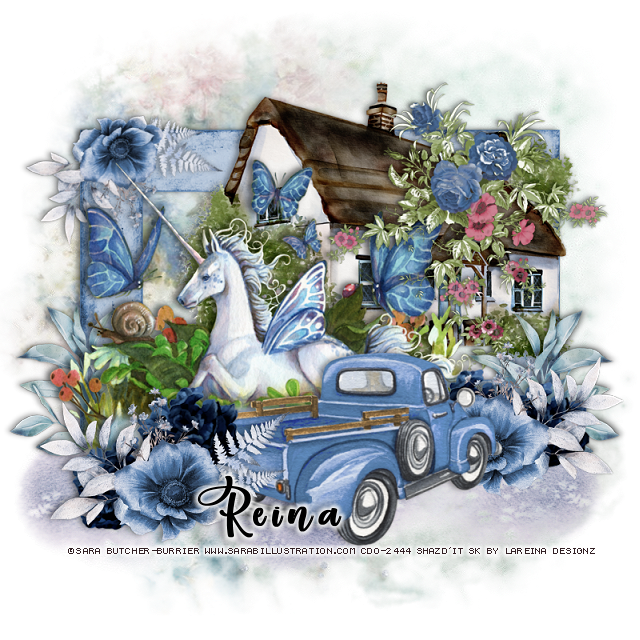
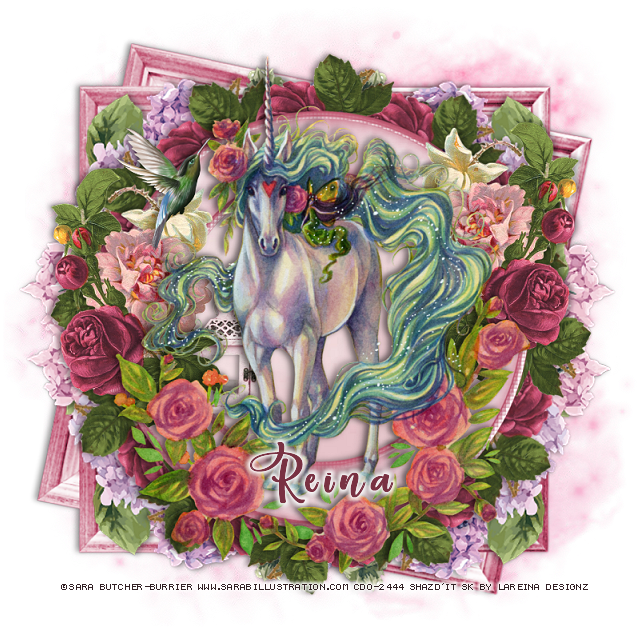
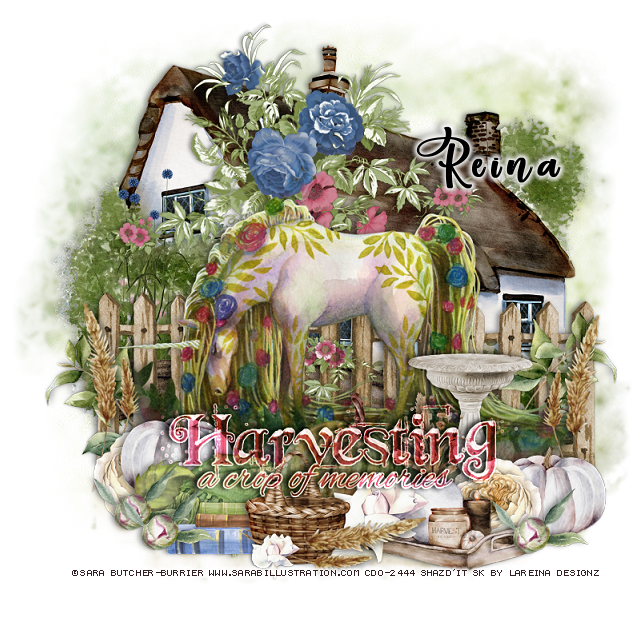
CT Tags Sara Butcher/kit by La Reina Designz

  **CT Tags FOR 🌸🌸 LaReina Designz**🌸🌸

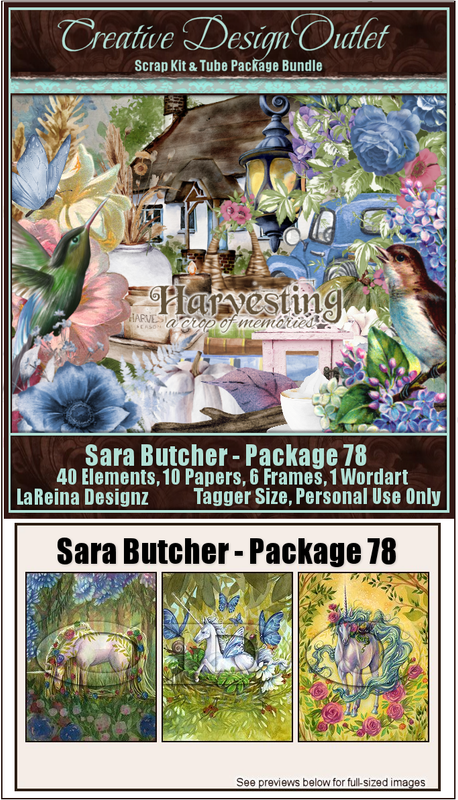
*** New Package by LaReina Designz ***
*NEW Scrap Bundle kits in store*
ScrapLRD_Sara Butcher-Package-78
HERE
Awesome kits to go with the new package by Sara Butcher
This kits is wow beautiful 40 elements, 10 papers, 6 frames and 1 wordart
Below are the tags I made with this kit


Monday, September 5, 2022

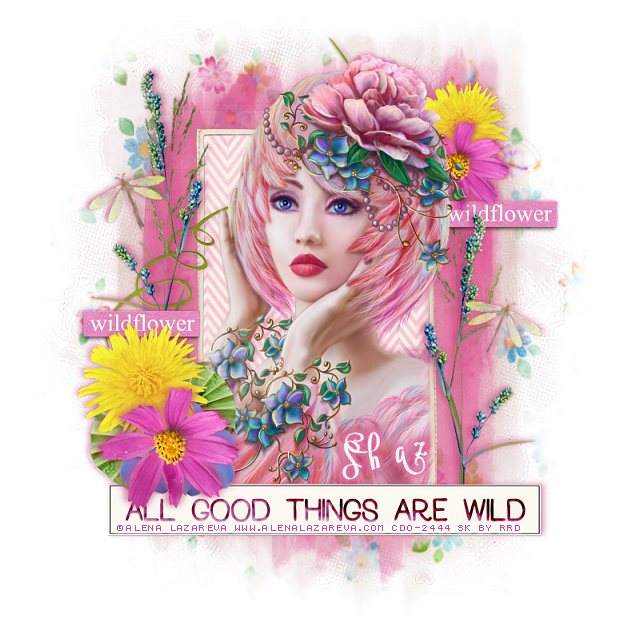
FTU Wildflower

This tut was written September 5th, 2022 for those with a basic knowledge of psp. 

I am using the awesome artwork of Alena Lazareva
The tube is "August Bonus tube 2018"
You spend $10.00 to get bonus tubes 
You need a license to use this tube, do not use without a license.
You can find this art at CDO Store HERE

I used PSP2020...but any of them should work.
FTU kit Wildflowers at Raspberry Road Designs  HERE
You will have to sign up to the store.
Mask of choice, I used Miz Teeques Mask 183 HERE
Check out the rest of the blog HERE
Filter
Toadies-What Are You

Font of choice, I used Vytorla Mix

Drop shadow is V -1 H -4, 40, 10, color if choice or use what you prefer.
Let's get started
*Remember to add your drop shadow as you go along*
A Quickie tut

Open a new image 800 x 800, resize paper 4 to 22%, paste, apply your mask, delete, 
merge group.
Duplicate, change the blend mode to Multiply, merge down, resize to fit tag.

Resize element 8 to 35%, paste, duplicate, on the bottom one apply 
Toadies filter-What Are You, 
default setting, move below the paper layer of 
the frame.
Click inside the frame, expand by 5, resize paper 1 to 20%, paste invert, delete.

Paste your tube below the frame, delete the part outside the frame, duplicate, 
move above the frame, erase the parts outside the frame.

Resize element 16 to 25%, paste on the left on the frame below the tube.
Resize element 7 to 15%, paste on the frame on the left, duplicate, mirror, move
down on the frame on the right.
Resize element 6 to 20%, free rotate to the left at 90 degrees, paste on the left,
being on the top layer, duplicate, mirror, move down a little.

Resize element 10 to 50%, paste at the bottom.
Resize element 3 to 25%, paste on the lower left.
Resize element 1 to 35%, duplicate twice, move all three below the pink flower.
Resize element 5 to 25%, paste on the left.
Resize element 13 to 15%, duplicate, move both below the other flowers.
Duplicate the pink and yellow flower, resize to 75%, move to the upper right below
the tube.
Resize element 2 to 25%, duplicate, move one to the upper right below the pink
flower, move the other one to the left below the yellow flower.
Resize element 15 to 10%, paste on the left being on the top layer, duplicate, mirror.

Add any other elements that you would like, make it your own.
Always readjust your mask and elements how you like them before you
 merge your tag, resize, sharpen.

Crop your tag to be sure no shadows or lines are on the edges.
 Then add your copyright and name.
That's it

Hope you enjoyed doing my tut.