Tuesday, May 28, 2024

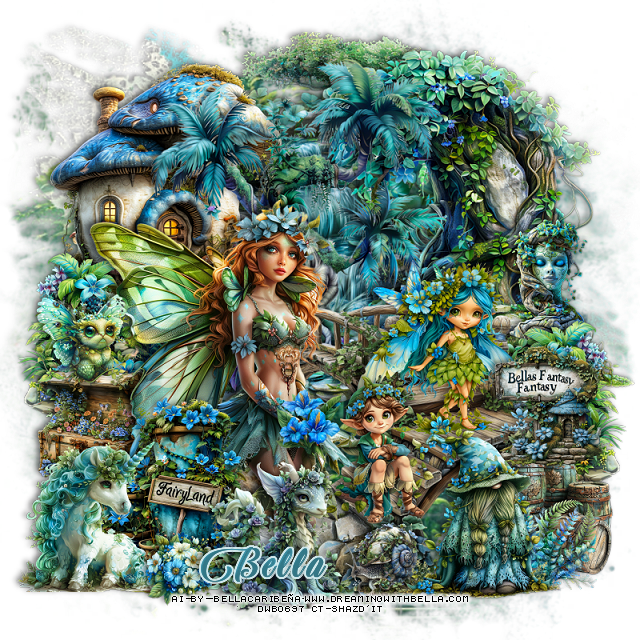
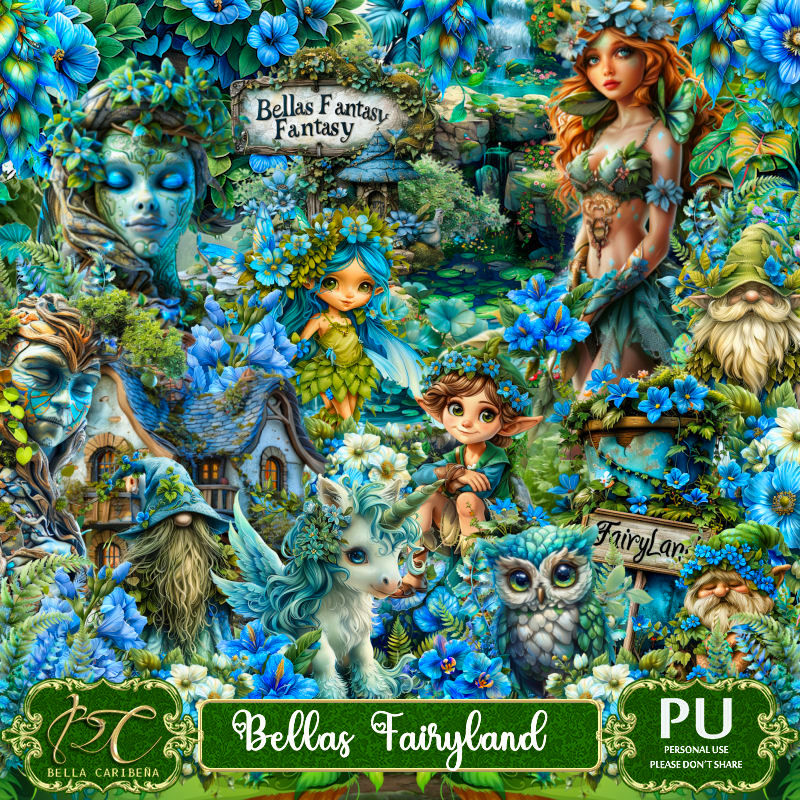
PTU Bella's Fairyland


This tut was written May 29th, 2024 for those with a basic knowledge of psp. 

AI generated tubes and kit by Bella Caribeña
Awesome Bella's Fairyland Tubes
Read the TOU on how to credit your tags.

I used PSP2020...but any of them should work.
PTU Scrap Bella's Fairyland by Bella Caribeña  HERE 
Fantasy theme, this kit has 2 Al generated tubes by Bella, 
13 dolls, 120 elements  and 16 papers. This kit is for personal use Only. 
Check out the rest of her store HERE
Mask of choice, I used RD Mask 798 HERE
Check out the rest of the blog HERE

Font of choice, I used Candle Mustard

Drop shadow as you go is V -2 H 4, 50, 10, or use what you prefer.
Let's get started
*Remember to add your drop shadow as you go along*

Open a new image 800 x 800, paste paper 7, apply your mask.

Resize Al element 48 to 50%, paste at the upper left.
Resize Al element 43 to 70%, paste on the upper right.
Resize Al element 36 to 75%, paste on the bottom layer at the top.
Resize Al element 64 to 70%, paste.
Resize Al element 40 to 35%, paste on the right, duplicate, mirror.
Resize Al element 71 to 70%, paste off center to the right and down.

Resize tube 1 to 40%, paste at the bottom to the left.

Resize Al doll 5 to 35%, paste on the bridge.
Resize Al element 56 to 25%, paste on the left below the tube.
Resize Al element 49 to 25%, paste on the right above the tree.
Resize Al element 26 to 15%, paste at the bottom right above the bridge.
Resize Al element 7 to 35%, paste at the bottom right.
Resize Al element 25 to 15%, paste at the bottom.
Resize Al element 77 to 20%, paste at the bottom right below the gnome.

Resize Al element 78 to 40%, paste on the bottom left above the tube.
Resize Al-element 33 to 30%, paste at the bottom left.
Resize Al element 1 to 20%, paste on the left on the chest.
Resize Al element 30 to 25%, paste on the right on the barrels.
Resize Al element 15 to 15%, paste at the bottom by the unicorn.
Resize doll 1 to 30%, paste on the bridge steps.
Resize Al element 3 to 30%, paste at the bottom.

Add any other elements you would like, resize.
Crop your tag to be sure no shadows or lines are on the edges.
 Then add your copyright and name.
That's it

Hope you enjoyed doing my tut      

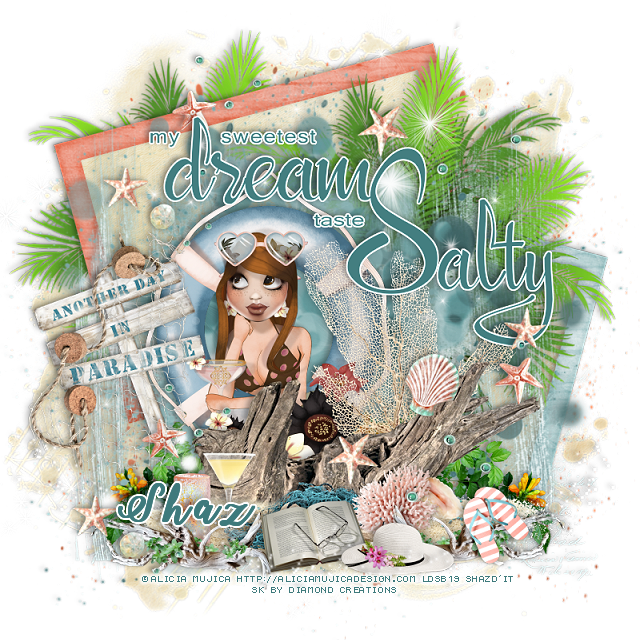
FTU Dreaming of Summer

This tut was written May 28th, 2024 for those with a basic knowledge of psp.
I am using an awesome tube ©Alicia Mujica
The tube is called Azure
You need a license to use this tube, please do not use without a license
I could no longer find this tube at her store, but you can check out 
her store for all her other tubes HERE

I used PSP2020...but any of them should work.
FTU Scrap Dreaming of Summer by Diamond Creations HERE  
Check out the rest of her blog HERE
Mask of choice, I used Rd Mask 897 HERE
Check out the rest of the blog HERE 
 
Font of choice I used Bold & Stylish Calligraphy

Drop shadow is V -2 H -4, 35, 10, Black or use what you prefer.
Let's get started
*Remember to add your drop shadow as you go along*

Open a new image 800 x 800, paste paper 12, apply your mask.
Paste element 8 on the left, duplicate, mirror.
Paste element 20, click inside with the magic wand, paste paper 12,
invert, delete.

Resize element 62 to 75%, paste on the left, duplicate, move to the right,
drop shadow at 35.
Paste element 7, resize larger to 105%.
Paste element 9.
Paste element 48 at the bottom.
Paste element 40 at the top, give it a white background.

Resize the tube to 30%, paste below the log and wordart.

Resize element 27 to 40%, paste at the bottom left, duplicate, move to the right.
Paste element 60 below the tube layer.
Paste element 42 on the mask layer on the upper right, erase the bottom,
duplicate, move to the left below frame.
Resize element 57 to 50%, paste on the bottom right below the splatter,
duplicate, mirror.

Resize element 52 to 40%, paste on the bottom left below the log.
Resize element 39 to 25%, paste by drink.
Paste element 61 at the bottom, duplicate, merge down.
Resize element 34 to 30%, paste at the bottom below the logs.
Resize element 70 to 75%, paste on the left, free rotate to the left at 20,
erase the bottom part over the greenery.
Resize element 47 to 50%, paste on the sign.
Resize element 64 to 85%, paste above the sign at the bottom,
duplicate, move to top below the wordart, erase some of the shell and 
stars.
Resize element 6 to 35%, paste at the bottom by the book.
Resize element 41 to 25%, paste at the bottom right.

Add any other elements you like, once happy, add your name
and copyright.
Crop your tag to be sure no stray shadows or lines or on the edges.

That's it

Hope you enjoyed doing my tut.   

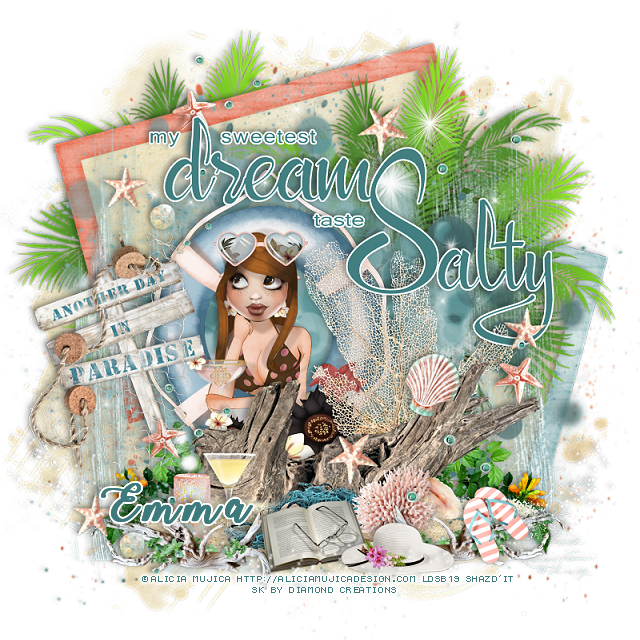
Tag for Emma 


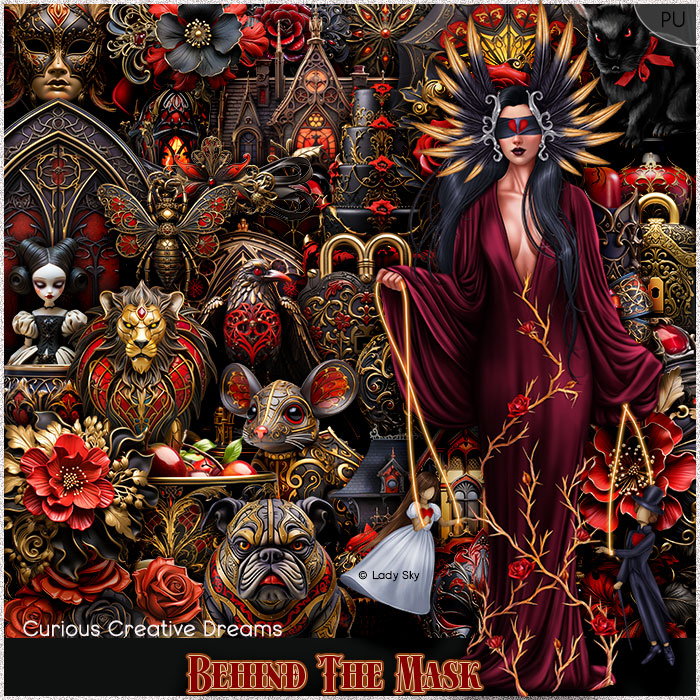
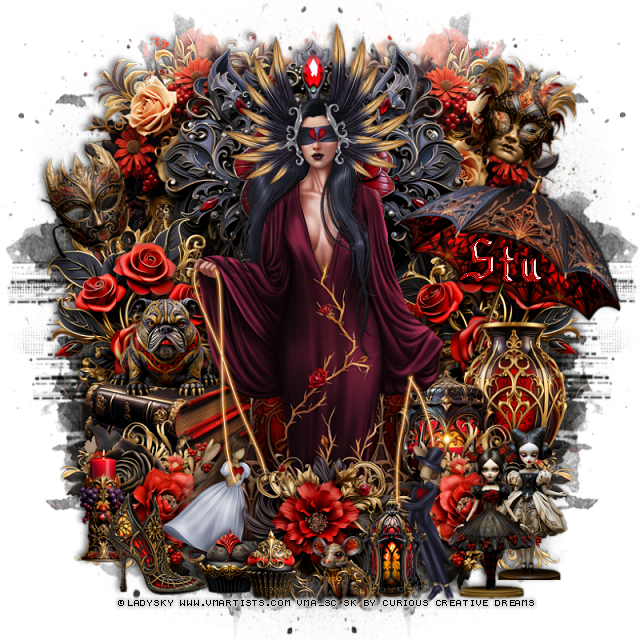
PTU Behind The Mask


This tut was written  May 28th, 2024 for those with a basic knowledge of psp. 

I am using an Awesome tube by ©LadySky

The tube is called  Inessa
You need a license to use this tube, please do not use without a license
You find the tube at VMA HERE

I used PSP2020...but any of them should work.
PTU Scrap Behind The Mask by Curious Creative Dreams  HERE 
"Tube is NOT included"
You can find all Curious Creative Dreams kits HERE
 Mask of choice, I used Vivienne's Digital Tagging Mask 41 HERE
Check out the rest of the blog HERE

 Font of choice, I used Benegraphic

Drop shadow as you go is V -2 H -4, 50, 10, or use what you prefer.
Let's get started
*Remember to add your drop shadow as you go along*

Open a new image 800 x 800, paste paper 7, apply your mask, move
to the left, duplicate, mirror.

Resize element 45 to 65%, paste.
Resize your tube to 15%, paste, erase the bottom part of the dress.
Resize element 85 to 25%, paste at the bottom left below the tube,
duplicate, mirror.
Resize element 79 to 30%, paste on the upper left behind the tube, 
duplicate, mirror.
Resize element 25 to 40%, paste behind the tube at the top.

Resize element 81 to 22%, paste at the bottom above the tube.
Resize element 92 to 30%, paste on the left below the bottom flowers, 
duplicate, mirror.
Resize element 3 to 25%, paste on the left below the flower.
Resize element 10 to 15%, paste on the books.
Resize element 18 to 25%, paste on the right below the flower.
Resize element 41 to 20%, paste below the tube on the right by the vase.

Resize element 36 to 30%, free rotate to the right at 20, paste below
the vases on the right.
Resize element 30 to 15%, free rotate to the left at 20, paste on the left.
Resize element 29 to 15%, free rotate to the right at 20, paste on the upper right.
Resize element 26 to 15%, paste at the bottom being on the top layer.
Resize element 56 to 10%, paste at the bottom.
Resize element 33 to 15%, paste at the bottom left.
Resize element 7 and 8 to 10%, paste at the bottom.
Resize element 27 to 15%, paste at the bottom left.
Resize element 34 and 62 to 20%, paste at the bottom right.

Add any other elements that you would like, make it your own.
Always readjust your mask and elements how you like them before you
 merge your tag, resize, sharpen.

Crop your tag to be sure no shadows or lines are on the edges.
 Then add your copyright and name.
That's it

Hope you enjoyed doing my tut.    

Tag for Stu