
This tut was written July 29th, 2019 for those with a basic knowledge of psp.
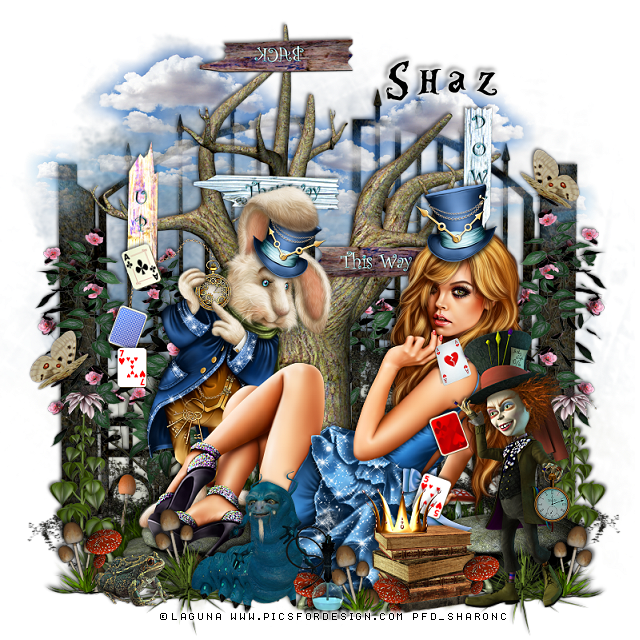
I am using the awesome artwork of Laguna
The tube is called "Alice with White Rabbit"
You need a license to use this tube, do not use without a license.
You can find this tube at PFD store HERE
Drop shadow is usually V-2 H-2 Black, 50, 5, use what you prefer.
Let's get started
*Remember to add your drop shadow as you go along*
Open a new image 800 x 800 or a size you prefer, select all, add a new
layer, paste paper 6 into selections, select none, apply your mask.
Resize element 21 to 70%, paste center on the mask layer.
Resize your tube to 27%, paste at the bottom above the tree.
Resize element 68 to 40%, paste below the tree on the right, duplicate, mirror,
erase a bit of the straight edge showing on the clouds.
Resize element 46 to 40%, paste below the tree at the bottom on the right,
duplicate, mirror.
Resize element 72 to 20%, paste below the tube on the right, duplicate, move
more to the right, duplicate once more, move to the left under her feet.
Resize element 1 to 35%, paste on the right below the tree layer, duplicate, mirror.
Resize element 73 to 10%, paste at the bottom left being on the top layer.
Resize element 63 to 20%, mirror, paste at the bottom above the tube.
Resize element 62 to 35%, paste at the lower left.
Resize element 50 to 20%, paste at the bottom below the frog layer, duplicate,
mirror, move behind the little man.
Resize element 17 to 5%, paste down from the card in the tube's hand, rotate
to the left at 20.
Resize element 14 to 5%, free rotate to the right at 20, paste below the red card.
Resize element 13 to 5%, paste on the left by the rabbit, free rotate to the left at 20.
Resize element 16 to 5%, free rotate to the right, paste on the left below the ace.
Resize element 15 to 5%, paste on the blue check card.
Resize element 3 to 20%, paste on the lower left behind the frog, duplicate, mirror.
Resize element 66 to 15%, paste on the upper right by the pink flowers,
duplicate, mirror, move down more on the left.
Resize element 71 to 13%, paste at the bottom between the little man and the
blue bug.
Resize element 33 to 10%, paste at the bottom above the books, duplicate, move
to the left below the greenery, duplicate, move to the left of the frog,
duplicate, mirror, move to the right of the little man.
Resize element 59 to 10%, paste at the bottom by the books, duplicate, mirror,
move below the little man's foot, duplicate once more, move to the left
behind the frog.
Resize element 43 to 7%, paste on the little man's finger.
Resize element 29 to 10%, paste on the books.
Resize element 6 to 65%, paste on the mask layer.
Add any other elements that you would like, make it your own.
Always readjust your mask and elements how you like them before you merge your tag.
Once happy with your tag, close off any background used,
crop your tag to make sure no shadows or anything on the edges, merge visible.
Resize your tag first, then add your copyright and name.
That's it
Hope you enjoyed doing my tut.
Thank you!
ReplyDeletehugs wally