

This tut was written Nov 21th, 2019, for those with a basic knowledge of psp.
I am using the awesome artwork of Vi Nina
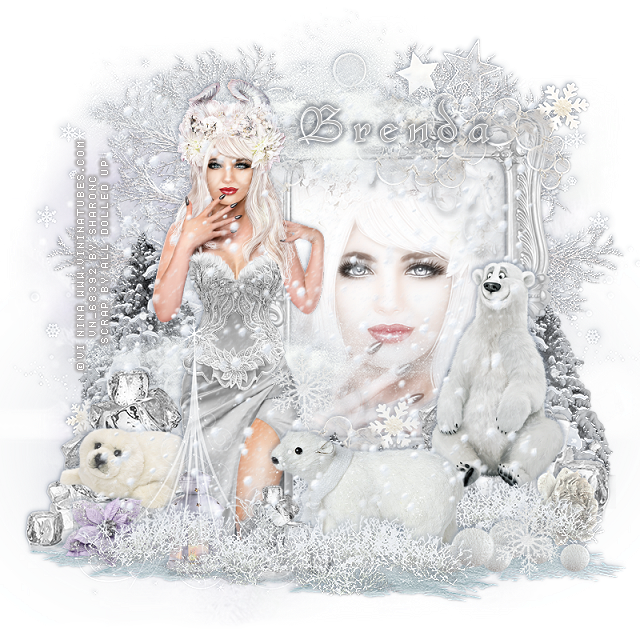
The tube is "Winter Queen"
You need a license to use this tube, do not use without a license.
You can find this tube at her store HERE
Drop shadow is usually V-2 H-2 Black, 45, 10, use what you prefer.
Let's get started
*Remember to add your drop shadow as you go along*
Open a new layer 800 x 800
Paste paper 16, apply your mask, delete, merge group.
(Just a note, you may want to close off the ice cube layers at times)
Paste element 24 to the right, click inside with your magic wand, expand
by 5, paste paper 11, invert, delete, keep selected.
Paste your tube, delete, select none, change the blend mode to Luminance(L).
Duplicate the tube, go to Adjust, Blur, Gaussian blur, number on 4,
change the blend mode to Screen.
Apply the xero filter, Porcelain, sharpen once.
Click inside the frame, expand by 5, paste element 47 into selection.
Paste element 12 on the mask layer on the left, apply a lighter drop shadow,
I used #7a879a, duplicate, mirror.
Resize your tube to 40%, paste on the left on the frame.
Paste element 44 at the bottom of the frame, duplicate, mirror, move
below the paper layer of the frame on the left.
Paste element 14 on the mask layer to the left, duplicate, mirror.
Paste element 71 at the lower left above the frame, duplicate, move to the
top of the frame.
Resize element 32 to 60%, mirror, paste on the right above the tree layer.
Paste element 53 at the bottom behind the tube to the right, duplicate,
move above the tube to the left a bit.
Paste element 51 behind the bear on the right, duplicate, mirror.
Resize element 3 to 50%, paste on the ice on the left behind the tube.
Paste element 64 at the bottom under the ice grass to one side, duplicate,
mirror.
Resize element 1 to 50%, paste below the top ice grass to the right of the tube.
Resize element 42 to 30%, paste below the ice grass in front of the tube.
Paste element 16 above the ice grass in front of the lantern.
Paste element 56 at the top below the tube and move over part of the circles,
duplicate, mirror, move down lower and to the left.
Resize element 65 to 40%, paste at the lower right below the ice grass.
Resize element 152 to 25%, paste at the lower left below the ice grass.
Resize element 109 to 25%, mirror, paste at the lower right below the ice grass.
Resize element 111 to 20%, paste on the tube to the right, duplicate, move
down above the snowballs.
Paste element 40 on the top layer.
Add any other elements that you like, make your own.
Remember to always adjust all the elements how you like on your tag,
then resize your mask if needed before merging your tag.
Once happy, close off any background you had.
Crop your tag to get rid of any stray edges, merge visible.
Resize, sharpen, add your Copyright and name.
That's it
Hope you enjoyed doing my tut.
No comments:
Post a Comment