Monday, December 30, 2019

PTU Bonny


This tut was written Dec 30th, 2019, for those with a basic knowledge of psp.
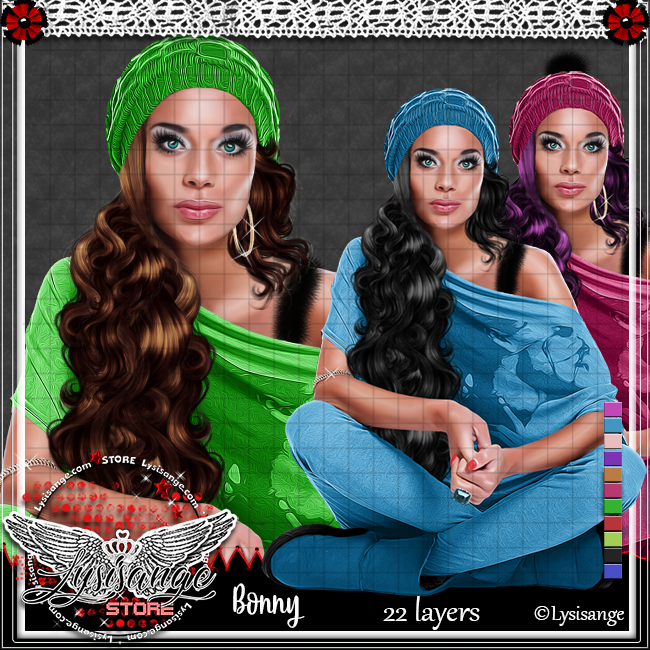
I am using the awesome tube by artist LysIsange
Tube is called "Bonny"
She comes in different colors to choose from.
 You need a license to use this art, please do not use without a license.
You can find this tube at LysIsange store HERE

I used PSPX...but any of them should work.
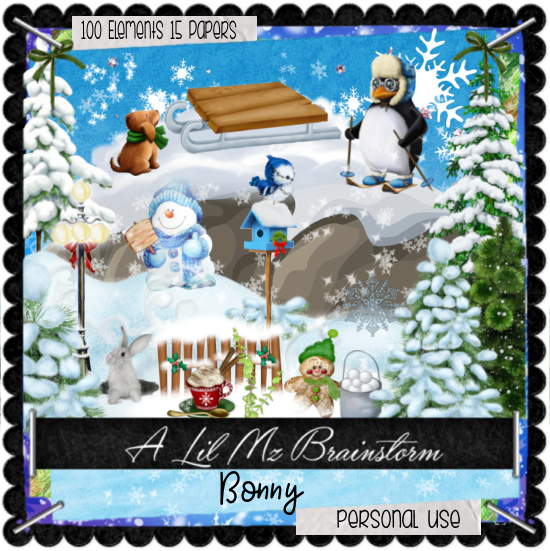
PTU kit Bonnyby LMB at HERE or HERE
Mask of choice, I used DFly 0038  HERE
Check out the rest of the blog HERE

Font of choice,  I used Christmas Wish Calligraphy

Drop shadow is usually V-2 H-2 Black, 50, 5, use what you prefer.
Let's get started
*Remember to add your drop shadow as you go along*

Open a new image 800 x 800
Paste the first paper 1, apply your mask, delete, merge group.
Paste element 30 to the right.

Resize your tube to 60%, paste above the tree to the left a bit.

Paste element 60 below the tree to the left, duplicate, mirror.
Resize element 93 to 50%, mirror, paste below the tube on the right.
Resize element 94 to 50%, paste below the tube on the left.

Paste element 23 above the tree on the right, duplicate, mirror.
Resize element 18 to 40%, paste below the wagon on the right.
Resize element 78 to 35%, paste above the tube at the lower left.

Resize element 82 to 35%, paste below the dog in front of the tube.
Resize element 76 to 20%, paste at the bottom below the dog, duplicate 
a few times, mirror a couple of them and place how you like.

Resize element 67 to 20%, paste at the bottom above the book.
Resize element 46 to 75%, flip, paste on one side on the mask,
duplicate, mirror.

Paste element 80 above the snowflakes.
Resize element 90 to 85%, paste behind the house on the left, duplicate, 
move to the center, duplicate, move to the right.
Resize element 88 to 85%, paste behind the tree that is behind the tube.
Resize element 31 to 25%, paste on the sled on the left.
Resize element 73 to 25%, paste at the bottom below the greenery, duplicate,
a few times and move how you like.

Add any other elements you would like, make it your own.
Always remember to adjust the elements before merging to get them like you like.

Once happy with your tag, close off any background, crop your tag to make
sure there are no stray edges, merge visible, resize first.
Add your copyrights and name.

That's it
Hope you enjoyed doing my tut.

Sunday, December 29, 2019

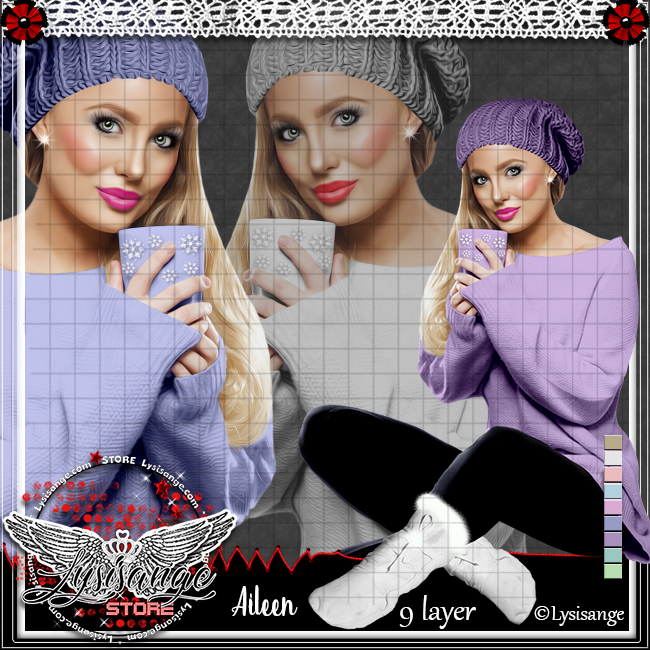
PTU Aileen


This tut was written Dec 29th, 2019, for those with a basic knowledge of psp.
I am using the awesome tube by artist LysIsange
Tube is called "Aileen"
She comes in different colors to choose from.
 You need a license to use this art, please do not use without a license.
Please do not use without a license.
You can find this tube at LysIsange store HERE

I used PSPX...but any of them should work.
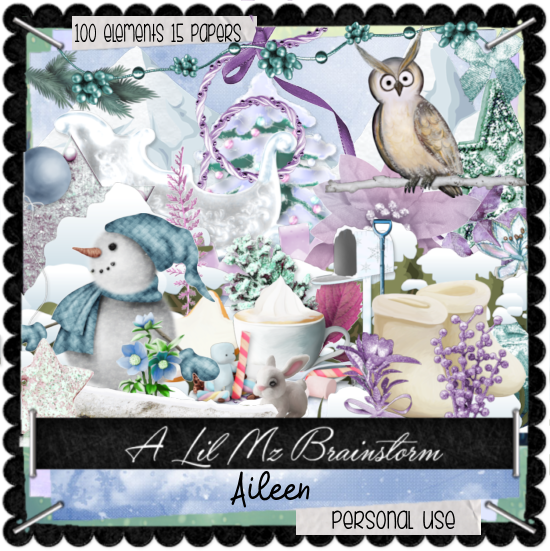
PTU kit Aileen by LMB at HERE or HERE
Mask of choice, I used DFly 0018  HERE
Check out the rest of the blog HERE

Font of choice,  I used Christmas Wish Calligraphy

Drop shadow is usually V-2 H-2 Black, 50, 5, use what you prefer.
Let's get started
*Remember to add your drop shadow as you go along*

Open a new image 800 x 800
Paste paper 10, apply your mask, delete, merge group.

Paste element 8 on the mask and move up.
Paste element 71 on the mountain to the left.

Resize element 64 to 65%, paste on the right below the tree layer.
Click inside with your magic wand, expand by 5, paste paper 12, invert, delete,
keep selected, paste your close up, delete, select none.

Resize element 92 to 90%, paste above the tree at the bottom.

Resize your tube to 50%, paste on the bench.

Paste element 16 at the bottom below the tube.
Go back to the tree, duplicate, resize to 40%, paste at the lower right below
the log layer.
Paste element 86 at the bottom below the tube.
Resize element 3 to 15%, paste at the lower right above the wordart.

Resize element 10 to 25%, paste it on the bench above the tube.
Resize element 88 to 60%, paste below the bench layer on the left.
Resize element 32 to 10%, paste at the lower left below the snow log,
duplicate, mirror, move back by the first pinecone.

Resize element 14 to 20%, paste on the bench above the thermos, duplicate, 
move behind the thermos, duplicate a couple more times and move down on the snow.

Resize element 1 to 10%, paste on the bench.
Resize element 4 to 20%, paste below the behind the bench at the bottom,
duplicate, move over by the mailbox, duplicate again, move below the
mailbox and to the right and down more.
Paste element 22 above the rock on the left behind the tree.

Duplicate one of the pinecones and move above the wordart to the right.
Being on the top layer, paste element 2.

Add any other elements you would like, make it your own.
Always remember to adjust the elements before merging to get them like you like.

Once happy with your tag, close off any background, crop your tag to make
sure there are no stray edges, merge visible, resize first.
Add your copyrights and name.

That's it
Hope you enjoyed doing my tut.

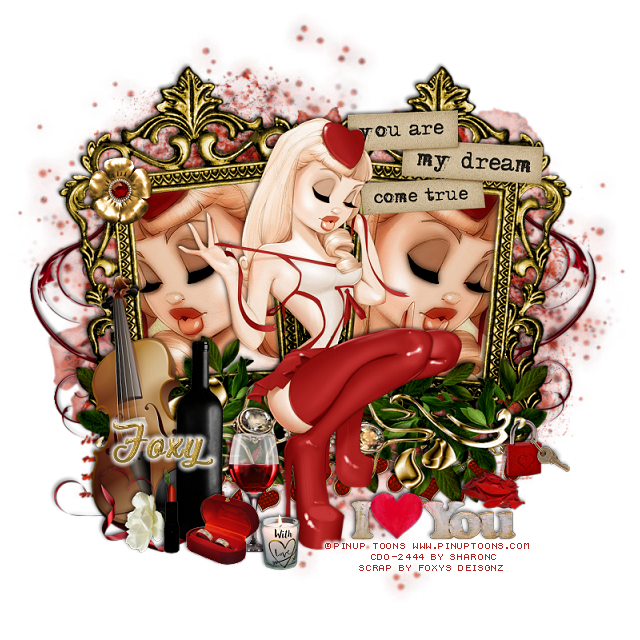
PTU My Love


This tut was written Dec 29th, 2019 for those with a basic knowledge of psp.
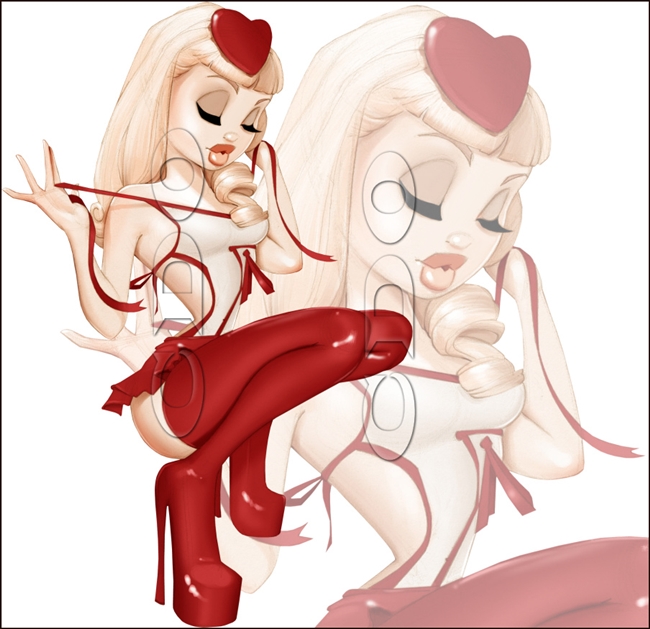
I am using the awesome artwork of Pinup Toons
The tube is NOT included with the kit.
You need a license to use this tube, do not use without a license.
This is Pinup Toons 188-3 tube at CDO HERE

I used PSPX...but any should work.
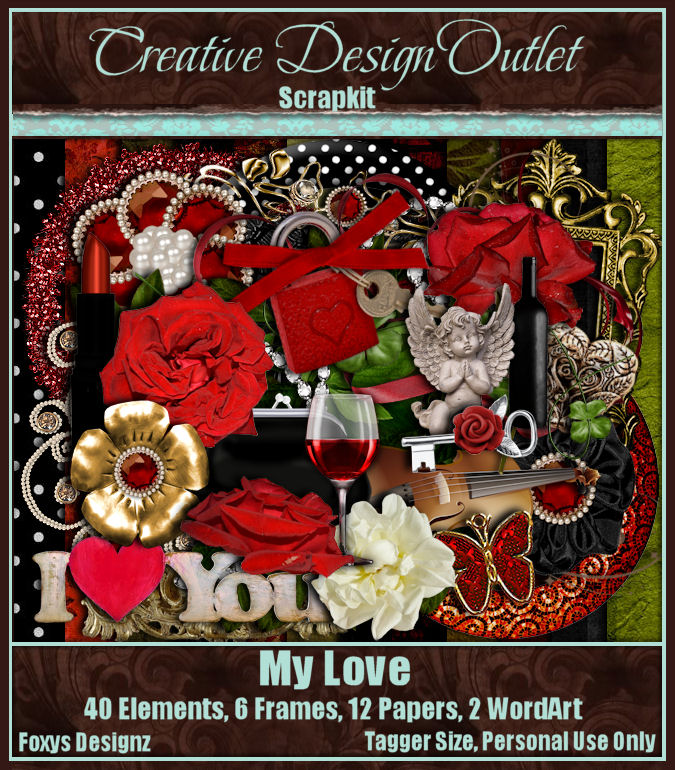
PTU kit "My Love" by Foxy's Designz at CDO HERE
Miz Teeque's Mask 076 HERE 
Check out the rest of the blog HERE

Font of choice,  I used Chocolate and Delight

Drop shadow is usually V-2 H-2 Black, 50, 5, use what you prefer.
Let's get started
*Remember to add your drop shadow as you go along*

Open a new image 800 x 800
Paste paper 2, apply your mask, delete, merge group.

Resize frame 2 to 65%, paste on the left, duplicate, mirror.
Click inside the frames, expand by 5, paste paper 6, invert, delete, 
keep selected, paste your close up on one side, mirror, paste on the 
other side, delete, select none, merge tubes together.
Duplicate the tubes, go to Adjust, blur, Gaussian blur, number on 4,
change the blend mode to Multiply, sharpen, merge down.

Paste your full tube in the center above the frames.

Resize element 9 to 65%, paste on the left frame at the bottom, duplicate,
mirror.
Resize element 24 to 90%, paste above the greenery.
Resize element 13 to 50%, paste above the tube to the left.
Resize element 10 to 30%, paste by the bottle.

Resize element 27 to 50%, paste at the upper right below the tube layer.
Resize element 7 to 20%, paste at the bottom above the glass and bottle.

Resize element 12 to 65%, free rotate to the left at 90 degrees, paste
below the bottle on the left.
Resize element 37 to 35%, paste at the lower right.
Paste element 35 on the right below the paper layer of the frame, duplicate, 
mirror.

Resize element 3 to 40%, free rotate to the left at 90 degrees, paste at the
bottom above the violin.
Resize element 6 to 15%, paste above the I love you wordart.
Resize element 28 to 15%, paste at the lower right below the jewel element.

Resize element 19 to 30%, paste at the lower left above the bottle.
Resize element 33 to 30%, paste on the violin.
Resize element 26 to 50%, paste at the bottom below the greenery on 
one side, duplicate, mirror.
Resize element 20 to 20%, paste on the frame at the upper left.
Resize element 36 to 15%, paste at the bottom by the glass. 

Add any other elements you would like, make it your own.
Always remember to adjust the elements before merging to get them like you like.

Once happy with your tag, close off any background, crop your tag to make
sure there are no stray edges, merge visible, resize first.
Add your copyrights and name.

That's it

Hope you enjoyed doing my tut.