
This tut was written Jan 20th, 2020 for those with a basic knowledge of psp.
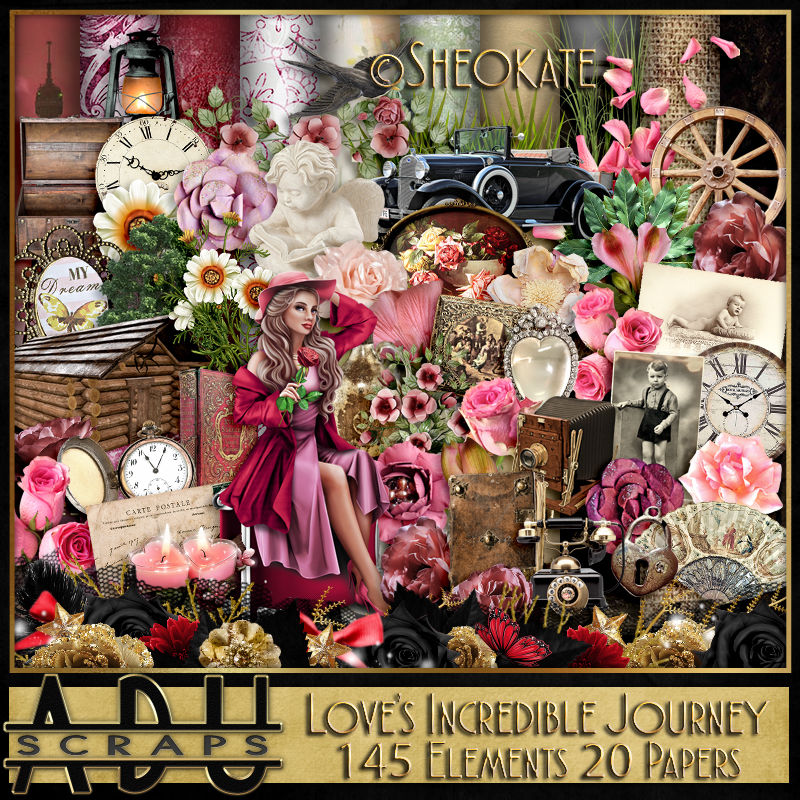
The tube used is by © Sheokate
The tube is included in the kit.
You need a license from All Dolled Up Store to use this tube.
You need a license from All Dolled Up Store to use this tube.
Please do not use without a license.
You can find all her kits and more at ADU Store HERE
Font of choice, I used Insta Story
Drop shadow is usually V-2 H-2 Black, 50, 5, use what you prefer.
Let's get started
*Remember to add your drop shadow as you go along*
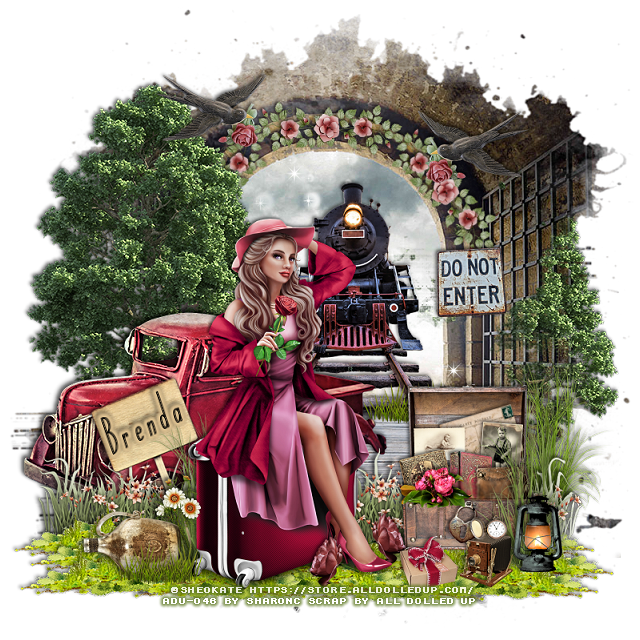
Open a new image, 800 x 800
Paste paper 2, apply your mask, delete, merge group.
Resize element 124 to 65%, paste in the opening of the paper.
Paste element 115 behind the train.
Paste element 26 on the left, duplicate, move to the right below the mask.
Paste element 123 on the left above the tree and to the bottom.
Resize element 29 to 40%, paste on the arch of the mask, duplicate, free
rotate to the right at 50%, move to the right, duplicate, mirror, move below
the tree.
Resize your tube to 13%, paste above the truck.
Paste element 18 below the tube to the right a little.
Paste element 9 at the bottom below the tube, move to one side, duplicate,
move to the other side.
Duplicate 2 to 4 more times and move how you like.
Resize element 85 to 45%, paste on the right below the tube layer.
Resize element 11 to 50%, paste on the right behind the trunk and below
the grass layers.
Resize element 6 to 40%, paste above the trunk, duplicate, move to the left behind
the tube by the truck.
Resize element 71 to 20%, paste on the chest about half way down, take
your free hand tool, draw around the bottom half to make it look like it
is in the trunk, delete, select none.
Resize element 86, paste on the chest like before, draw around the bottom
part, delete, select none, move behind the first book.
Resize element 80 to 20%, paste behind the books in the chest.
Resize element 72 to 20%, free rotate to the left at 15 degrees, paste behind the
picture.
Resize element 93 to 15%, paste below the books in the trunk.
Resize element 89 to 15%, paste below the books in the trunk.
Resize element 132 to 20%, paste on the trunk's edge in front.
Resize element 120 to 20%, paste on the right on the mask layer.
Resize element 22 to 20%, paste at the lower right above the tall grass layer.
Resize element 75 to 15%, paste by the lantern.
Resize element 77 to 15%, paste below the camera on the trunk.
Resize element 84 to 10%, paste on top of the camera.
Resize element 54 to 15%, paste at the bottom by the shoe of the tube,
duplicate, mirror, move below the shoe.
Resize element 105 to 65%, free rotate to the left at 20 degrees, paste behind
the grass on the left behind the tube.
Resize element 87 to 30%, free rotate to the left at 90 degrees, paste at
the lower left above the tube.
Resize element 7 to 25%, paste at the bottom in front of the bottle,
duplicate, move below the truck layer on the walkway to the right.
Resize element 19 to 30%, paste at the upper left, duplicate, mirror.
Resize element 12 to 75%, paste behind the trunk, duplicate, move to the
left above the truck.
Resize element 134 to 15%, paste at the bottom by the camera.
Resize element 68 to 20%, paste at the lower left below the bottle by the
suitcase.
Add any other elements that you would like, make it your own.
Always readjust your mask and elements how you like them before you
merge your tag.
Crop your tag to make sure no shadows or anything on the edges, merge visible.
Then add your copyright and name.
That's it
Hope you enjoyed doing my tut.
No comments:
Post a Comment